We’ve managed to identify a series of common scenarios that might be the end cause of this stuck screen. Check out a few potential scenarios that might cause this behavior: To simplify things for you, we’ve created a couple of sub-guides that will hopefully help you get to the bottom of the ‘Repairing disk errors‘ screen:
Perform an Automatic Repair
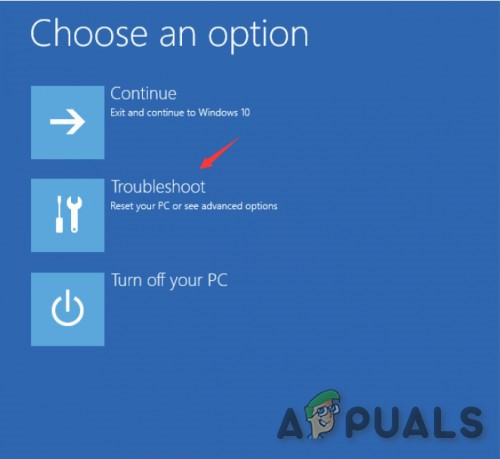
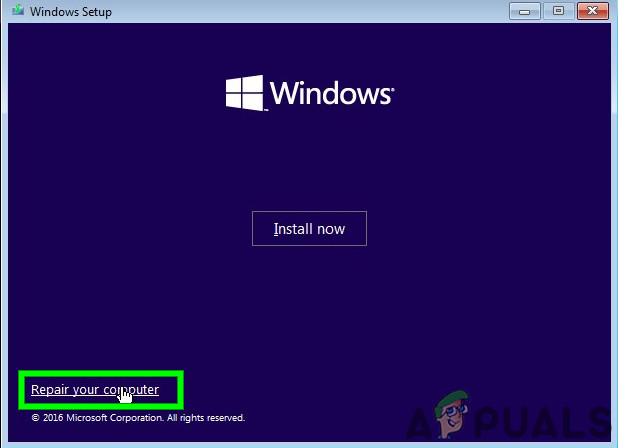
In case you see this screen and your system freezes at every system startup, the hopeful scenario is the problem occurs due to a series of corrupted sub-system files belonging to the built-in repair function. If corrupted OS files are actually causing this problem, you would be able to resolve the issue by using the recovery tools on your installation media to access the Automatic Repair utility. Note: You’ll need to insert an Windows Installation media (DVD Media or USB stick). If you don’t have one at the ready, follow this article to create an installation media for Windows 10. Here’s what you need to do: If the problem is still ongoing, try the next fix directly under.
Use a System Restore point via Recovery Menu
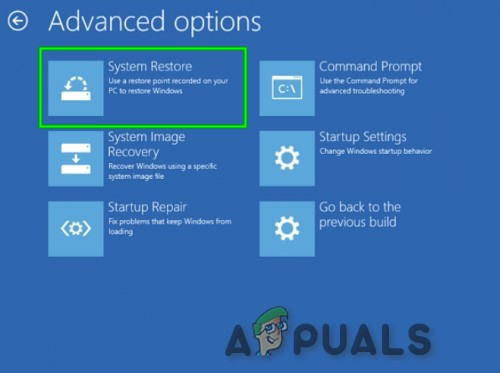
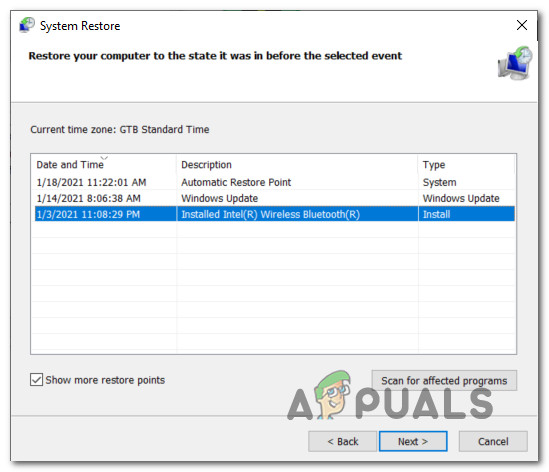
If you only started seeing your computer trying to repair corrupted OS files after installing a pending update or new driver version, you shouldn’t exclude some kind of software conflict from the list. To treat this potential concern, the best course of action should be to utilize System Restore to revert your Windows 10 computer back to a state in which this problem was not occurring. Note: System Restore is configured by default to create new snapshots during crucial system changes. This includes the installation of new Windows Updates, new 3rd party tools, new driver versions, etc. The only reason why you’ll find that you don’t have any restore snapshots to choose from is if you previously modified the default behavior of WU. But since you are unable to boot normally, you will need to launch the System Restore utility from the Recovery menu. Here’s a step-by-step guide on how to do so: if you see the same ‘Repairing disk errors‘ when you boot up your computer, move down to the next potential fix below.
Test the health of your HDD / SSD
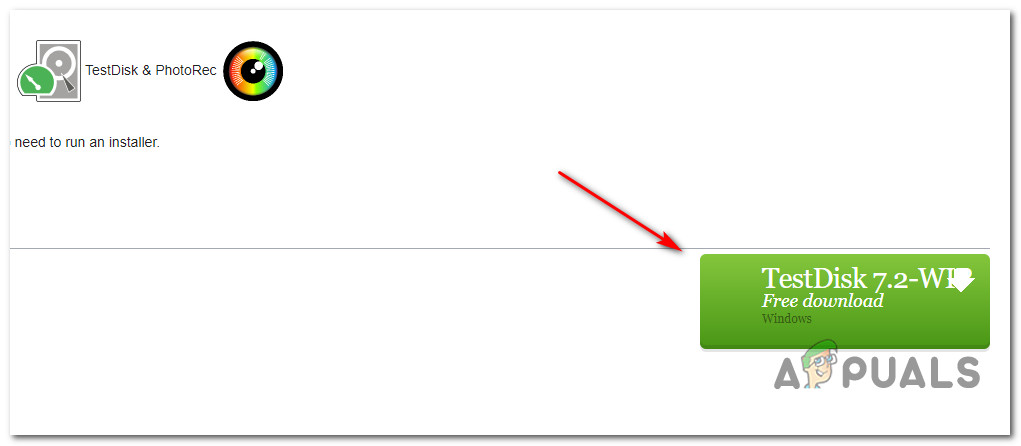
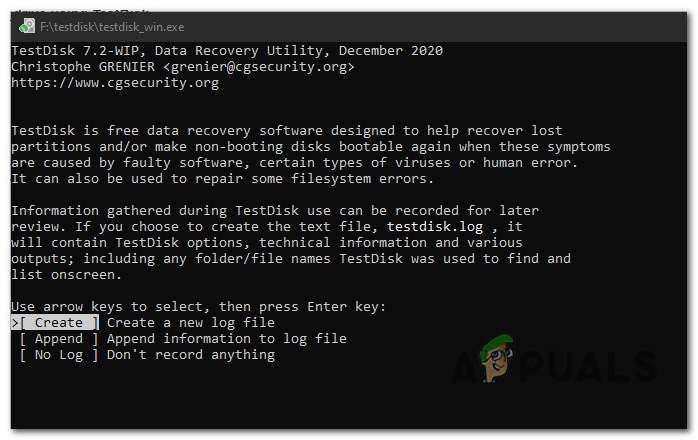
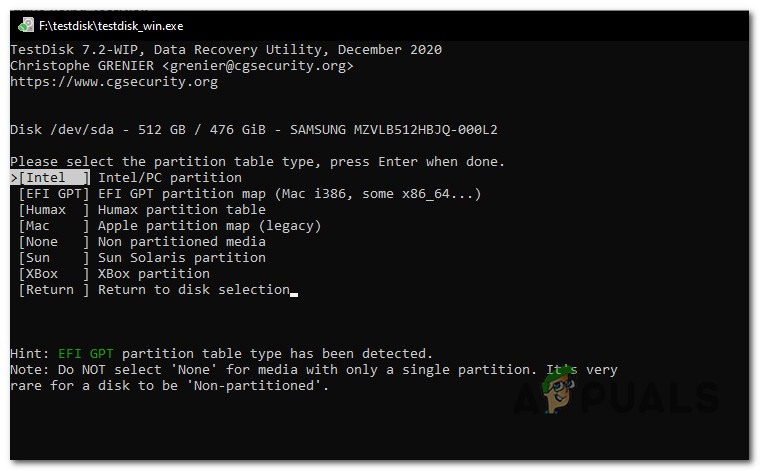
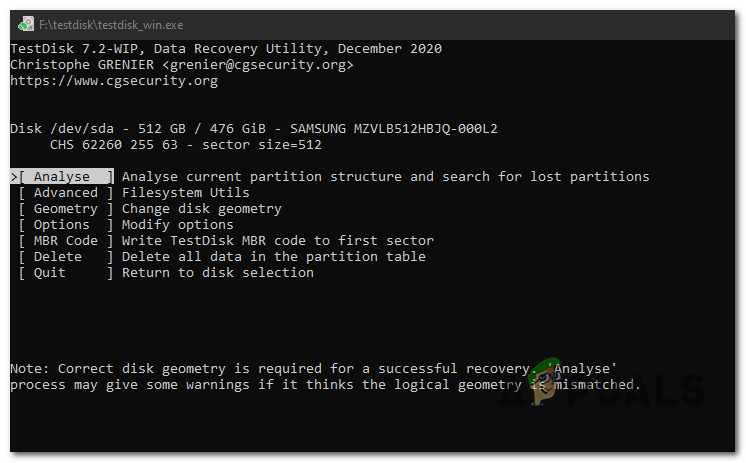
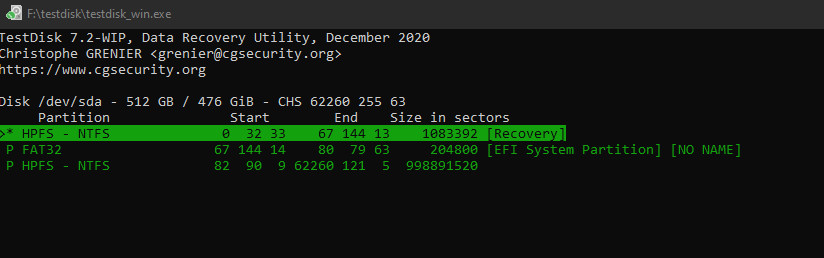
If you repeatedly tried allowing the repair utility to run its course unsuccessfully (it gets stuck forever), there’s a very big chance that your hard disk is about to die. But before you order a replacement, you should check if your HDD or SSD reparable bad sectors with consequent data loss. An ideal way of troubleshooting a failing drive is to use the TestDisk utility to find out if bad storage clusters on your HDD are causing this issue. Note: You’ll need to perform the instructions below after connecting the HDD or SSD to a different computer as a secondary drive. Note: If the investigation above has revealed that you’re dealing with a failing drive, you can’t do anything else other than order a replacement. If you have any important data on the HDD or SSD, take it to a technician specialized in data recovery. On the other hand, if the scan has revealed no underlying hardware issue related to your hard drive, follow the last potential fix below.
Clean Install or Repair install
If the investigation above has ruled out a hardware issue, you should check if corruption is actually interfering with your OS’s ability to conduct drive repairs. When dealing with an issue of this kind, the best course of action is to refresh every Windows component that might be causing this problem with a procedure like clean installing or repair installing:
Perform a Repair Install (In-Place Repair) – If the affected drive currently holds important information, use this method because you get to keep all your personal data.Clean installing – If you don’t care about wiping your entire drive, save yourself the trouble and go with this operation. You can deploy it from the Settings menu of your Windows installation and you are not required to insert a compatible Windows media installation.
Troubleshoot Stuck on ‘Checking Your Browser before Accessing’ IssueTroubleshoot Windows Hello Stopped Working on Windows 11Troubleshoot Windows Update Error 0X8007371C in Windows 10Troubleshoot Windows 10 Setup Has Failed to Validate the Product Key