There can be many methods both, automatic or manual to root BlueStacks, but we will try to use a simple approach so that a common user can follow the instructions. Warning: Proceed at your own risk as rooting BlueStacks can cause it to become unstable and it may fail to launch. Also, it may harm data or your system. Moreover, in some cases, third-party applications are used, which are generally safe but may harm your system/data. Additionally, rooted BlueStacks can be used for some illegal activities, so, proceed with extreme caution and stay within the legal boundaries.
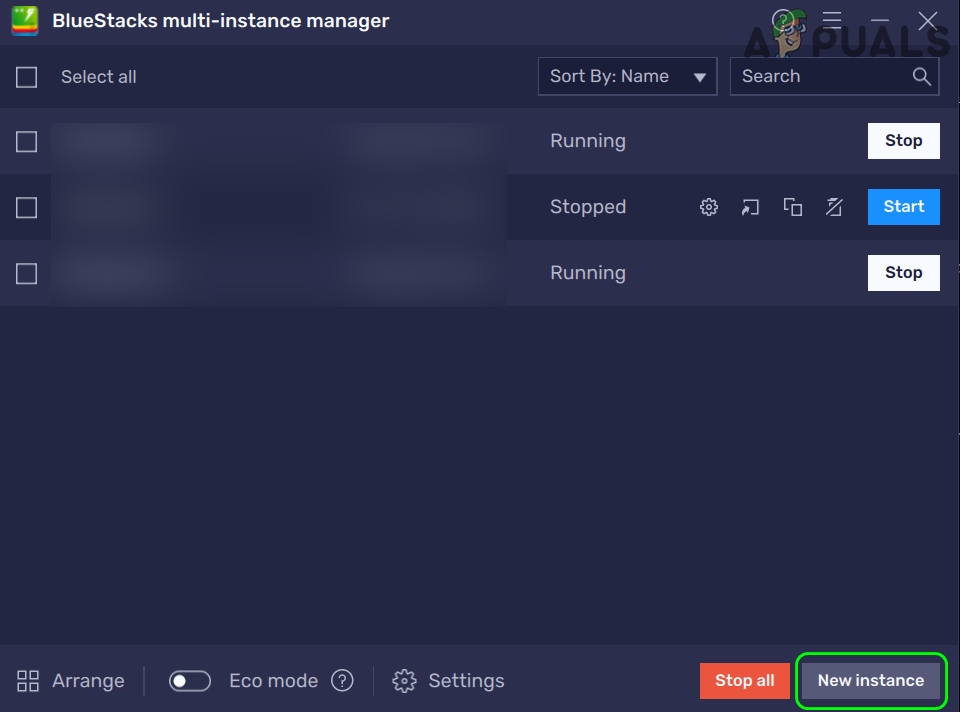
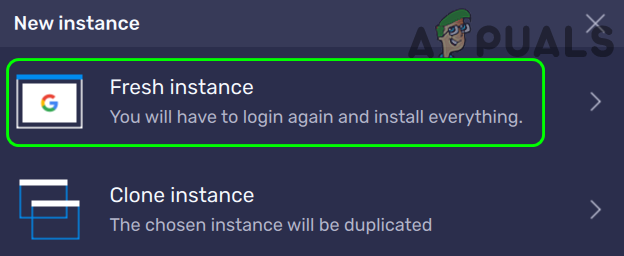
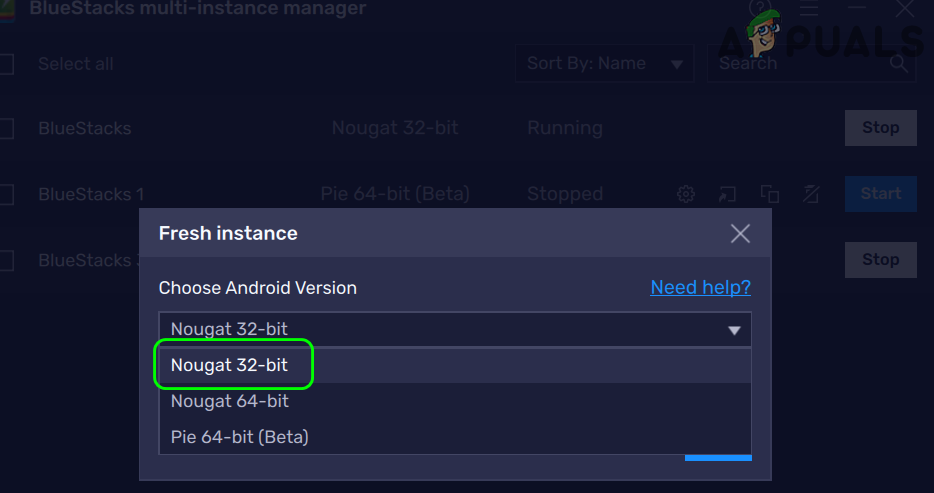
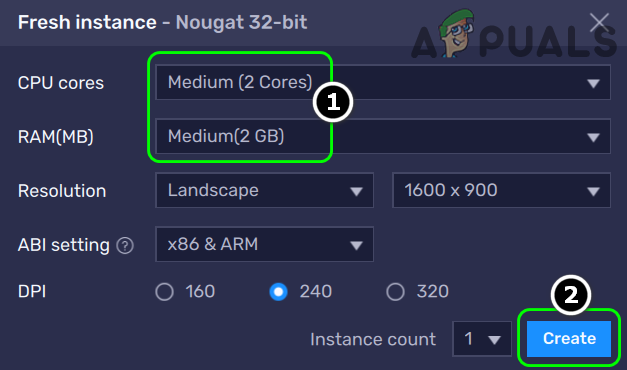
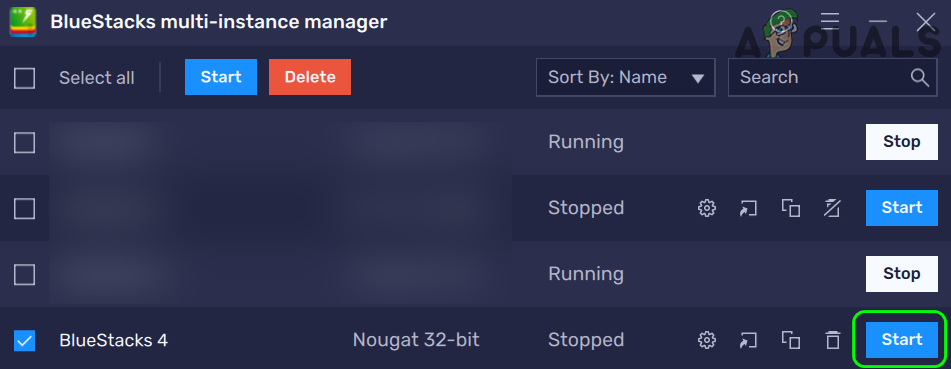
Create a New BlueStacks Instance
As you are going to try to root the BlueStacks, this comes with some risks, and trying it on a BlueStacks installation that has some essential data on it, may render the installation useless. In such a case, creating a new BlueStacks instance in the BlueStacks Multi-instance Manager will be a safe approach.
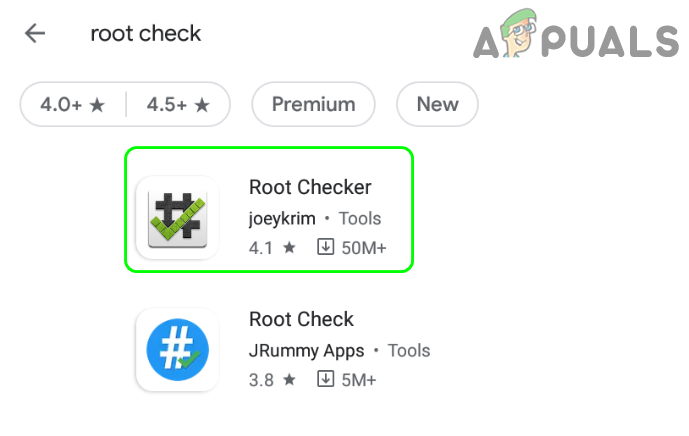
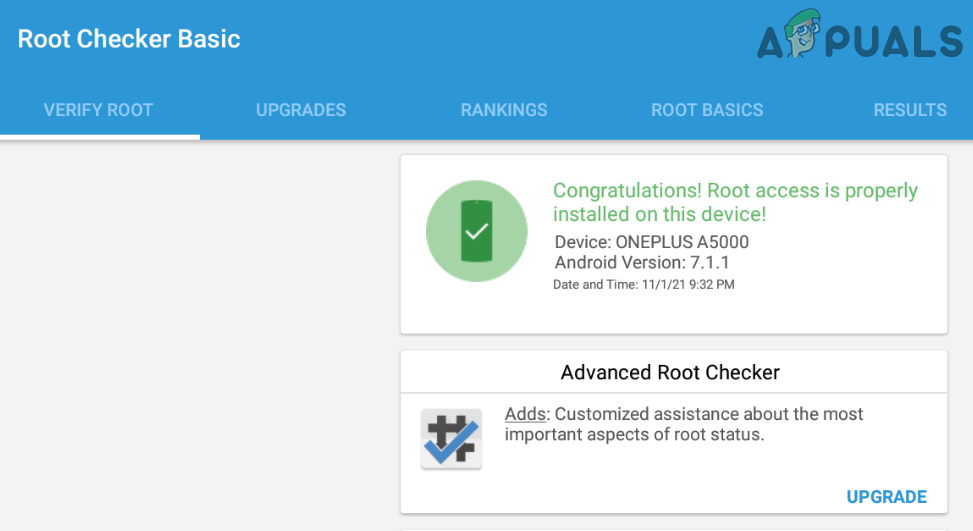
Install a Root Checking Application from the Google Play Store
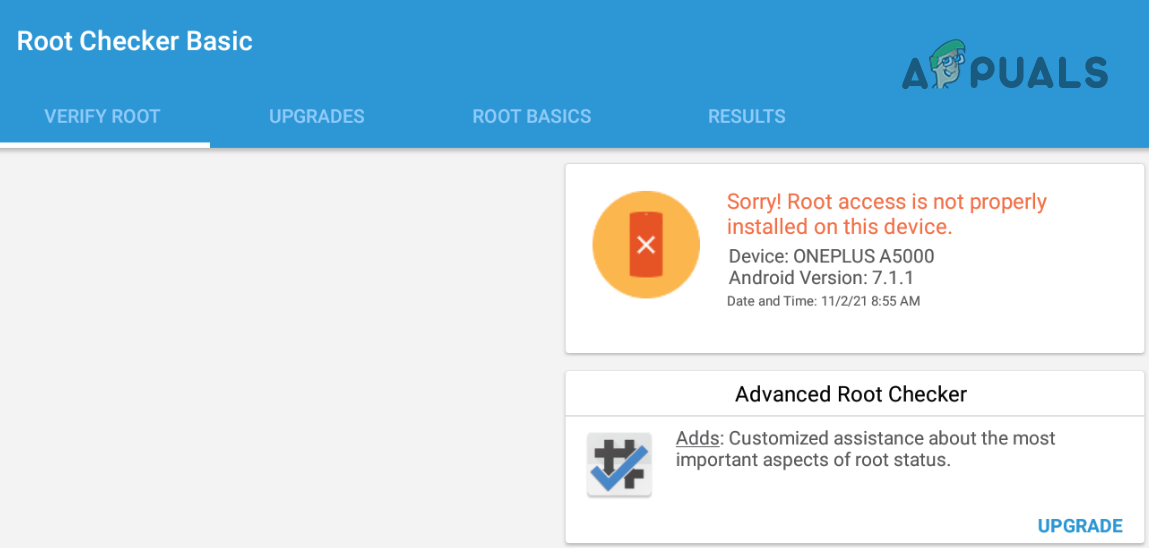
Whichever method is used to Root BlueStacks, you may need a root checking app to confirm if the process was successful.
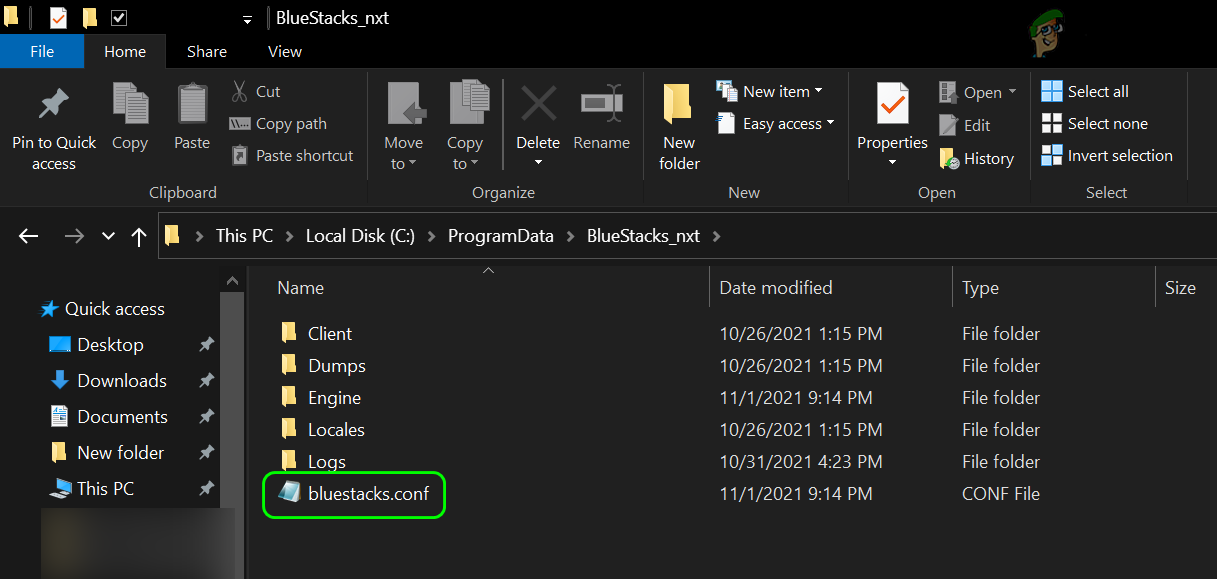
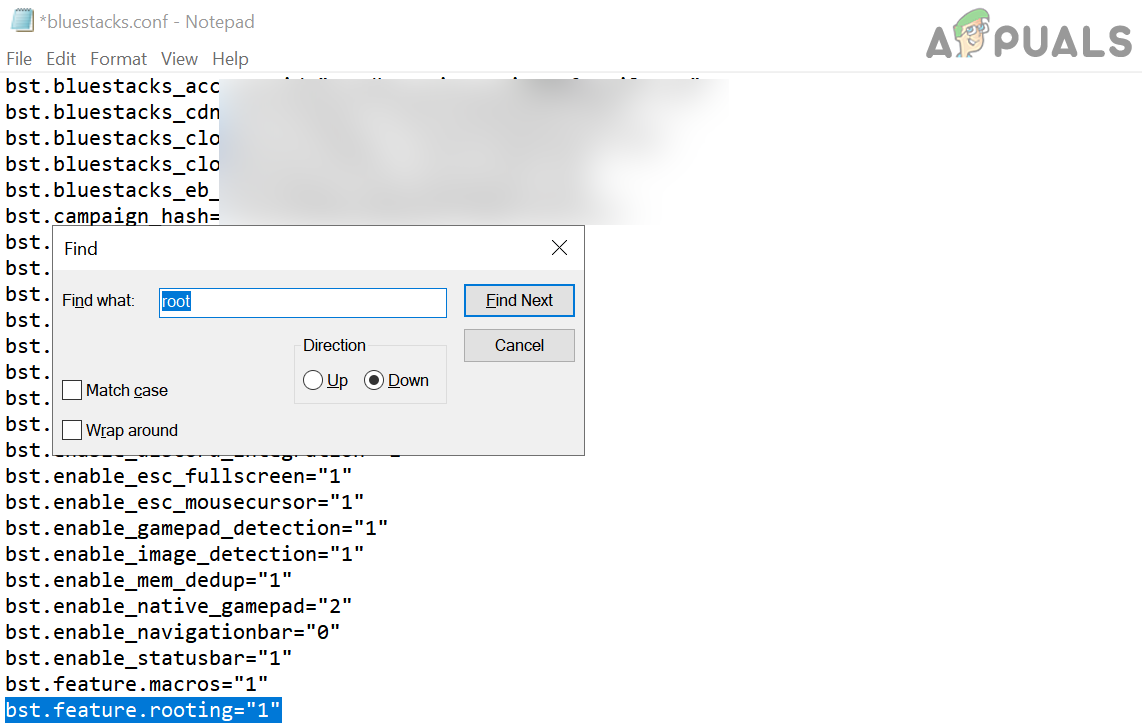
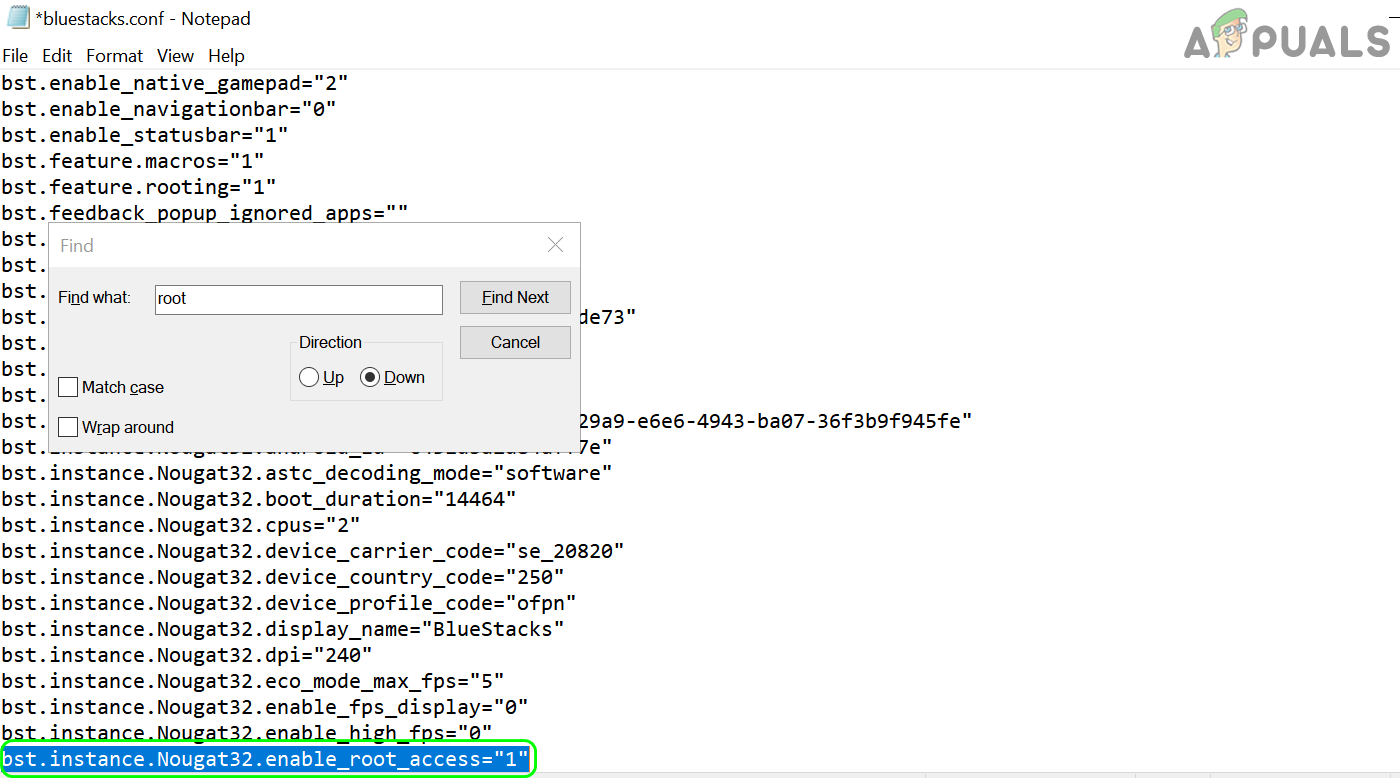
Method 1: Root BlueStacks by Editing its Configuration File
This method is probably the easiest one as nothing has to be downloaded and installed. Also, the user will be using the tools he is quite familiar with. Once the BlueStacks are rooted, you can try startup managers, custom animations, script managers, etc. (e.g., System Tools Android app) to customize the BlueStacks installation. For best uses, you may search the web for the best apps for rooted Android.
Method 2: Root BlueStacks by One Click Root Applications
For many users, who just want to use root privileges for just a single app, the method discussed above will suffice. If you do not want to edit the Config file, then you may use a one-click rooting application like OneClickRoot or KingRoot. That process is very simple, so, we are not discussing it deeply.
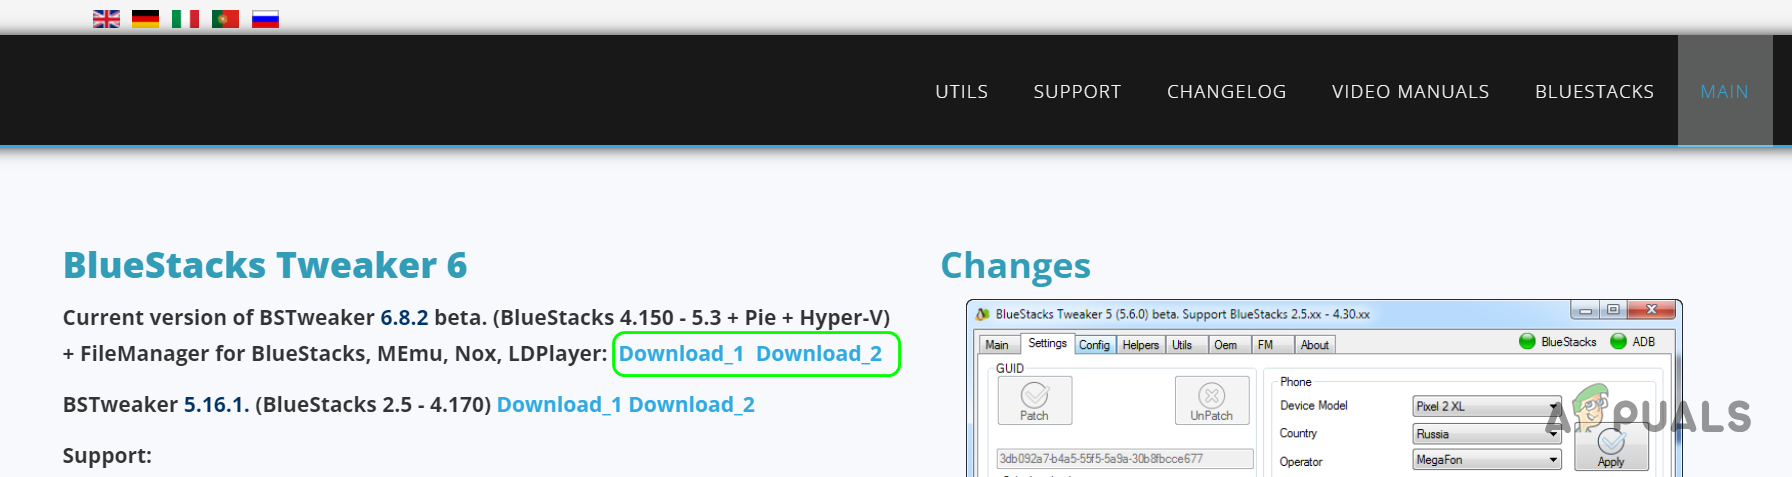
Method 3: Use the BS Tweaker Application to Root BlueStacks
For some of the advanced users, especially those users who need SuperSU, the above methods may not fulfill their requirements, although, the root may work, the installation of the SuperSU binary might require some extensive tweaking. The SuperSU can manually be installed but that will require quite a work, even for some experienced folks. If you are interested in manually installing SuperSU, then you may look into the XDA-developer forum post for more details. But there are other tools like the BS Tweaker that make this process very easy. Keep in mind SuperSU manages the root permissions for the apps by showing the user a prompt to either permit the root access for an application or not.
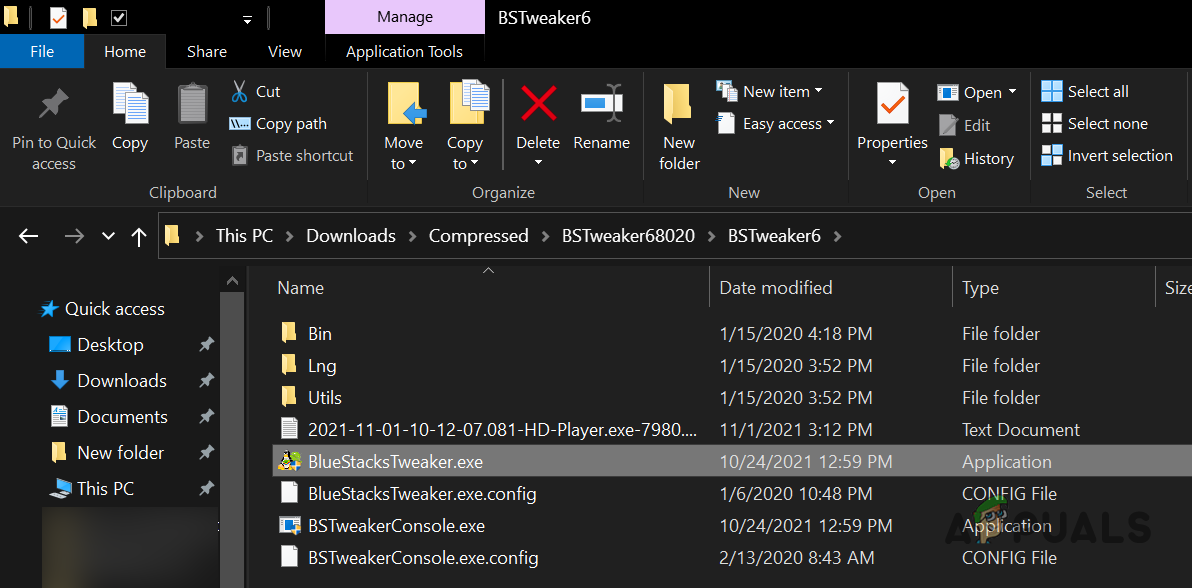
Install the BS Tweaker Application
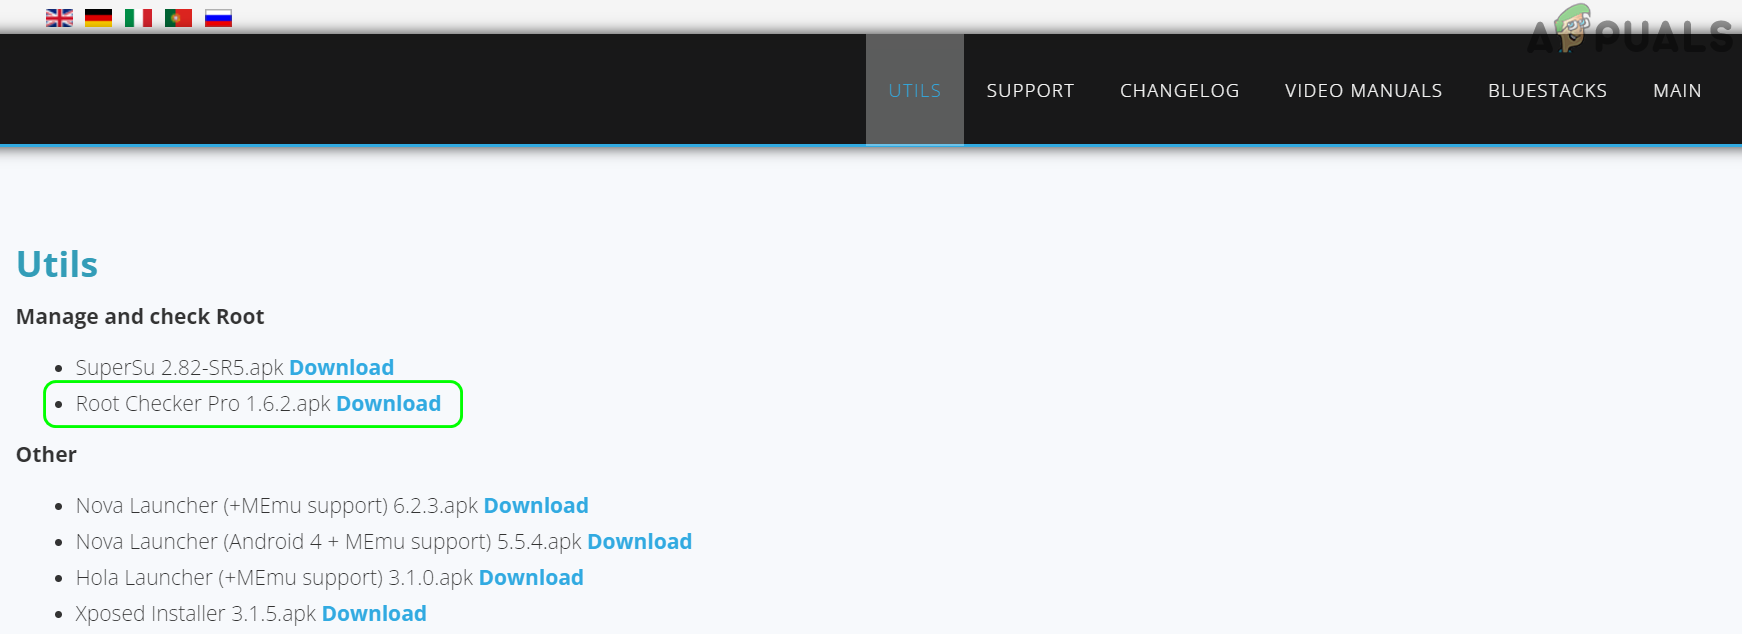
Install the Root Checker Pro Application
The Root Checker Basic may work with the above methods, but for the BS Tweaker, the user may have to use Root Checker Pro.
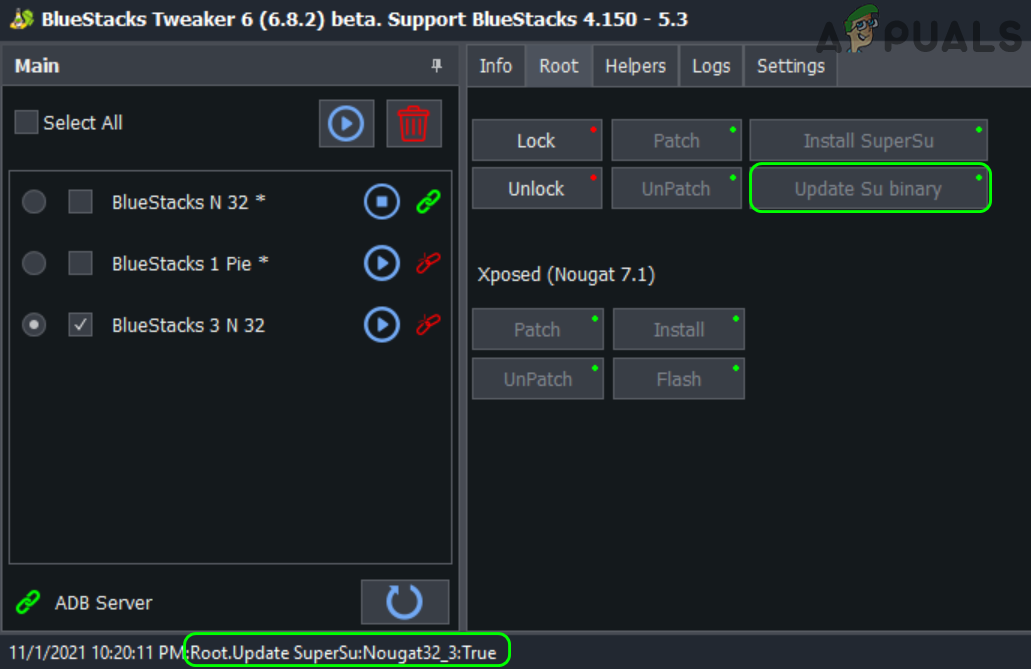
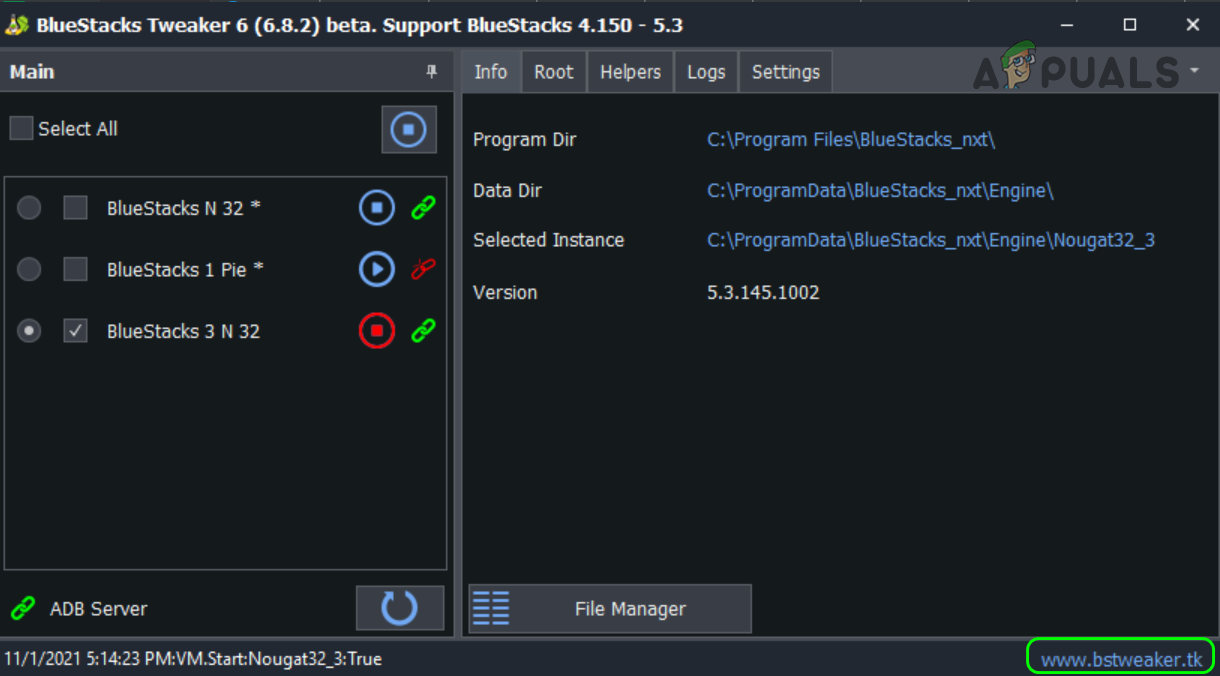
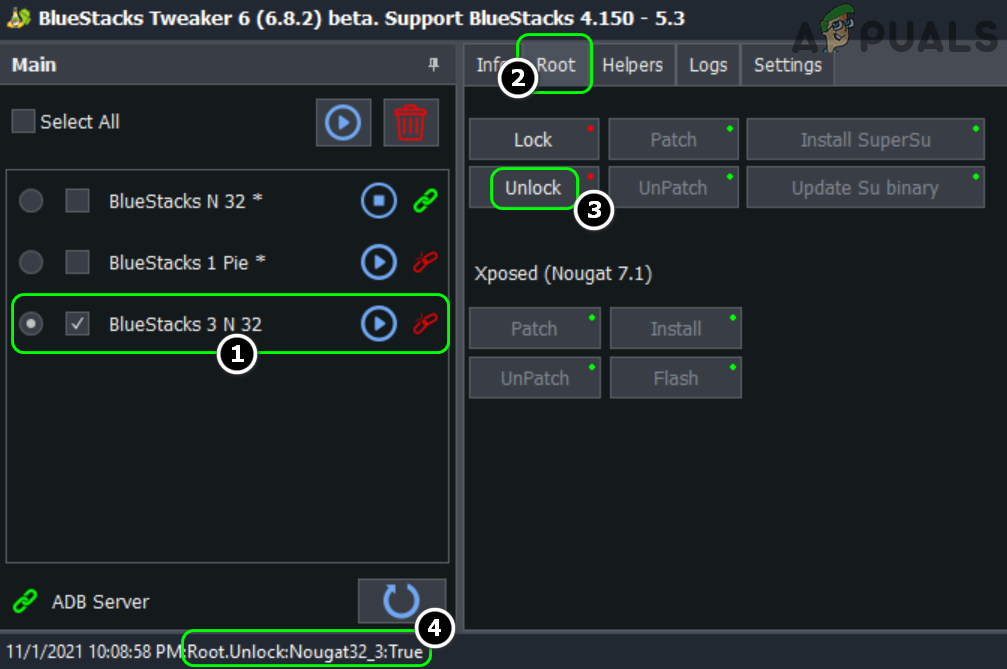
Root BlueStacks by Using the BS Tweaker Application
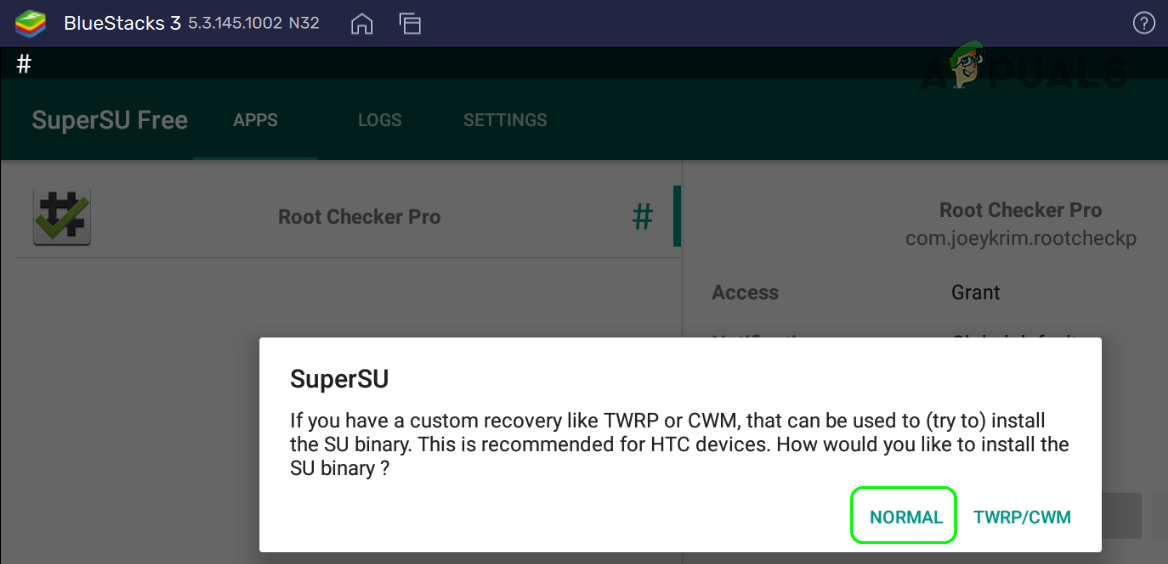
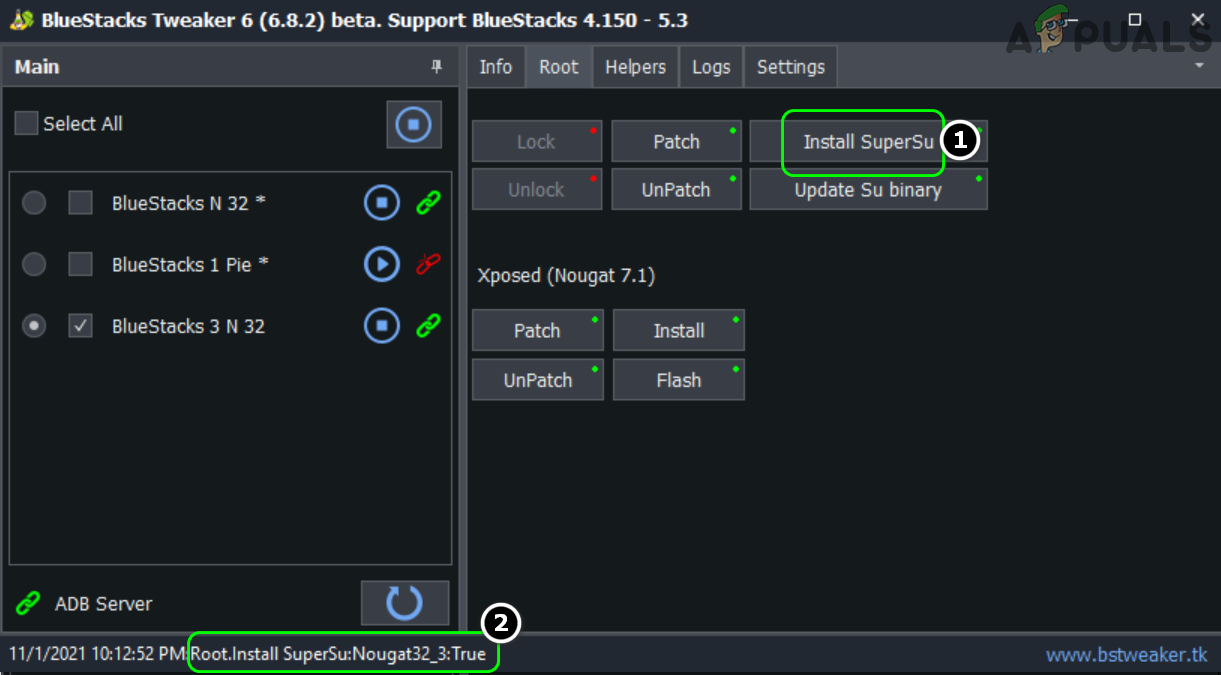
Install and Update the SuperSu Binary
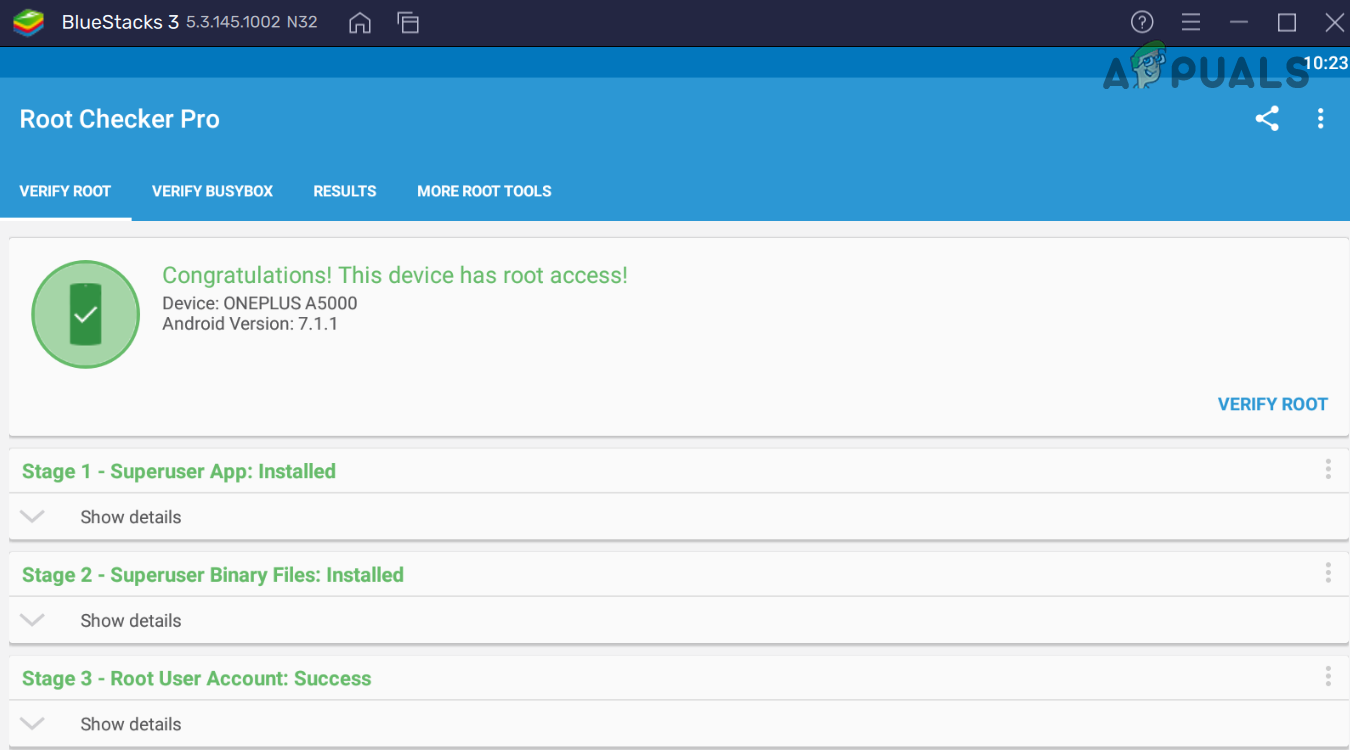
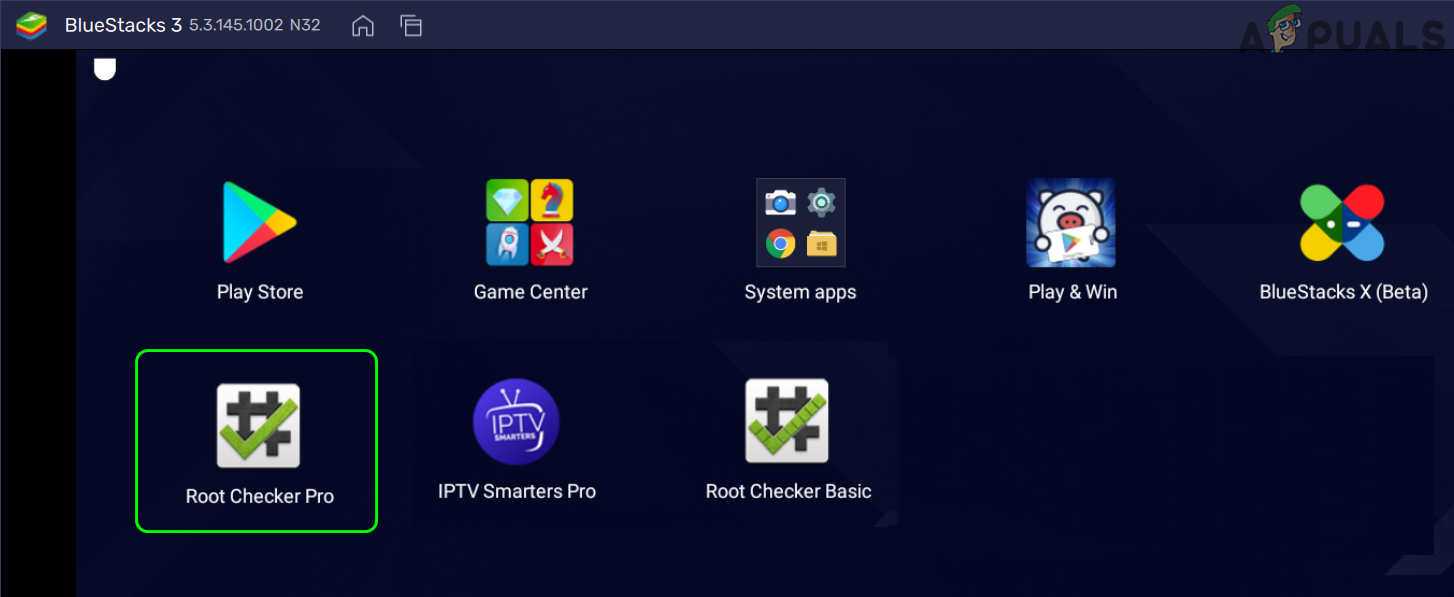
Verify BlueStacks Rooting by Using the Root Check Pro
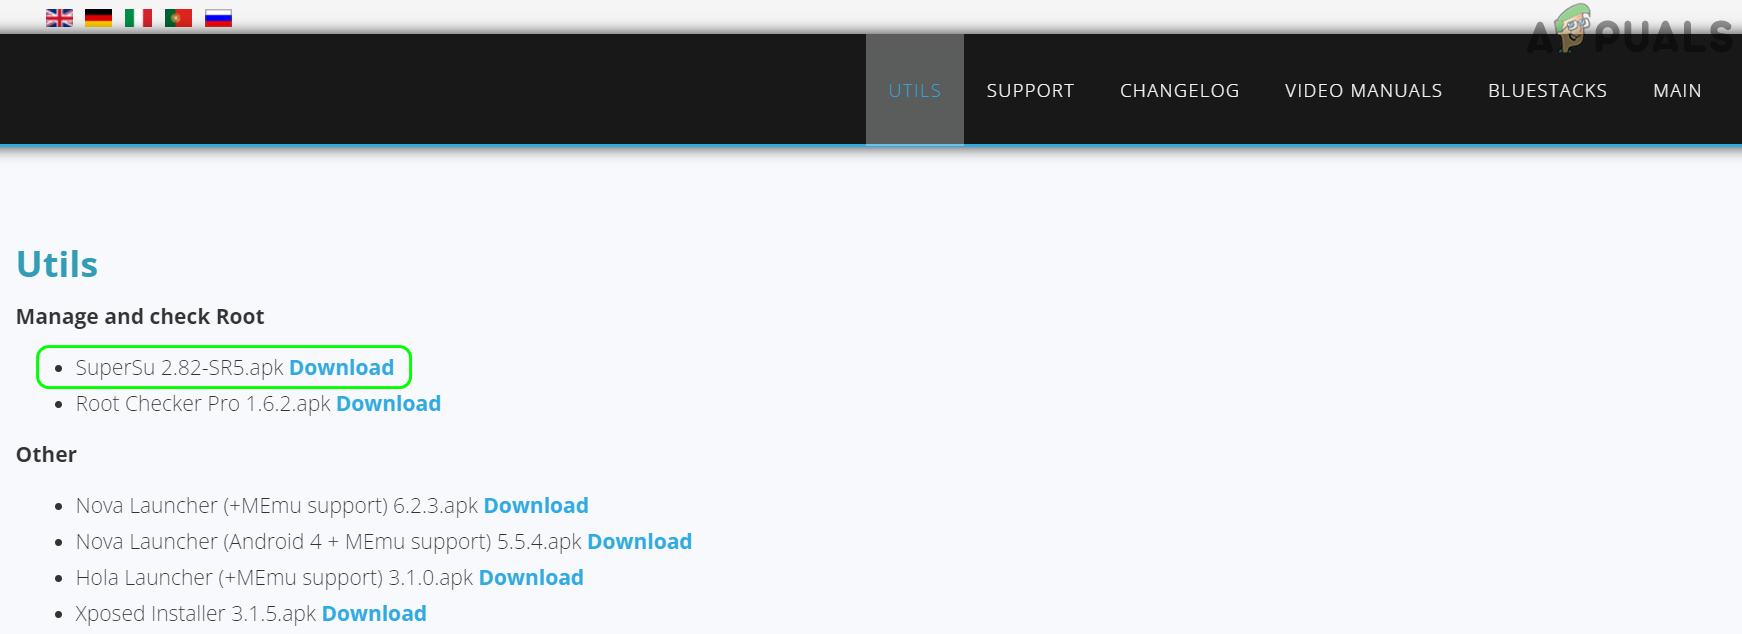
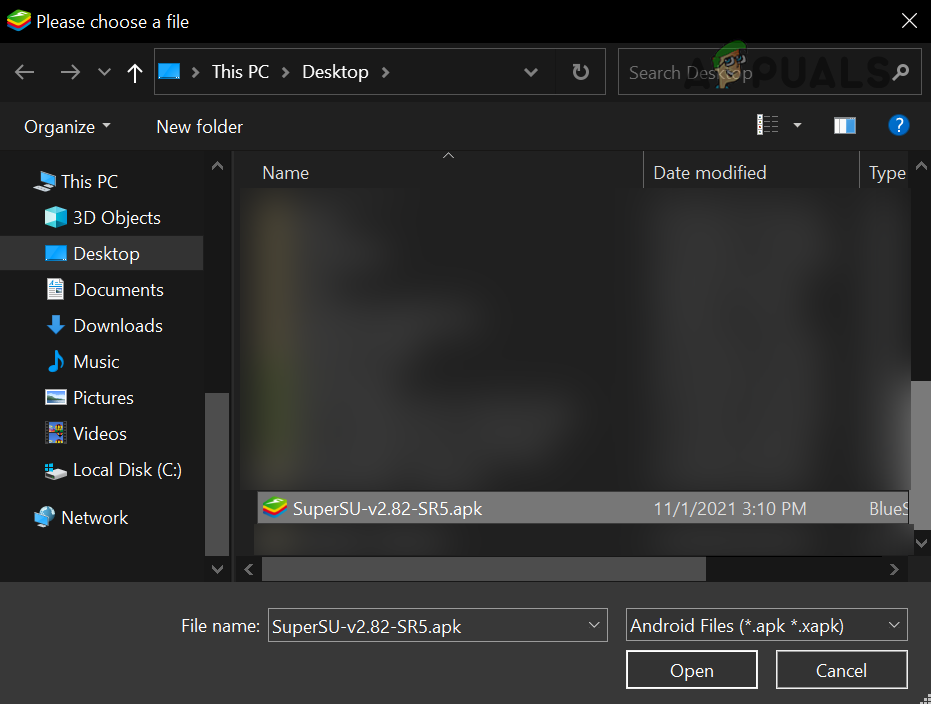
Update the SuperSU Through the Latest APK
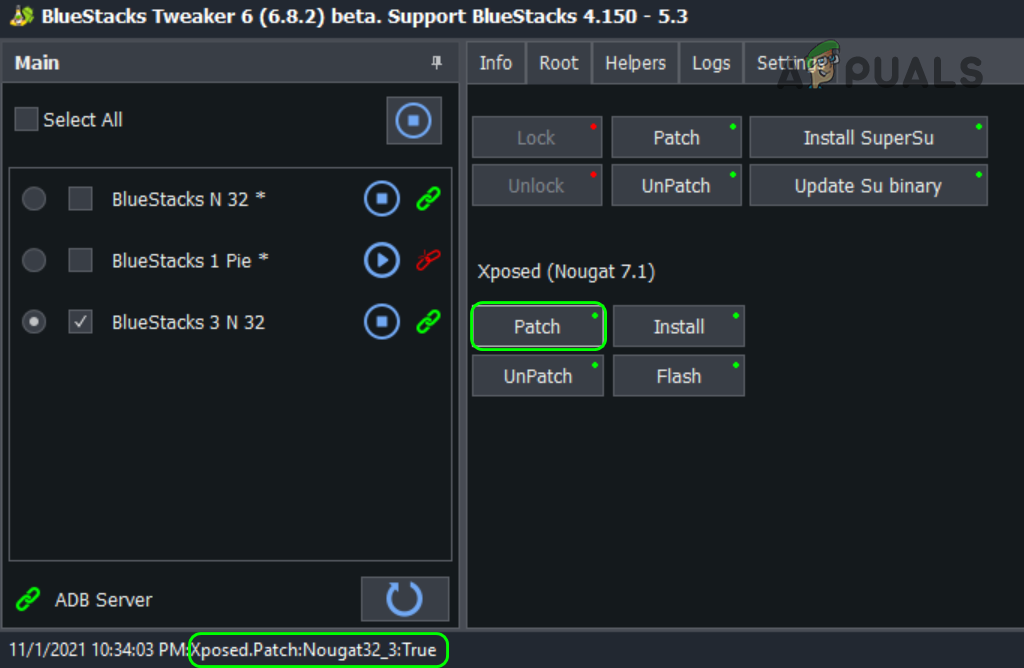
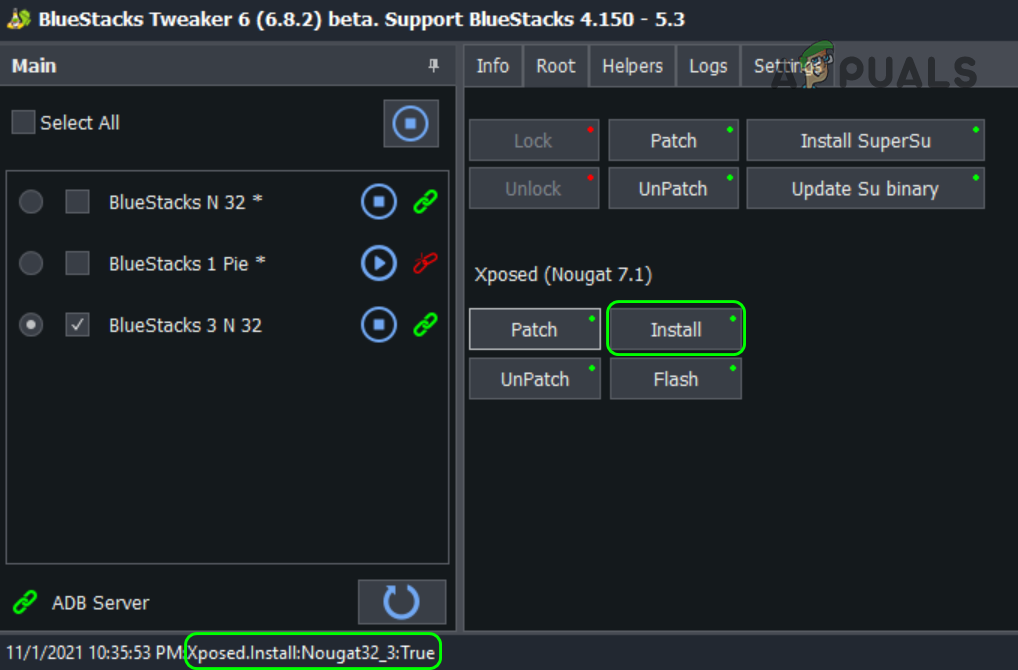
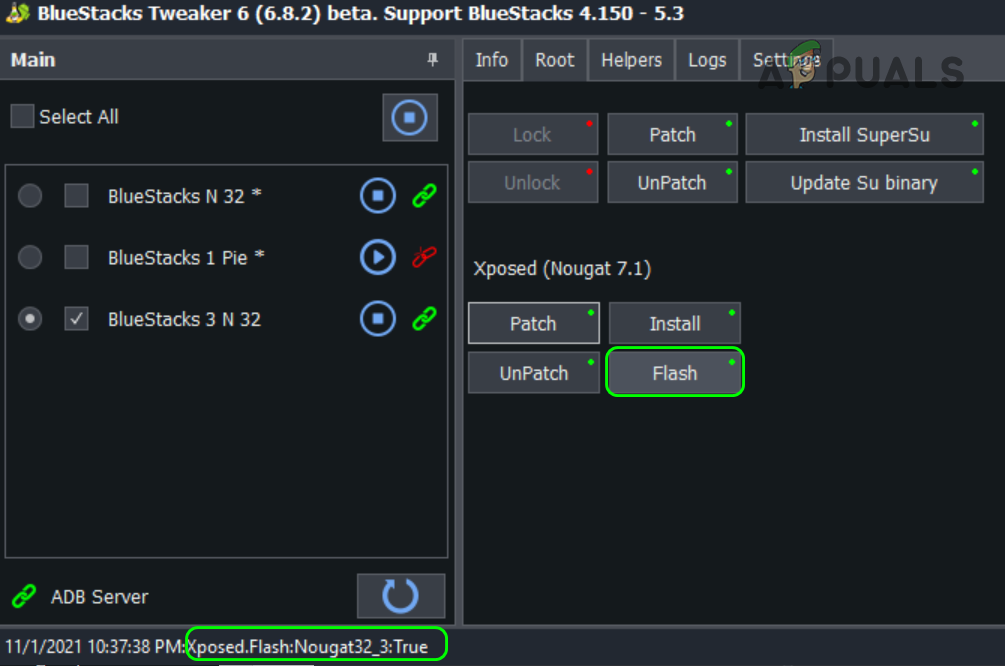
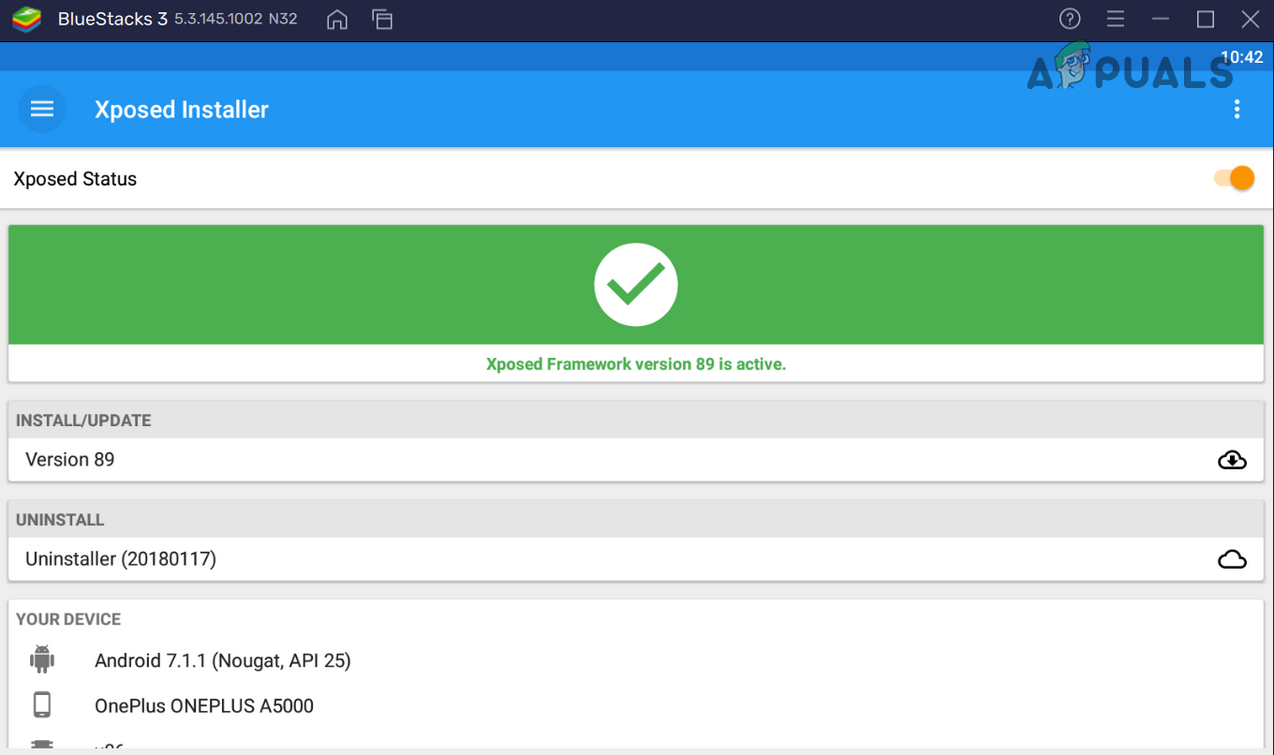
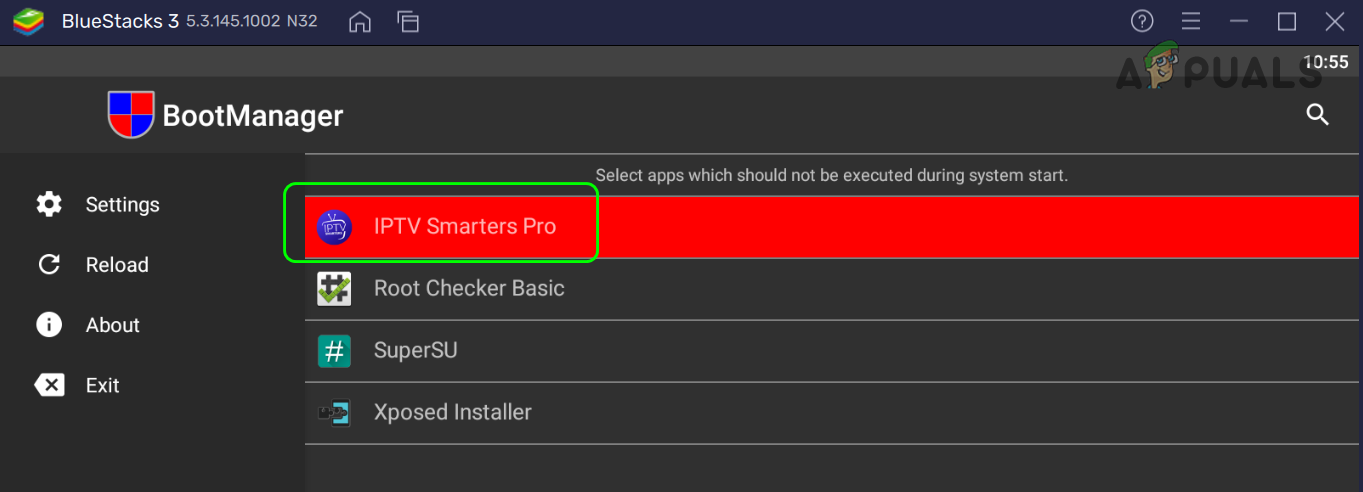
Install the Xposed Framework
The Xposed Framework provides a user with different modules that can give a user a lot of utilities to customize the Android and BlueStacks.
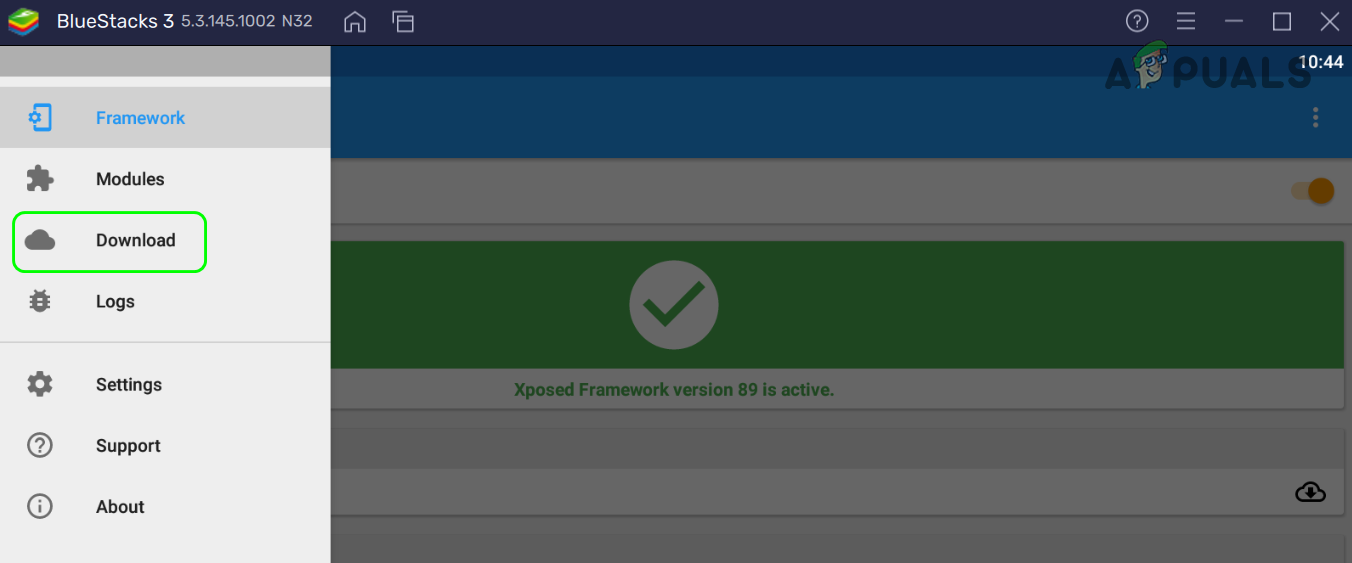
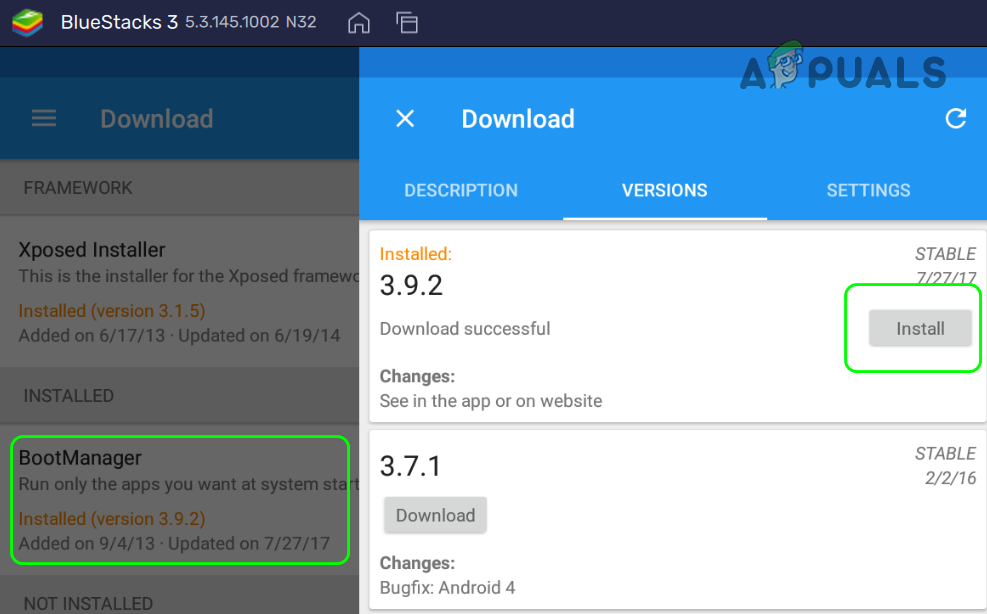
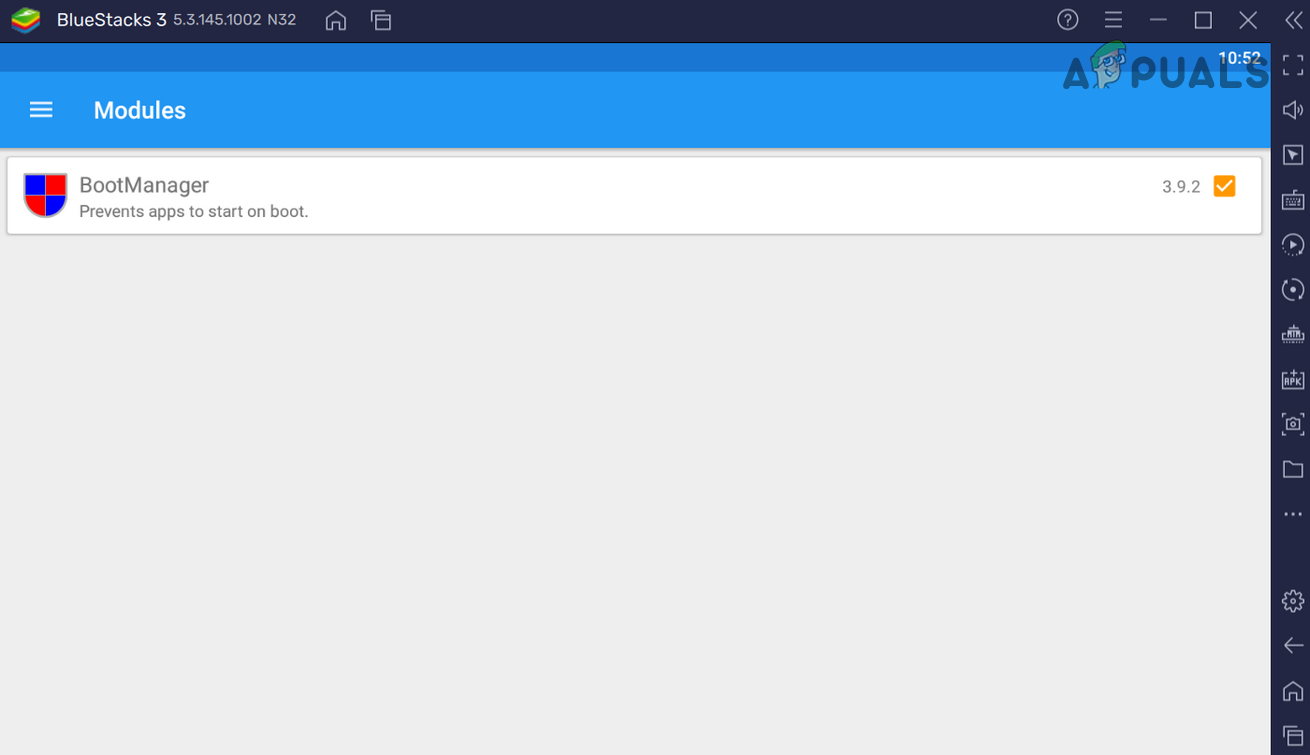
Use the Xposed Installer to Take Advantage of Rooted BlueStacks
So dear readers, in this way, you can use different modules of the Xposed installer to tweak the BlueStacks instance. Also, there are plenty of other apps for rooted BlueStacks (the Internet is your best friend) to take full advantage of the rooting process.
How to Root the LG G4 on Marshmallow EasilyHow to Easily Sync Your Phone With Windows 10?How To Run Windows Softwares On macOS EasilyFix: root User’s Home Directory is /root

![]()
![]()