Thanks to the 2.50 system software update, you’re now able to use the new back up and restore option to upgrade your hard drive wihout any data loss. This means you keep all game settings and you don’t need to re-download hundreds of GBs of data. Although it takes quite some (waiting) time to upgrade your HDD, it’s really easy to do. This guide shows you how it’s done using enough images to make the upgrade as easy as possible.
Stuff to know before you start
The most important and comforting thing to know is that upgrading your PS4’s hard drive does NOT void the warranty. Sony even offers information on replacing the hard drive on their official website. Although it covers all necessary steps, it misses some helpful details and images which we’re going to provide in this guide. As already mentioned, thanks to the new backup and restore feature, your device and game settings as well as complete games and applications won’t get lost in the process. We’ll show you how to back them up further down in this article. After replacing your PS4’s HDD, you can use the old hard drive just as any other external drive. The only thing to do is formatting it and put it in a case. If the new hard drive came in its own case, you can reuse that one. How to do that is covered at the end.
Which hard drive to get for your Playstation 4
Before I give you specific recommendations you should know some basics about hard drives so that you’re able to get the most suitable one based on your preferences. There are several types of drives you could get to replace your PS4’s:
HDD: The good old “Hard Disk Drive” most people have at home already. SSD: The “Solid State Drive” which uses semiconductor chips to store data instead of a disk. SSDs perform much better than HDDs and are the new standard for new notebook models. SSHD: This abbreviation stands for solid state hybrid drive. As the name suggests, this type of drive consists of a normal HDD with a small SSD storage used primarily for cached data.
Since the PS4 supports the SATA II (3GB/s) interface, I suggest that you look for such a drive instead of a SATA III one. If you already have a SATA III drive, you can also use that one but you won’t get a better performance than with SATA II. Which type of drive should you get? Well, it all depends on what you prefer. If you don’t want to spend a lot of cash, I’d get a normal HDD. Want the best performance and you’re ready to settle for a smaller storage size, then get an SSD. An SSHD is be a good compromise which doesn’t cost that much more than an HDD.
Compatibility and recommendations:
Make sure you get a 2.5 inch hard drive which has a maximum thickness of 9.5mm (without the case). Also, make sure the drive’s storage size is at least 160GB. Here are some recommended drives that work flawlessly in a PS4: HDD:
Seagate Backup Plus Slim 2TB ($99) Seagate Expansion STBX2000401 2TB 2.5-Inch USB 3.0 ($85)
SSHD
Seagate 1TB Laptop SSHD SATA 6Gb/s 64MB Cache 2.5-Inch drive ($77)
Things you need to get started
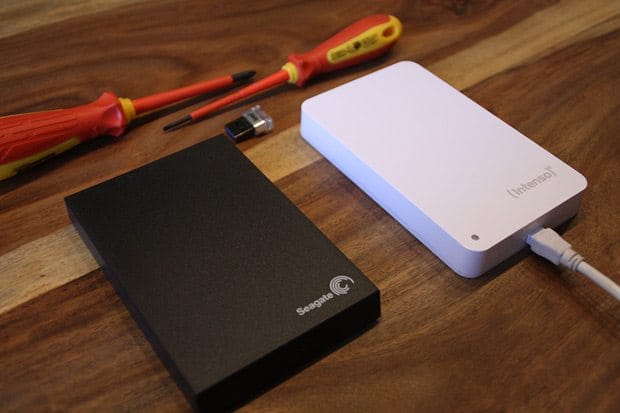
2.5 inch drive (either HDD, SSD or SSHD) External hard drive (if you want to backup all your settings and games) USB drive (needed to install the Playstation Software on the new drive) Small screwdriver and a small flathead (to remove the plastic case)
1. Make sure you have the latest firmware on your PS4
In order to make a backup of your system, you need to have the 2.50 version (or above) of the PS4’s firmware installed. You can check the current version in Settings -> System Software Update. In case, you don’t have the latest firmware, you need to download and install it first.
2. Format your USB drive and external hard drive
Note: you only need to format your external drive if you want to backup all your game data. Format your USB drive and external hard drive (see note) in “FAT32”. On Mac, you can do that by hitting the erase button inside the Disk Utility app. Windows users need to right-click the drive in the “My Computer” window and select “format”.
3. Backup your PS4’s saved data, settings and game files
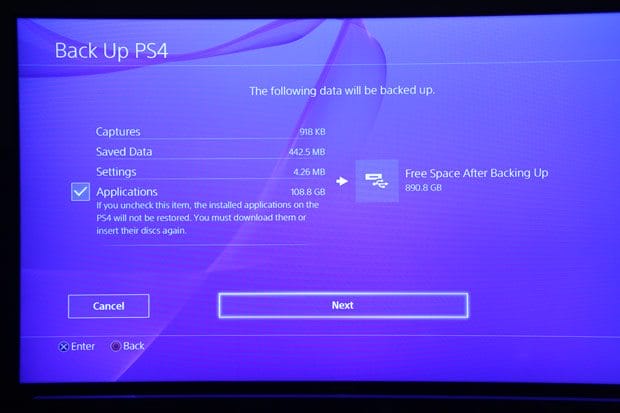
Alright, let’s finally start with the upgrade. First, you should backup ally our data, so that you don’t lose anything during the process. Plug in your external hard drive and head over to Settings > System > Backup and Restore > Back up PS4. By default, all your saved data and settings will be backed up. If you also want to save all your downloaded games, then make sure you have enough space on your hard drive and check “Applications”. Continue with selecting Next. Your PS4 is now going to restart.
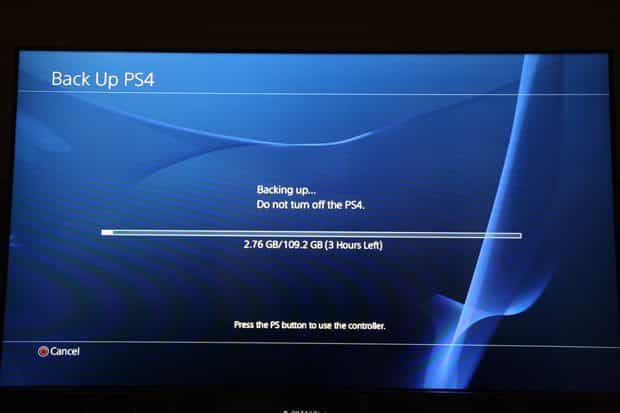
After the restart, your PS4 will start with the backup. Depending on how much data you’ve got the process might take a couple hours. While you wait, you can go on and prepare everything else.
4. Downloading the PS4 System Software
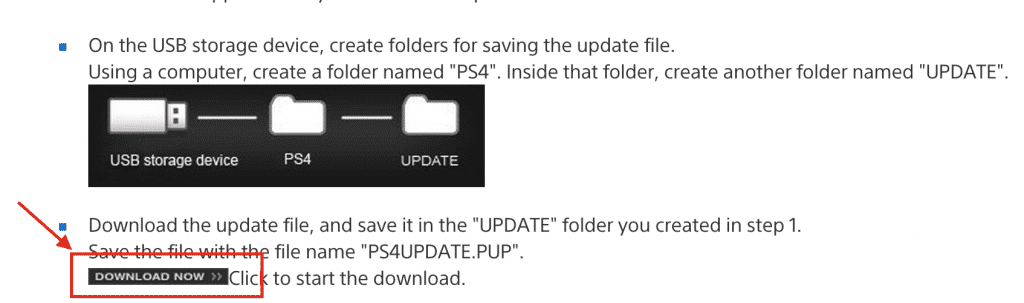
Since you’ll be inserting a new and empty drive into your PS4, you need to put a fresh installation of the system software on it. Go to Sony’s official website and look for the download button (see screenshot) below the headline “Update using a computer”.
5. Putting the System Software onto your USB drive
Plug in the formatted USB drive into your computer and create a folder called “PS4” in the root location of the drive. Inside the PS4 folder, create another folder called “UPDATE”. The last step here is to paste the downloaded file into the UPDATE folder. That’s it.
6. Remove the case of your external hard drive
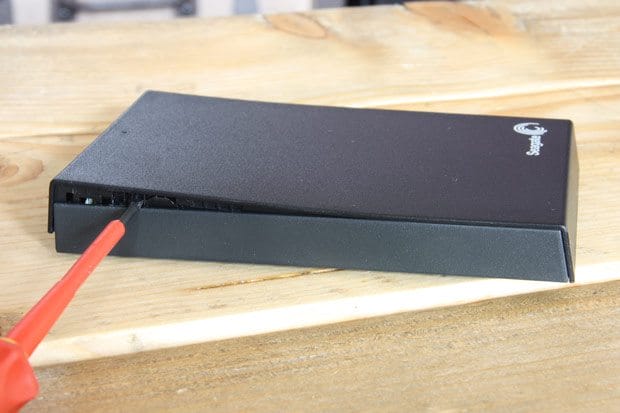
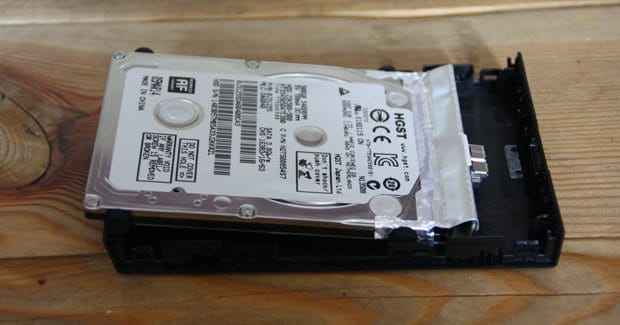
This step is only necessary if you got an external hard drive to put into your PS4. Use a flathead screwdriver to carefully open up the case. I found it easier to open it up on different spots first and then open it up completely with a larger screwdriver.
Once the case is open, you need to remove the drive by pulling up the back on the opposite site of the USB plug. If your hard drive has two screws on each of the longer sides, you need to remove them. Now, you need to remove the adapter from the drive and your done. At the end, you can use the same case for the hard drive you remove from your PS4.
7. Replacing the hard drive of your PS4
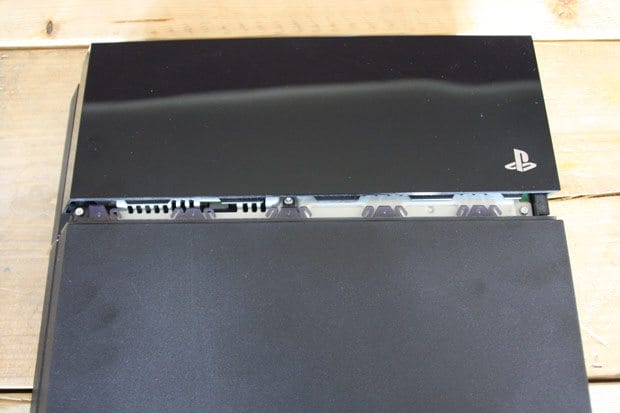
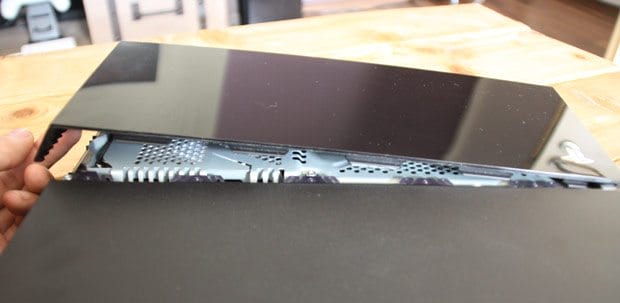
After shutting down your PS4 and unplugging all cables, remove the glossy part of the case. Simply push it with your hands out of its socket. This shouldn’t take much force.
Once the glossy part is off, you need to remove the screw which has the Playstation controller icons engraved in it.
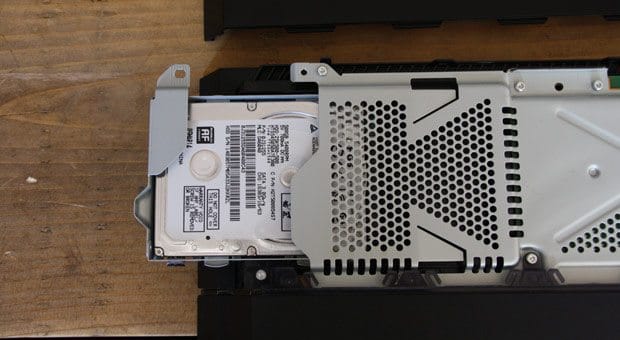
Now you can easily remove the hard drive by sliding it out of its socket. To get the hard drive out of its casing, you need to remove the four screws on its sides. Remove the hard drive and slide the new drive back in and put the screws back in.
Slide the new hard drive into your PS4 and fix it with the screw with the icons. Once that’s done put the glossy lid back on the PS4 and slide it back in.
8. Install the PS4 software
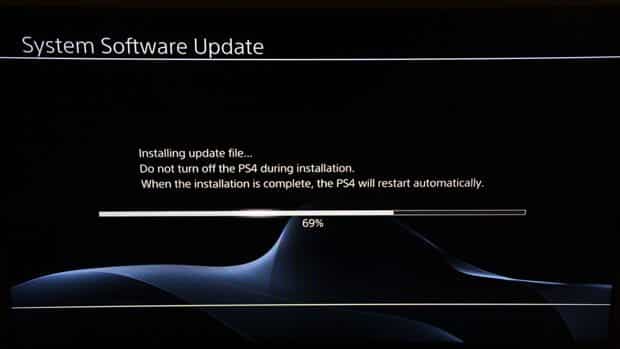
Now that the new hard drive is inside your PS4, you need to install the software which is on your USB drive. Plug in your USB drive and all cables into your PS4. Press and hold the power button for about 7 seconds until you hear a beep for the second time. Your PS4 will now boot into Safe Mode. All you need to do now is to select option number 7 “Initialise PS4” and press “X”. This will trigger the installation of the system software on your hard drive.
Once the installation is finished your PS4 will start up just like it did the very first time. Complete the steps of the initial setup and check out your new increased disk space.
9. Restoring your PS4 backup
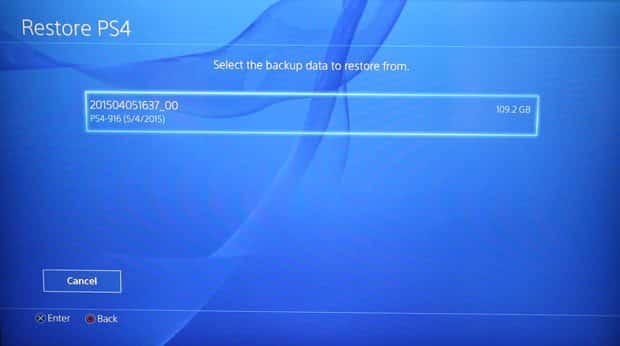
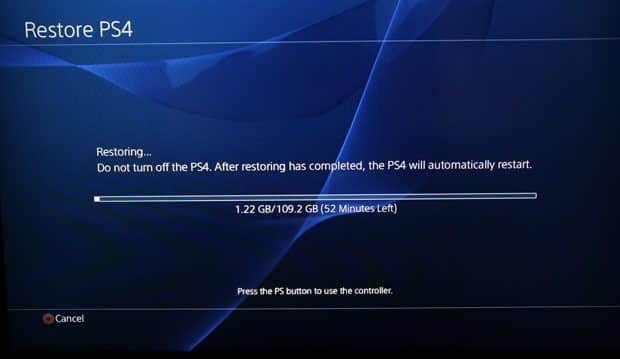
Now, the first thing you should do is to restore your backup. Plug in the external hard drive containing the backup files and go to Settings > System > Back up and Restore > Restore PS4. There should be one available option which you need to select. Your PS4 is now going to restore all backed up data which might take another couple hours depending on the size. My backup of 109.2GB, for example, took about an hour to restore.
Last words
Finally, as soon as the restoring process is finished, you’re able to play your games again! If you used an external hard drive for the replacement, you can use the case for the drive you removed. Simply connect the case’s adapter to the drive and close the case around it.
The last thing you need to do is connect your new external drive to your computer and format it. I hope you were able to replace your PS4’s hard drive without any problems. If you run into troubles or have questions, just leave a comment below. I do agree that it would seem excessive for there to actually need to be 3 hard drives involved altogether, because the original hard drive needs a target for the compressed (if at all) backup image taken from the original drive, which would be decompressed and pulled into the new drive, after the drives have been swapped out and the base-OS loaded. What’s odd to me about this is that the backup image itself doesn’t seem to include the OS, but rather just the contents of the user data (ie, the /home/ps4-user/ folder, or whatever it’s named inside the filesystem they use). The Flash drive shouldn’t be necessary, but I could see 3 hard drives, at least. Luckily, I have a full lab to work on things like that, and will probably do that upgrade this weekend. 🙂 Δ Contact Us :- trendblog.guest@gmail.com