These are not exclusively skills belonging to slick cop shows such as CSI Miami. Now any ordinary computer user can use file recovery tools as well. Obviously results will vary – some file recovery attempts will be better and easier than others. But in general, the earlier you delete it, the more chance you have of recovering it.
The Concept Of Deletion
Many people are under the mistaken impression that when you delete something, it is gone forever. Not at all. When you delete something, the computer merely removes the file from your view, and reallocates the file space back to you. So it only gives the illusion of being gone. In actuality, the file is still there, but hidden. You cannot view it again unless you have effective recovery software to bring it back. As you begin to add and delete more to your system, eventually your older deleted files will start to degrade. The computer will start overwriting the deleted files until you are left with only fragments. So the golden rule of file recovery is – start as quickly as possible with the recovery process, and try not to do too much else with the operating system in the meantime. Although you may end up with only fragments of a file, that’s not to say that government and law enforcement cannot get better results, if you have anything to hide. They obviously have much more advanced equipment and technology than the average Mr PC User.
How To Recover PC Files With The Free Windows Tool, Recuva
The program I prefer to use for all file recovery efforts is a free program called Recuva (a take on the word “recover”, if you haven’t already worked it out!). Recuva has a free option and a paid option, but I have always found the free option to work quite well. But if you want what they called “advanced file recovery” (whatever that is), you will need to open your wallet and shell out $25. Today though, we will be focusing on the free version of the program.
How Recuva Works
There are two caveats to Recuva which I should emphasize before I begin.
The Process
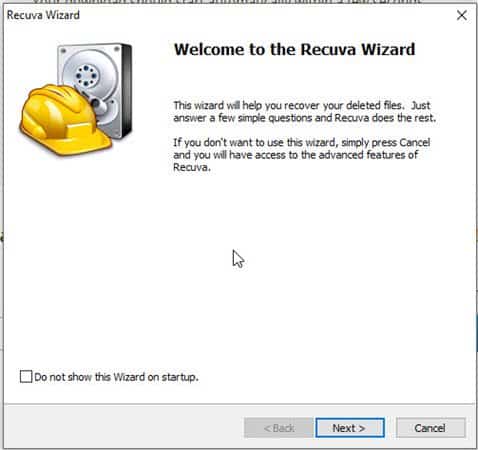
When you have installed Recuva for the first time, it will open up the Wizard. I would NOT recommend ticking the “Do not show this Wizard on startup” box, as you will soon see. Click “next” to continue.
The next screen will start to show you why that box should remain unticked. These screens are asking you what type of files it should focus on, and obviously this cuts down on processing time. If you tick that “do not show…” box, then you won’t be able to specify file types in the future. So say what type of file you are looking for. For the purposes of this article, I said “All Files“, so you can see what it can do. But your search will be more focused. As you can see, Recuva can look for a wide variety of file formats.
Now you need to specify where those files were originally. The nuclear option is “I’m not sure“, which checks everywhere (and which takes the longest). So it would be really helpful if you could narrow the search parameters a bit. You can choose certain devices, certain folders, the recycle bin, a disc, or a specific location. This last option is good if you want Recuva to check a USB stick or a camera SD card.
I would recommend clicking “Enable Deep Scan“. It will take longer, as the screen below says, but it will increase your chances of retrieving something. Now press “Start” for the search and recovery process to begin.
I have a lot of drives attached to my computer (5), so this is going to take a while. First, it will scan the drives and come back with how many files it has found so far. At 61%, it has found 1,344,593. That’s just over 1.3 million files. But it should be pointed out that not all of these files are recoverable. Some will be relatively intact while others will be decaying and falling apart. You will see this later.
When it is finished, click “advanced mode” in the top right hand corner and you will then see everything it has found.
Obviously if you searched by file type at the beginning, you won’t have all the dreck like logs and temp files. But this is just to give you a general indication of what it can do. Each file found is traffic-light colour-coded into three categories :
Red – You might have a chance. It’s worth a shot. Yellow – A slightly better chance. Go for it. Green – You have a very good chance of getting it back.
Narrowing The Search
To find what you are looking for, you can click the “Filename” heading at the top or click the “Last Modified” heading. The filename heading will alphabetize everything and the Last Modified heading will put the recently deleted ones at the top. This is helpful if you deleted the files a few moments ago. Here is a photo of my dog which I deleted.
To get it back, tick the box to the left and then the “Recover” button in the bottom right-hand corner of the screen. It will then ask you where you want it saved and hey presto, it’s there.
Conclusion
There are other, more robust, options out there on the market. But they are very expensive and probably only good for things you are utterly desperate not to lose. It’s worth trying Recuva first though – they have a high success rate and are free. Δ Contact Us :- trendblog.guest@gmail.com