In this project, the driver will be indicated with a beep of a buzzer while reverse parking. A small ultrasonic sensor will be attached above the rear number plate that will calculate the distance of the car from the object behind. If the distance decreases a specific range, it will beep a buzzer and let the driver know when to stop.
How to Set Up a Car Parking Sensor in Your Car?
Now, let us move forward and gather further information to start our project.
Step 1: Collecting the Components
Before we start working on this project, making a list of components, that will be used, and studying them is always a good approach. So below are the components that we are going to use in this project.
Step 2: Studying the Components
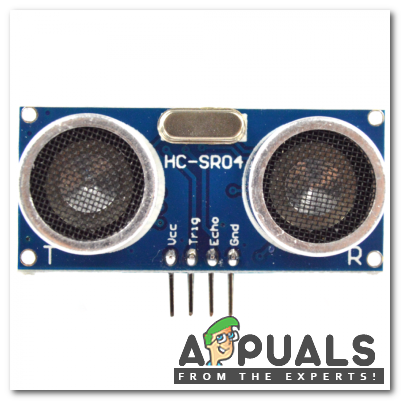
Now all the components that will be used in this project are known, let’s study them a little bit so that we know how these things are working. Arduino Uno is a microcontroller board that is used to perform various tasks in different circuits. It needs a Code in C language to operate. We are using the Arduino Uno board in this project but you can also use Arduino Nano or a Node MCU. HC-SR04 board is an ultrasonic sensor which is used to determine the distance between two objects. It consists of a transmitter and a receiver. The transmitter converts the electrical signal into an ultrasonic signal and the receiver converts the ultrasonic signal back to the electrical signal. When the transmitter sends an ultrasonic wave, it reflects back after colliding with a certain object. The distance is calculated by using the time, that ultrasonic signal takes to go from the transmitter and come back to the receiver.
Step 3: Making the Circuit
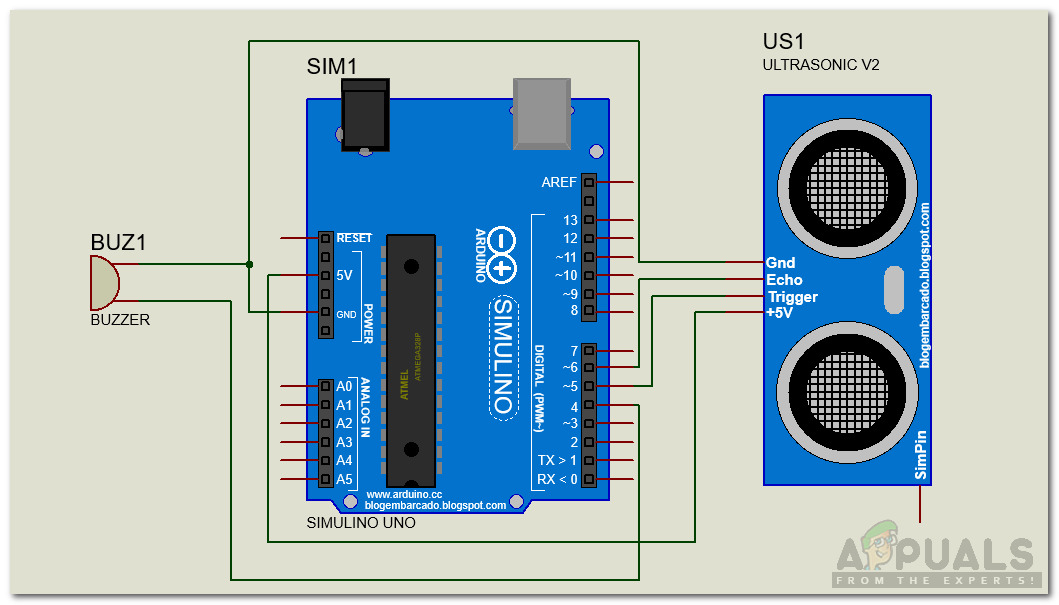
Now, as we know how the components work, let’s go ahead and assemble theses components together and make a circuit as shown below. The Ultrasonic sensor is powered by 5V through Arduino, its trigger pin connected to the Pin5 and Echo pin s connected to the Pin6 of the Arduino. The buzzer is connected to the Pin4 of Arduino. Now we will set these components in our car. Attach the HC-SR04 module above your number plate and make a way for the connecting wires through the hatchback of your car to the inside rear of the car close to the speakers. Put the rest of the circuit in a small plastic box and place it in the rear of the car near the speakers. Now take a small piece of connecting wire and connect Vin pin of Arduino to the positive terminal of the Speaker.
Step 4: Getting Started with Arduino
If you are not already familiar with Arduino IDE, don’t worry, because here is the procedure to burn a code on Arduino using the IDE. First, download the latest version of Arduino IDE from Arduino Click here to download the code.
Step 5: Code
The code is very simple but it is explained below. 1). All the pins of Arduino that will be used are initialized at the start. 2). void setup() is a function that defines the pins of Arduino to be used as INPUt or OUTPUT. It also sets the baud rate, which is the communication speed of the microcontroller board. 3). void loop() is the function that runs continuously in a cycle. In this loop, the ultrasonic signal is transmitted and the distance is calculated by using the duration of travel. If the distance is less than 100cm, the buzzer will beep. This was the whole procedure to make a low-cost and efficient parking sensor for your car. Now you can enjoy making your own parking sensor at home.
How To Make A Security Alarm Using PIR Sensor And Arduino?How To Make A Smoke Alarm For Your Kitchen Using Arduino?How To Make A Digital Thermometer Using Arduino?How To Make Obstacle Avoiding Robot Using Arduino?