Step 1: Requirements for Installation of Windows
There is a special type of BIOS on Chromebooks for Chrome OS. To install Windows, you have to consider the following things. During this installation process if your Chromebook ever appears to freeze or become stuck you can force the Chromebook to shut down by holding down the Power button for ten seconds or so.
Step 2: Can it be done for Your Chromebook?
Windows cannot be installed on every Chromebook but only in specific models. Installation instruction for Windows on different models will be different and you have to follow instructions for your Chromebook model. Follow these helpful resources: The Windows installation process will be similar for many models of Chromebook, but some things e.g. the location of the write-protect screw on the motherboard can be a bit different.
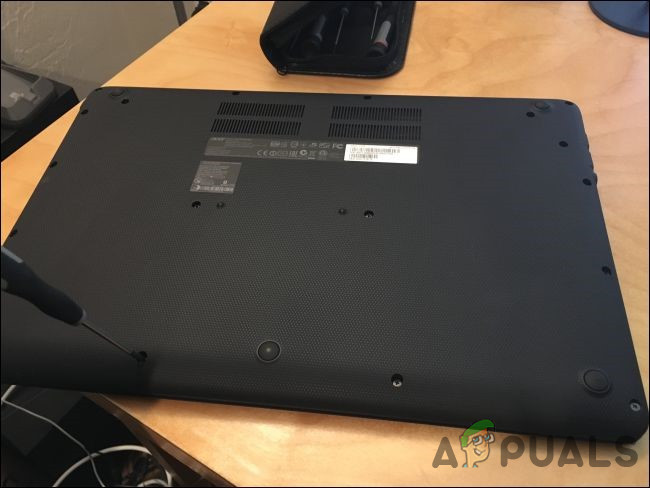
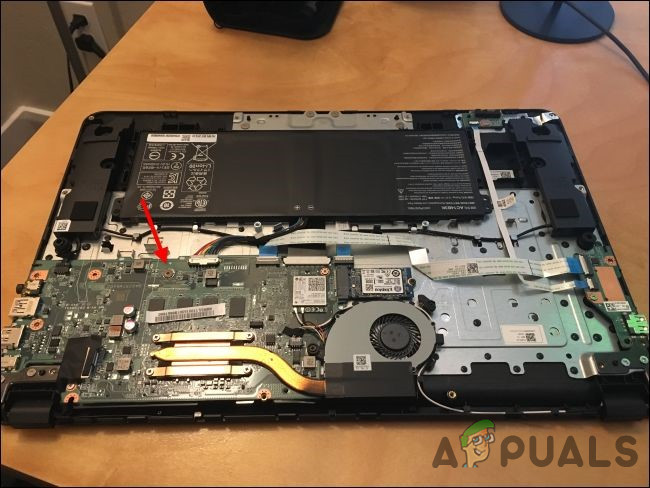
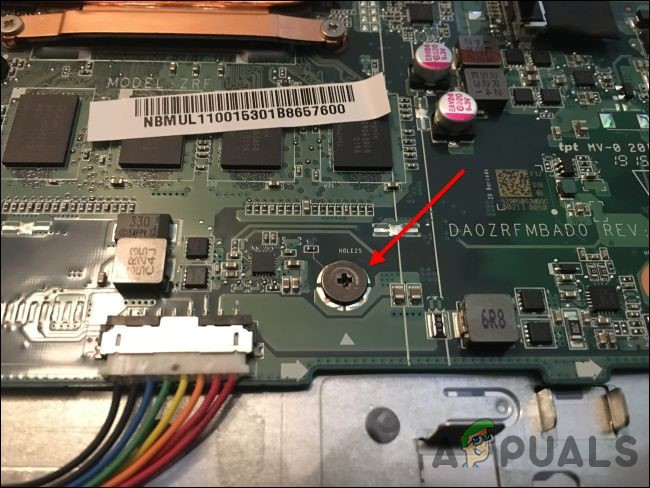
Step 3: Remove the Write Protect Screw
BIOS of Chromebook is locked by a special hardware feature that prevents you from modifying it, called write protect. To disable this feature, you will have to open up the Chromebook, locate the write-protect screw, and remove it. On some Chromebooks, there will be a write protection switch instead of a write-protect screw.
Step 4: Enable Developer Mode
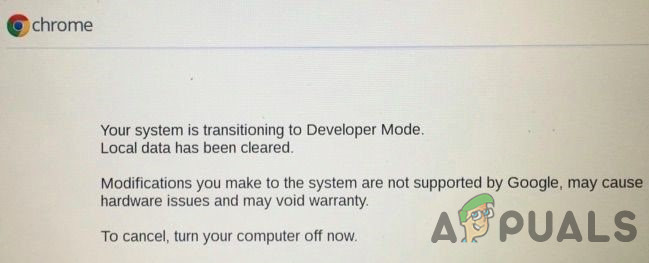
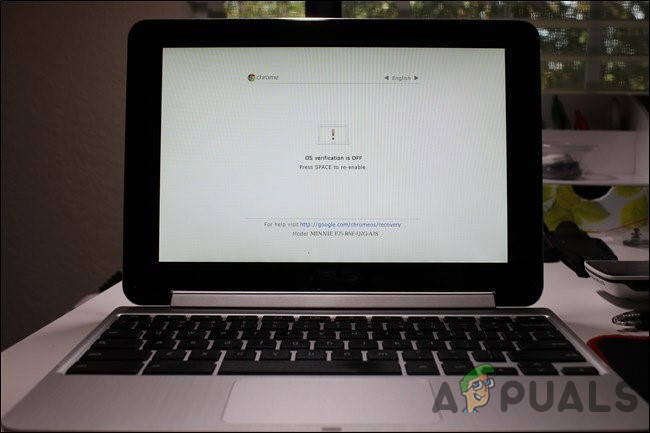
Now “Developer Mode” is to be enabled on your Chromebook. Chromebooks are locked down for security purposes and will only boot if the operating system is properly signed after checking the OS for tampering and preventing users and applications from modifying the Chrome OS. In Developer Mode you can disable all these security features, so you have a laptop to tweak and play with to your heart’s content. When Developer Mode is enabled, you’ll be able to access a Linux terminal within Chrome OS and do whatever you like. There are two quick warnings you should understand: To enable developer mode on modern Chromebooks, hold down the Esc and Refresh keys and tap the Power button to enter recovery mode. In Older Chromebooks, there were physical developer switches that you’ll need to toggle instead. So, when at the recovery screen press Ctrl+D to agree to the prompt, and you’ll boot into developer mode. Now, whenever you will boot your Chromebook, a warning screen will show. To continue boot either you have to press Ctrl+D or wait for 30 seconds so that warning could disappear. This warning screen is to alert the user that the Chromebook is in developer mode and normal security measures are not intact.
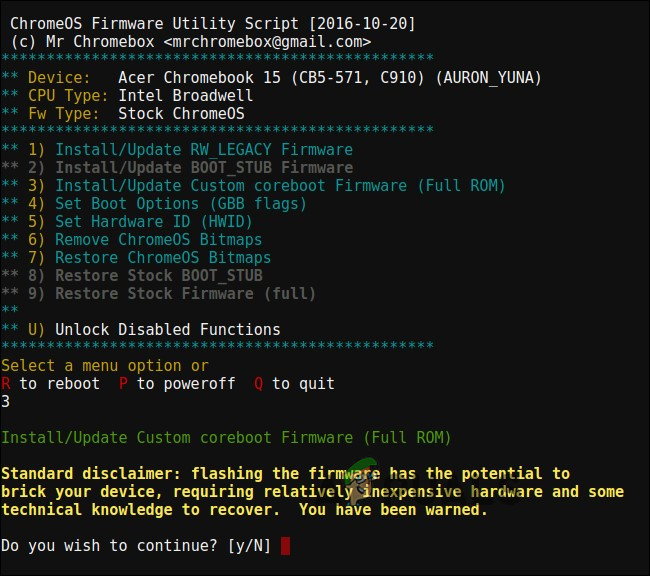
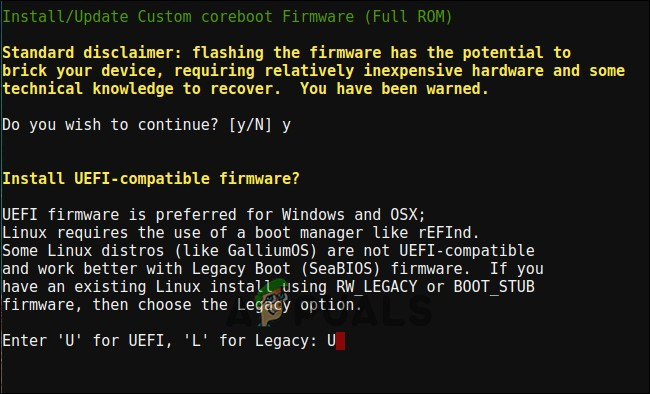
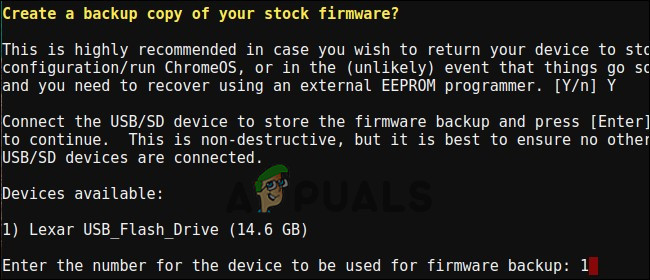
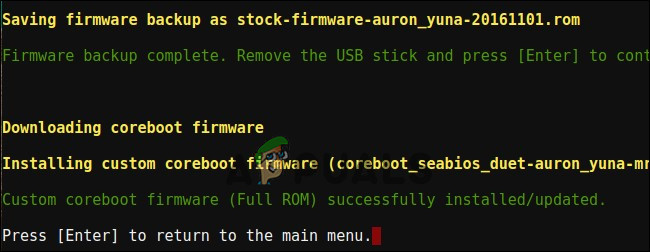
Step 5: Flash the BIOS of Chromebook
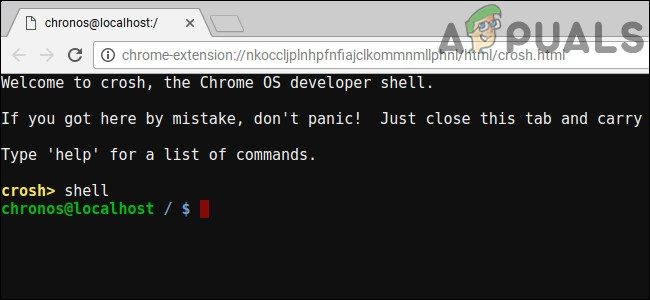
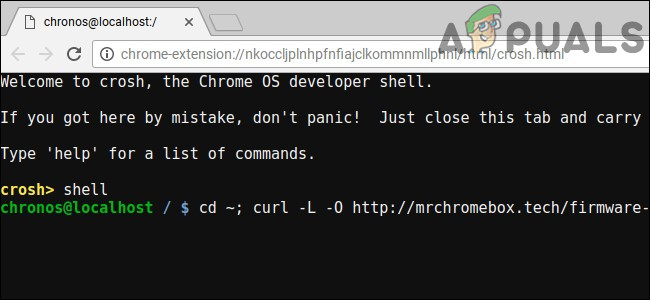
Now you can flash your Chromebook’s BIOS From within Chrome OS. To open the terminal window, press Ctrl+Alt+T. This command will change your home directory, download the script file and will run with root privileges. Consult the developer’s website if you want more details about the working of this script.
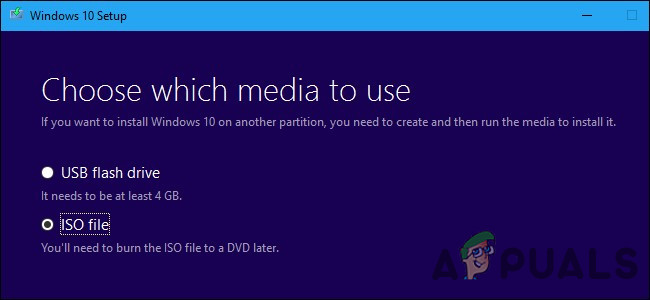
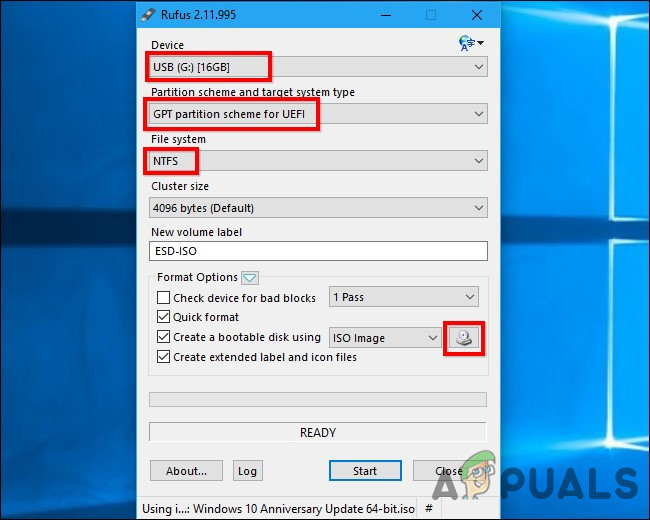
Step 6: Create a Windows Installation Drive
To install Windows onto Chromebook you will have to make the Windows installation media first. But it cannot be done by using Microsoft’s official method, instead, you will download an ISO and burn it to a USB drive using a tool “Rufus” for which you will use a Windows PC.
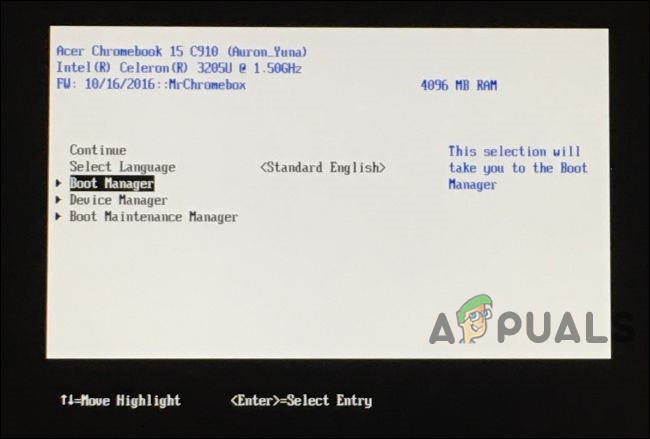
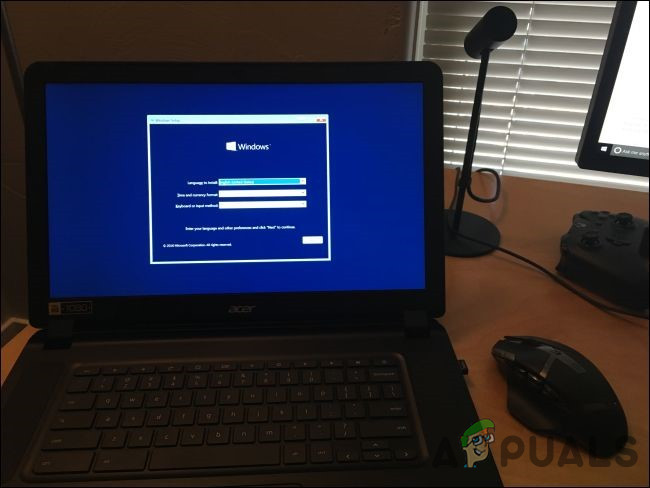
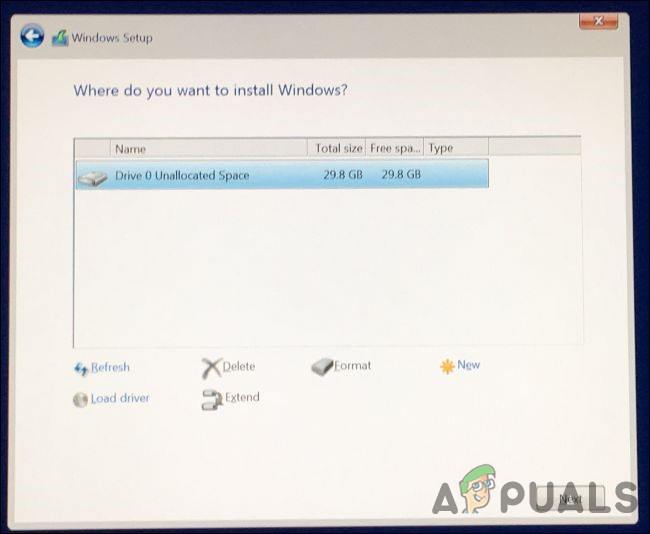
Step 7: Install Windows
Now it is time to install Windows on your Chromebook.
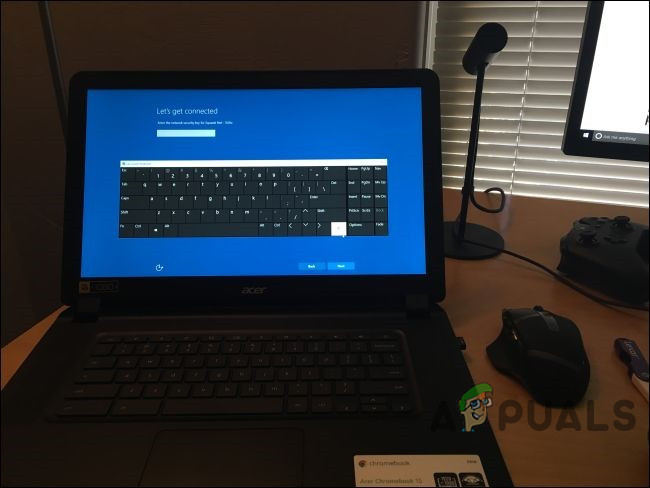
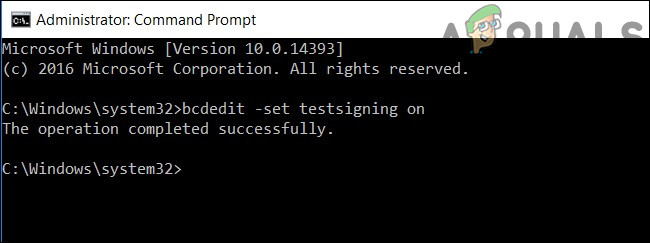
Step 8: Install Third-Party Drivers for Your Hardware
Now Windows should have been installed and the Chromebook will boot into Windows. You’re nearly there! You just have to install third-party drivers to make most out of the hardware of the Chromebook. USB keyboard and mouse will be needed for this. These third-party drivers aren’t properly signed and Windows normally do not allow installation of these drivers, for which, we will enable a feature called “test signing”. This feature is designed for driver testing. Hurrah! There it is you, now you turn your Chromebook in a very inexpensive, (hopefully) Windows PC. If something is not working as expectations, be sure to check with the helpful sources provided above to see if you need to install the new drivers or fix something that updating of Windows has broken.
How to Install iTunes on Chromebook Easily?Windows 10 20H1 2004 Blocked By Windows Security App? Here’s A Solution To…How to Run Windows Software on a ChromebookHP Announces its premium Chromebook x360 14c; Pricing starts at $499