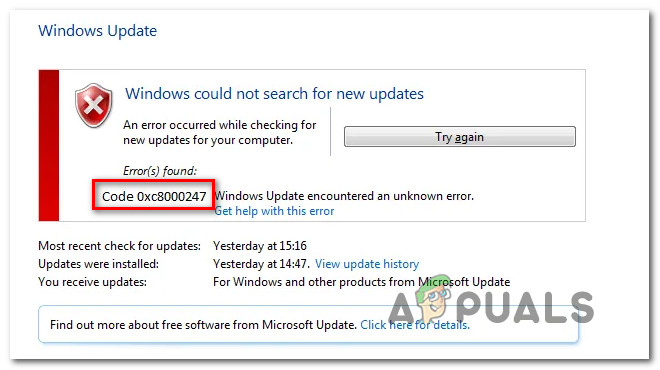
What’s causing the Windows Update Error 0xc8000247?
We investigated this particular issue by looking at various user reports and the repair strategies that are commonly being used to resolve this error message. As it turns out, several different scenarios will trigger the Windows Update Error 0xc8000247. Here’s a shortlist with culprits that might be responsible: If you’re also encountering this issue and you’re looking for a fix, this article will provide you with several troubleshooting guides that should help you to identify and resolve the problem that’s ultimately throwing this error. Down below, you’ll find a collection of potential fixes that have been confirmed to be effective by at least one affected user. For the best results, we advise you to follow the methods in the same order that we arranged them in since they are ordered by efficiency and difficulty. Eventually, you will stumble upon a fix that will resolve the issue regardless of the culprit that’s facilitating the apparition of this issue.
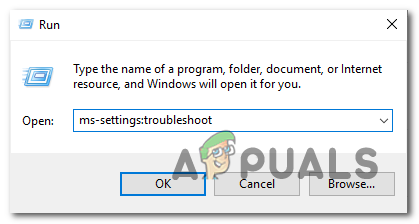
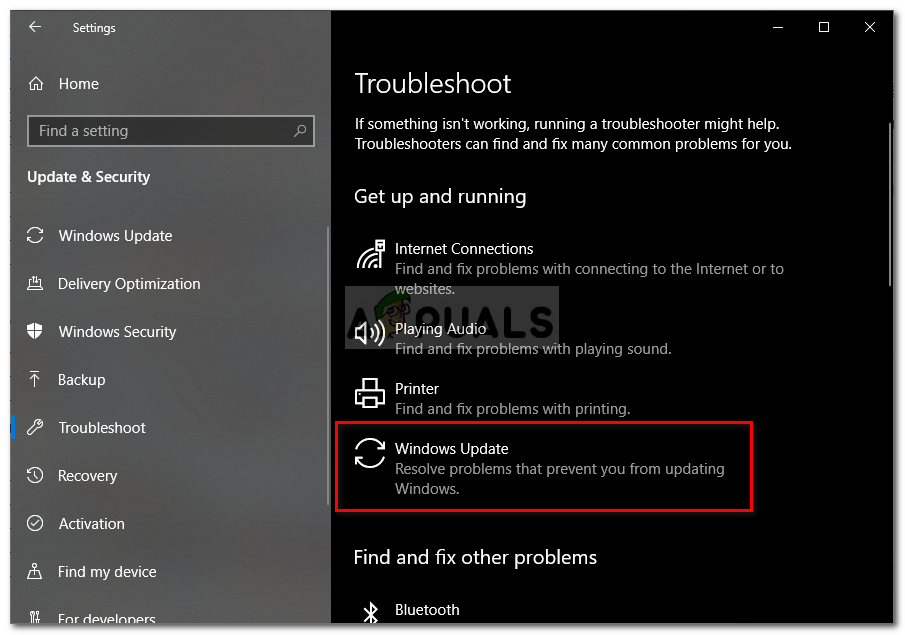
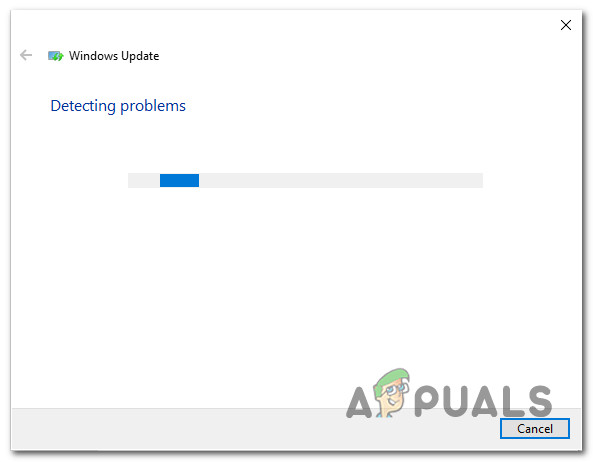
Method 1: Running the Windows Update troubleshooter
Before we explore other advanced repair strategies, let’s see if your Windows is not capable of resolving the issue automatically. Several users that we’re facing this exact issue have managed to resolve the Windows Update Error 0xc8000247 by running the Windows Update troubleshooter. This built-in utility contains dozens of repair strategies that will be applied automatically if a viable inconsistency is found. In case the utility finds a viable repair strategy, it will automatically recommend a viable fix that you can apply with a simple click. Here’s a quick guide on running the Windows Update troubleshooter to resolve the Error 0xc8000247 on Windows: If the Windows Update Error 0xc8000247 is still occurring or the troubleshooter didn’t find a viable repair strategy, move down to the next potential fix below.
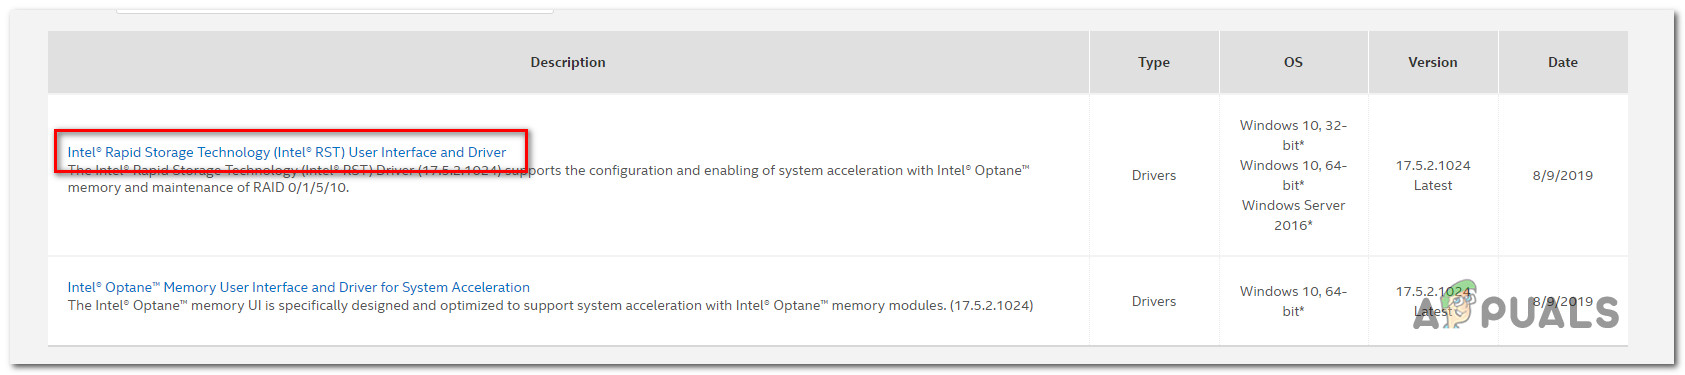
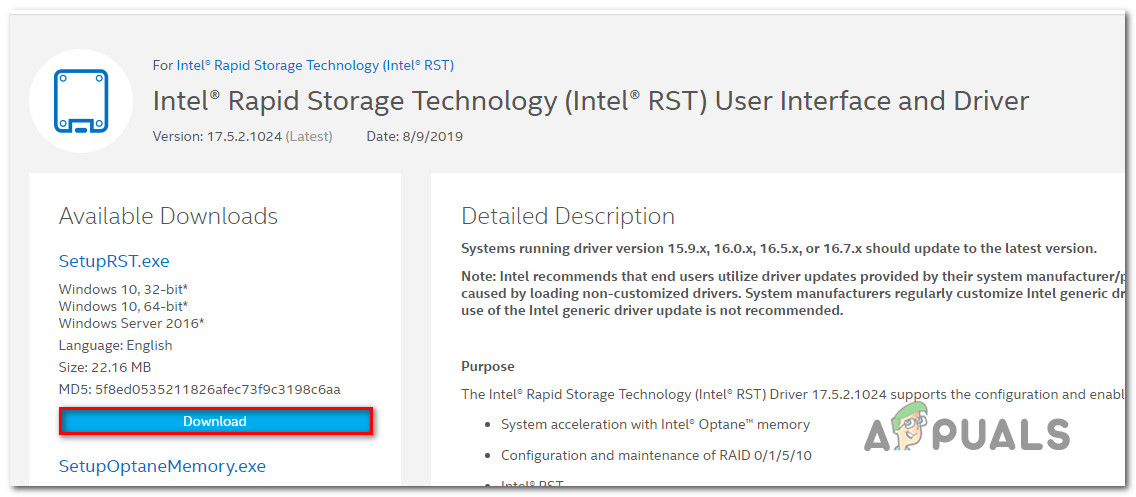
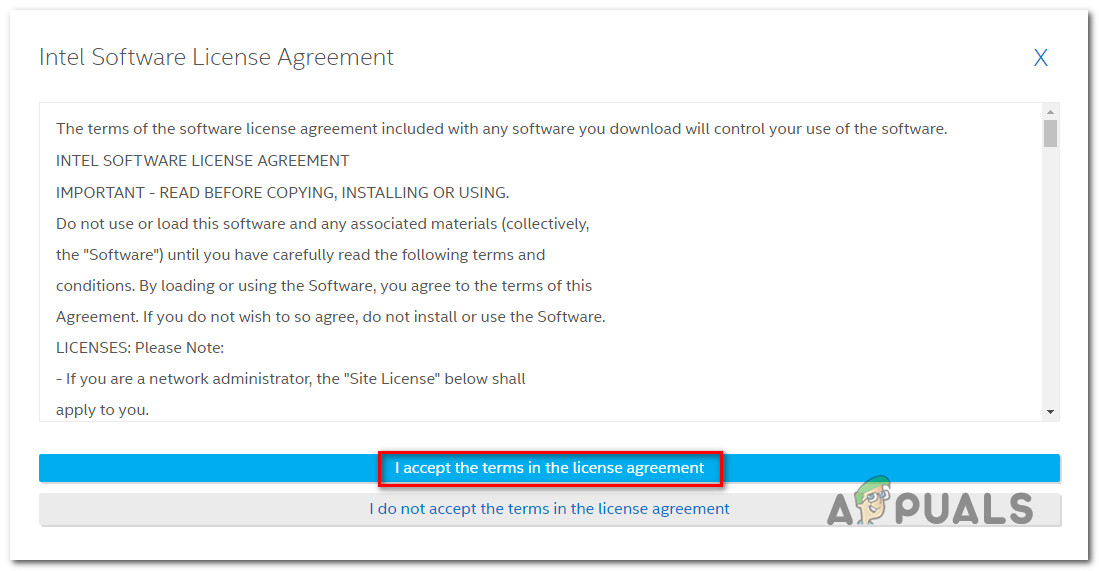
Method 2: Updating the IRST Driver
Some Windows users that were encountering this issue on Windows 7 have reported that they were able to resolve the issue by updating the Intel Rapid Storage Technology Driver (IRST). This particular fix seems to mostly be applicable in instances where this Windows Installation has been obtained after the user has cloned the HDD using Acronis True Image or a similar utility. This particular issue is mostly reported to occur with Western Digital (WD) drives. If the scenario that you’re facing is similar to this, you should be able to resolve the issue by updating the Intel Rapid Storage Technology Driver (IRST) to the latest version. Here’s a quick guide on how to do this: If the same Windows Update Error 0xc8000247 when you try to install an update, move down to the next method below.
Method 3: Uninstall interfering 3rd party application (if applicable)
As it turns out, this particular error code can also occur due to an overprotective AV suite. Judging by the user reports, there are several security suites that might trigger the Windows Update Error 0xc8000247 after they block the communications between the end-user PC with the WU server. Norton, McAfee, and Avast are often pointed out by users for causing this is behavior. If you’re using a 3rd party AV and you suspect that it might be responsible for the failed update/s, you should be able to resolve the issue by either disabling the real-time protection while the update is installing or by uninstalling the security suite altogether and reverting back to the built-in AV (Windows Defender). If this scenario is applicable, you should start by uninstalling the real-time protection of your 3rd party AV. But depending on which 3rd party security suite you’re using, the steps will be different. However, in more cases, you can do this by right-clicking on the taskbar icon. As soon as you manage to disable the real-time protection, try to install the update normally and see if you’re still getting the same issue. In case the issue is still occurring, you should try uninstalling your 3rd party antivirus altogether while ensuring that you’re not leaving behind any leftover files that might still cause this behavior. To do this, follow the steps in this article (here) to ensure that you install the 3rd party AV along with any remnant files. If the same 0xc8000247 error is still occurring after you’ve followed the instructions above (or this method wasn’t applicable), start following Method 4 below.
Method 4: Reset all WU components
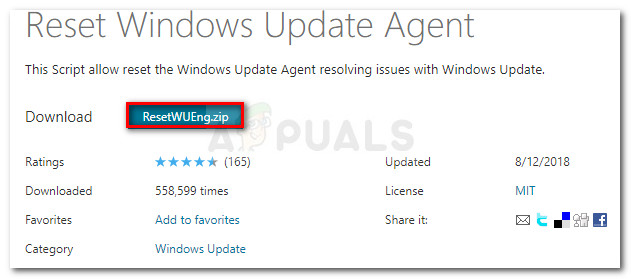
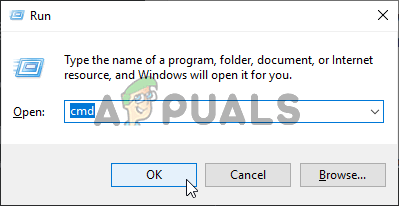
As it turns out, this particular issue might also occur due to a WU (Windows Update) but that occurs whenever an important component becomes stuck in a limbo state (your OS thinks it’s operational but in fact, it’s not). Several Windows users that were also encountering the 0xc8000247 error have managed to resolve this issue by resetting all WU components that were involved in this operation. When it comes to achieving this, you have two ways forward- you either go for the automated approach by running the Windows Update Agent or you do the steps manually via an elevated Command Prompt Follow whichever guide you feel more comfortable with:
Resetting all Windows Update components via the Windows Update Agent
Resetting all Windows Update components via an elevated Command Prompt
In case you’re still encountering the 0xc8000247 error, move down to the next method below.
Method 5: Running DISM and SFC scans
As it turns out, another potential culprit that might be responsible for the 0xc8000247 error is System File corruption. Since WU relies on a lot of dependencies, there are a lot of system files that might trigger this behavior if certain files become affected by corruption. Several users that were also affected by this issue have managed to resolve it by running a couple of utilities designed to fix logical errors and system file corruption – DISM (Deployment Image Servicing and Management) and SFC (System File Checker). SFC replaces corrupted files by using a local archive to replace corrupted instances with healthy copies, while DISM relies on the WU component to download healthy copies to replace bad data. DISM is better at fixing WU related components, while SFC is better with fixing logical errors – that’s why is recommended to deploy both scans. Here’s a quick guide on running both an SFC and DISM scans from an elevated CMD window to resolve the Windows Update 0xc8000247 error: If the same 0xc8000247 error is still occurring when you try to install a Windows Update, move down to the next method below.
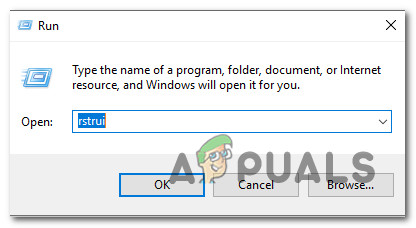
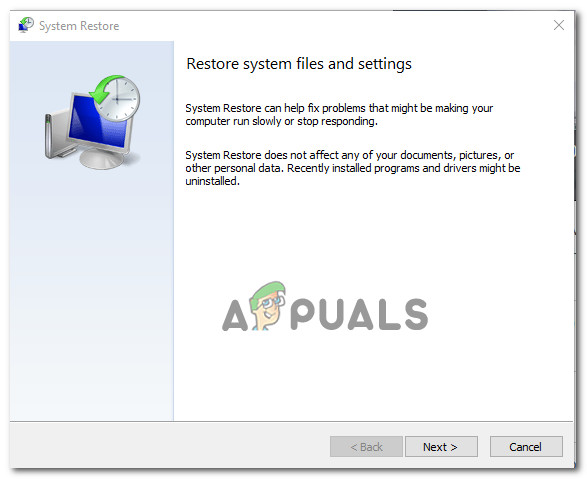
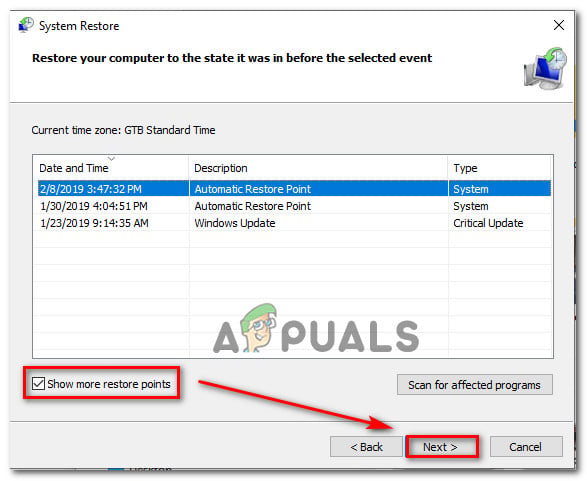
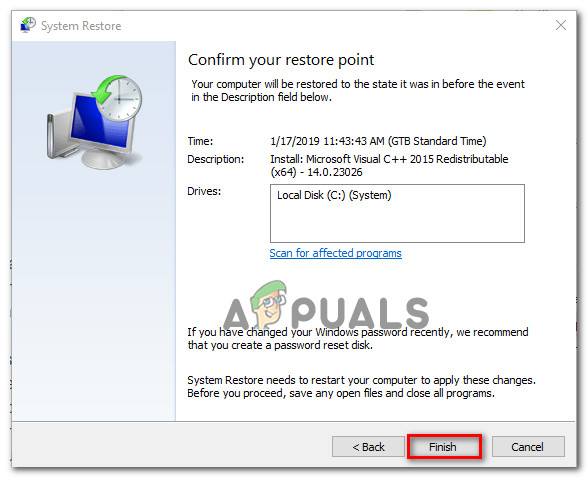
Method 6: Using the System Restore
If you only started experiencing this behavior recently, it’s entirely possible that the issue started occurring due to a change that ended up affecting the updating component. In situations like this, you can avoid any radical approach by starting with a damage-controlled approach – System Restore is a perfect way to start. System Restore is a utility that is capable of using a previously saved snapshot to restore your computer state to an older point in time. By default, Windows is configured to save System Restore snapshots at important reports such as a critical update installation or a driver update. So unless you modified the default behavior of System Restore, you should be able to follow the instructions below. But before you start using the System Restore to restore your computer to a healthy state, consider the fact that any change you made after the snapshot was created will also be lost. This includes any installed apps or drivers, 3rd party or Windows native. If you understand the circumstances and you still want to go through with this procedure, follow the instructions below: If you’re still encountering the same 0xc8000247 error, move down to the final method below.
Method 7: Perform a repair install / clean install
If none of the methods above have allowed you to bypass the 0xc8000247 error and install one or more Windows Updates, you can conclude that your issue is caused by an underlying system corruption issue that can’t be fixed conventionally. Several users that were facing a similar issue have reported that the issue was fixed after they refreshed every Windows component. This can either be achieved by an in-place repair (repair install) or by a clean install. Doing a clean install is a more straight-forward solution, but keep in mind that it won’t allow you to keep your files (applications, games, personal media, etc.) unless you back them out first. On the other hand, if you decide to go for a repair install, the procedure is a little more tedious, but it will allow you to keep all your files including applications, games, personal media, and even some user preferences.
Fix: Windows Update Error “We Couldn’t Connect to the Update Service”[SOLVED] One of the Update Services is not Running Properly in Windows UpdateLast Free Update For Windows 7 Released, KB4534310 And KB45343140 Are The Final…How to Update the Windows Update Agent to the Latest Version