After investigating this particular issue thoroughly, it turns out that there are several different causes that might trigger the apparition of this error. We’ve compiled a shortlist of potential culprit so you know exactly what culprits might be responsible for this error: Now that you know every potential culprit, here’s a list of confirmed methods that other affected users have successfully used to fix the 0x800705b3 error code and complete the installation of the pending update.
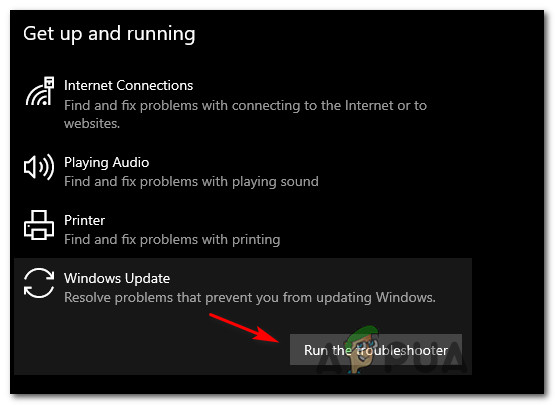
Method 1: Running the Windows Update Troubleshooter
The majority of users that were dealing with this issue reported that the issue was fixed after they ran the Windows Update Troubleshooter and applied the recommended fix. This is a utility the includes a variety of automated fixes that you can apply with a single fix. If the issue causing the 0x800705b3 error is already covered by a repair strategy, you should be required to do much more than gong after the recommended fix. Follow the instructions below to open and configure the Windows Update Troubleshooter, then apply the fix that’s capable of correcting the issue: If the same issue is still occurring, move down to the next potential fix below.
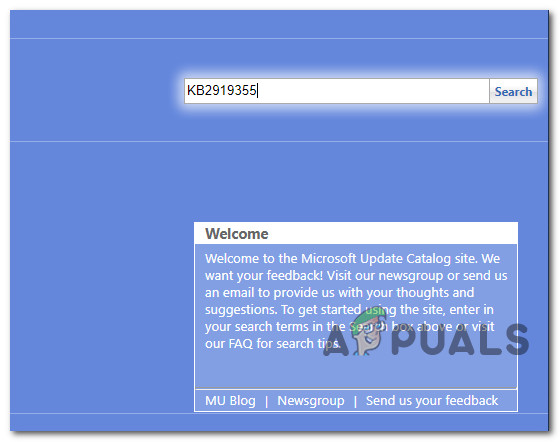
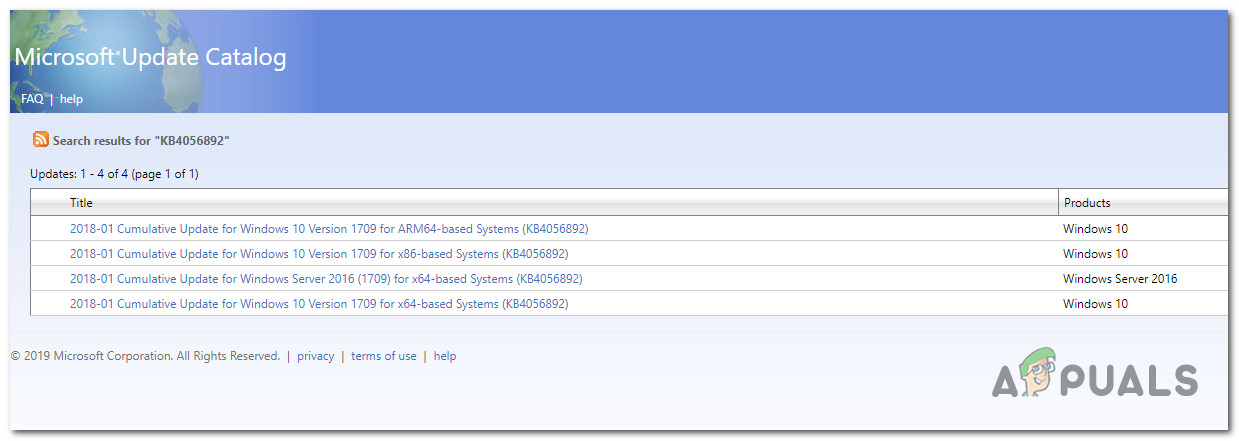
Method 2: Installing the pending Update Manually
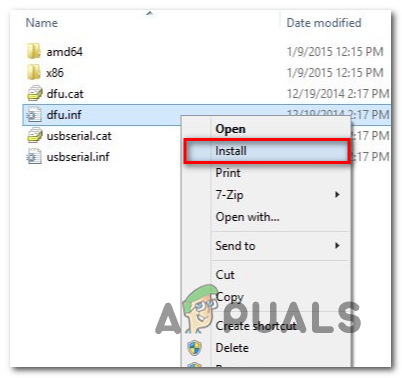
In case running the troubleshooter didn’t allow you to fix the issue in your case, chances are you’re dealing with some inconsistency affecting the Windows Update component and preventing it from completing the installation of new driver versions. Whether you’re experiencing this issue with an integrated webcam driver or with anything else, chances are you’ll be able to circumvent the apparition of the 0x800705b3 error by using the Microsoft Update Catalog to find, download and install the pending update manually. If you haven’t tried this fix already, follow the instructions below to download & install the update that is failing with the 0x800705b3 error via the Microsoft Update Catalog: If installing the problematic Windows Update via the Microsoft Update Catalog yields the same error code, move down to the next potential fix below.
Method 3: Enabling the Windows Installer Service
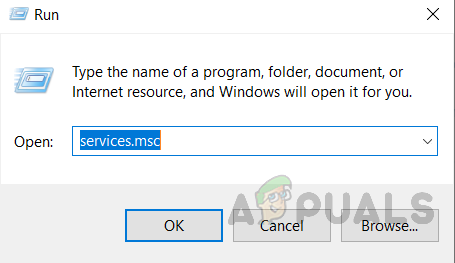
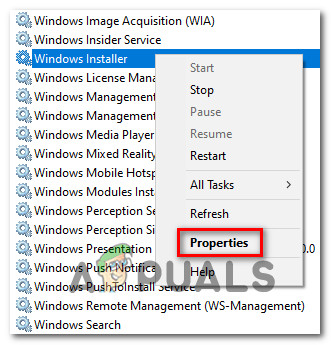
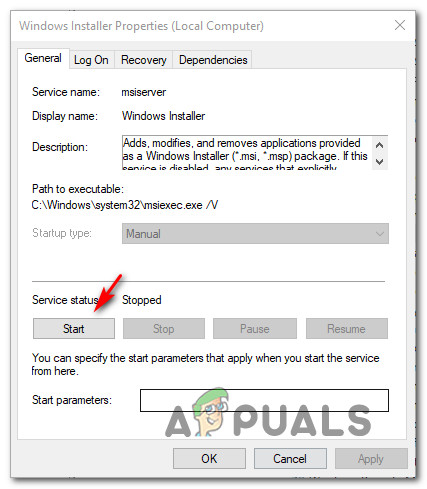
In case every pending Windows Update that you try to install ends up failing with the same error code, take the time to ensure that the main service that handles these types of tasks is enabled. The Windows installer service is responsible for installing pending updates that get downloaded by the Windows Update component. If this service is disabled on your configuration, none of the updates waiting to get installed will get completed. If you find yourself in this situation, you should be able to fix the issue by accessing the Services screen and modifying the current startup type of the Windows Installer services. To do this, follow the instructions below: In case the same problem is still occurring, move down to the next potential fix below.
Method 4: Performing a Winsock Reset
In case the 0x800705b3 error is related to some kind of network inconsistency (TCP or IP related), you might see Windows Updates failing due to bad data that forces the Windows to abort the installation of new pending updates. In this case, you should proceed by doing a complete Winsock reset procedure to fix the majority of the socket and temporary data-related issues that might cause this behavior. Several affected users have confirmed that this method was the only thing that allowed them to finally fix the Windows Update issue and install pending updates normally. Here are some step-by-step instructions that will walk you through the process of performing Winsock Reset: In case the same problem is still occurring, move down to the next potential fix below.
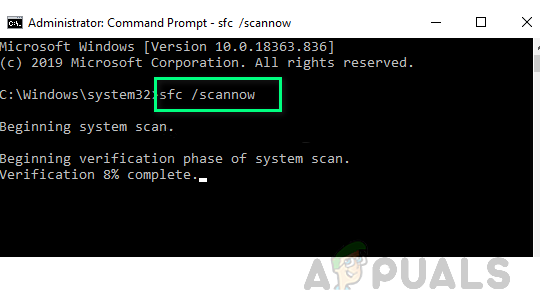
Method 5: Performing SFC and DISM Scans
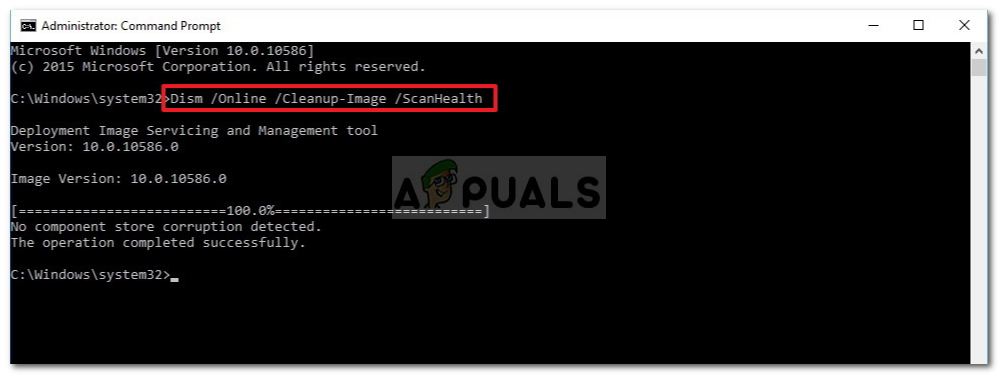
If none of the ‘superficial’ causes have worked in your case, you should start considering some type of system corruption that might affect your computer’s ability to complete pending updates that are currently waiting to be installed. In case you find yourself in this particular scenario, you should run a couple of built-in utilities capable of fixing corrupted instances that might be currently affecting the Windows Update component. Our recommendation is to start with a simple System File Checker scan. An SFC scan will cross-check every Windows File against a local archive that maintains healthy copies. In case corrupted instances are found, this utility will swap the corrupted instance with the healthy equivalent. Once the SFC scan is complete, reboot your computer and wait for the next startup to complete. After your computer boots back up, initiate a DISM scan. This utility works differently in the sense that it relies on a sub-component of Windows Update to download healthy copies for the corrupted Windows files that need to be replaced. Because of this, it’s important to make sure that you have a reliable Internet connection before initiating this operation. After the DISM scan is complete, reboot your computer one final time and see if the issue is fixed once the next startup is complete. In case you are still dealing with the same 0x800705b3 error code, move down to the next potential fix below.
Method 6: Resetting every Windows Component
In case none of the methods above have worked for you, chances are your system is currently dealing with some type of system file corruption that cannot be resolved conventionally or with the built-in utilities included with your Windows installation. If you’ve reached this point with no resolution, the only viable fix at this point is to go for a procedure that will effectively reset every Windows component completely with a procedure like clean installing or repair installing (in-place repairs). Depending on your particular scenario, you might want to choose one over the other. For example, if you’re currently holding important information on the OS drive, you should really consider going for a repair install. Sure, this procedure is a little tedious, but the main advantage is that you get to keep all your personal files, applications, and personal media that you’re currently storing on the Windows drive. The main drawback of this method is that you will likely need a compatible installation media in order to start this process. On the other hand, if you have already backed up your data and you are not afraid of wiping your OS drive, a clean install should be your preferred approach. This method is way fast and you can start it directly from the installation GUI menu of your Windows installation without inserting or plugging in a compatible installation media.
Fix: Windows Update Error “We Couldn’t Connect to the Update Service”[SOLVED] One of the Update Services is not Running Properly in Windows UpdateLast Free Update For Windows 7 Released, KB4534310 And KB45343140 Are The Final…How to Update the Windows Update Agent to the Latest Version