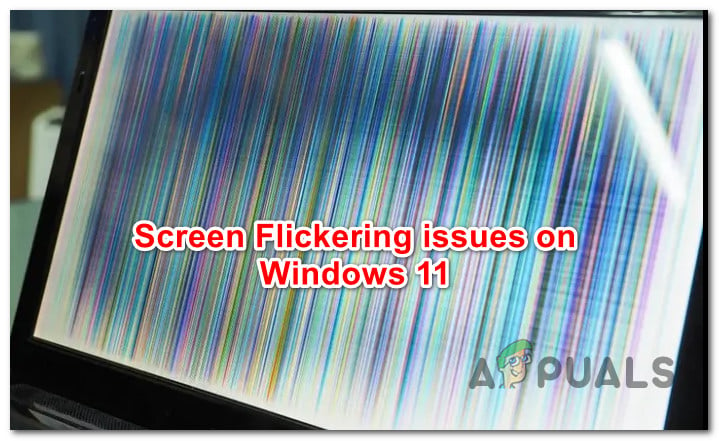
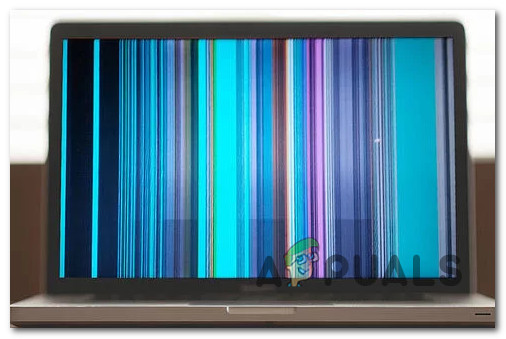
After looking into this issue, we realized that this problem can be rooted in several different components of Windows 11. Here’s a list of culprits that you should investigate if you’re dealing with this error: Now that we went over every potential culprit, let’s get to the actual fixing part. But instead of following every fix featured below, there’s a way to pinpoint the problem by utilizing Task Manager.
Investigating the source of the screen flickering issues on Windows 11
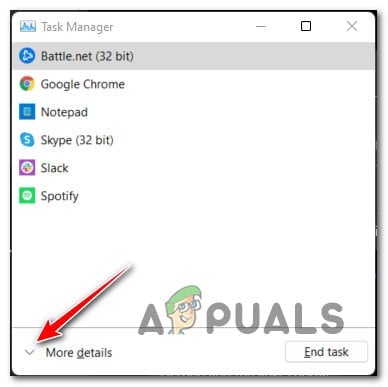
According to Microsoft, the best way to uncover which software or hardware component is causing the issue is to use Task Manager. Start by pressing Ctrl + Shift + Enter to open up Task Manager. Note: If the simple interface of Task Manager opens by default, click on Show More details to expand to the Expert interface. Once you’re inside the Expert interface of Task manager, look for the following behaviors:
If Task Manager is flickering along with everything else on the screen, the display driver that you’re actively using is most likely responsible for this issue. To fix this problem, you will need to update or reinstall your display driver. If Task Manager doesn’t flicker while the rest of your screen is, most likely an incompatible app is causing the problem. In this case, you should be able to sort the issue out by updating or uninstalling the incompatible app that’s responsible for the issue.
Note: This troubleshooting will not cover every potential scenario, but it will allow you to focus on the most common causes for this weird Windows 11 behavior. If the first scenario is applicable, follow the first method below to update or reinstall your graphics driver.
1. Update or Reinstall the Graphics Driver
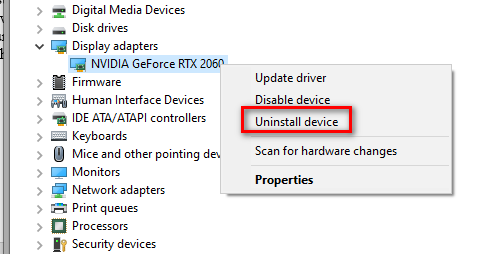
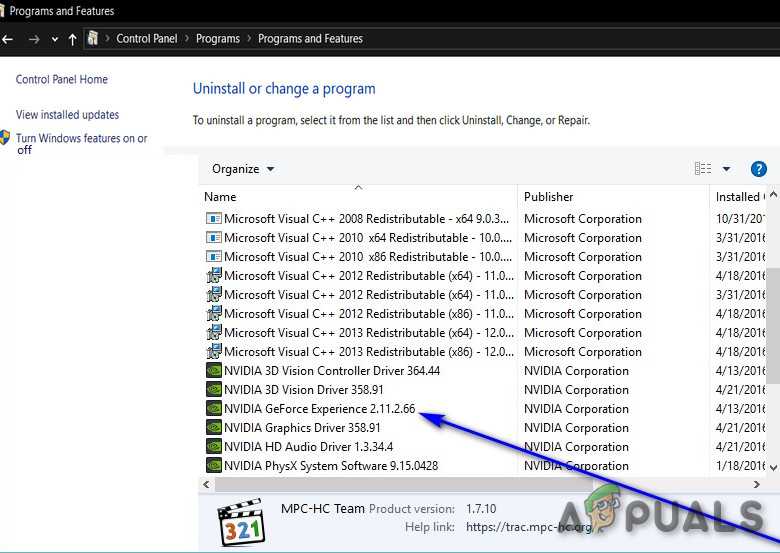
A partially corrupted display driver or an old display driver version (not fully compatible) that was migrated from Windows 11 are two of the main reasons why users experience screen flickering on the newest operating system from Microsoft. Several users that we’re also dealing with this problem have confirmed that the issue finally went away after they manually uninstalled the graphics driver (and every associated dependency) and reinstalled the latest version using the official channels. If you’re not certain how to do this, follow the instructions below: If the problem is still not fixed, move down to the next potential fix below.
2. Clean Boot your PC & identify the conflicting app
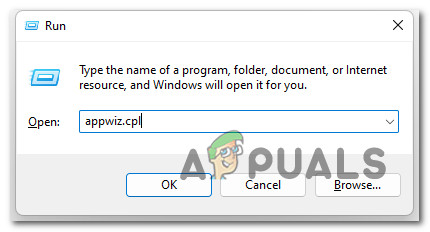
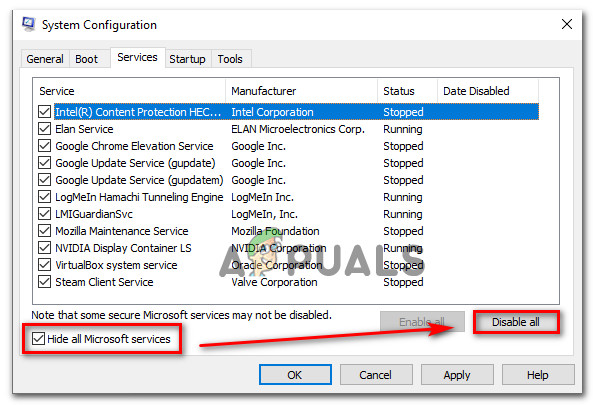
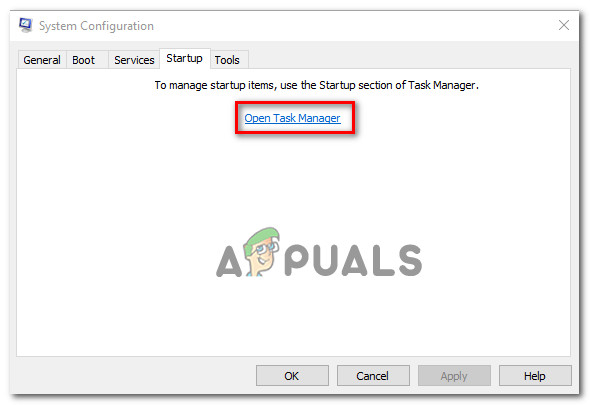
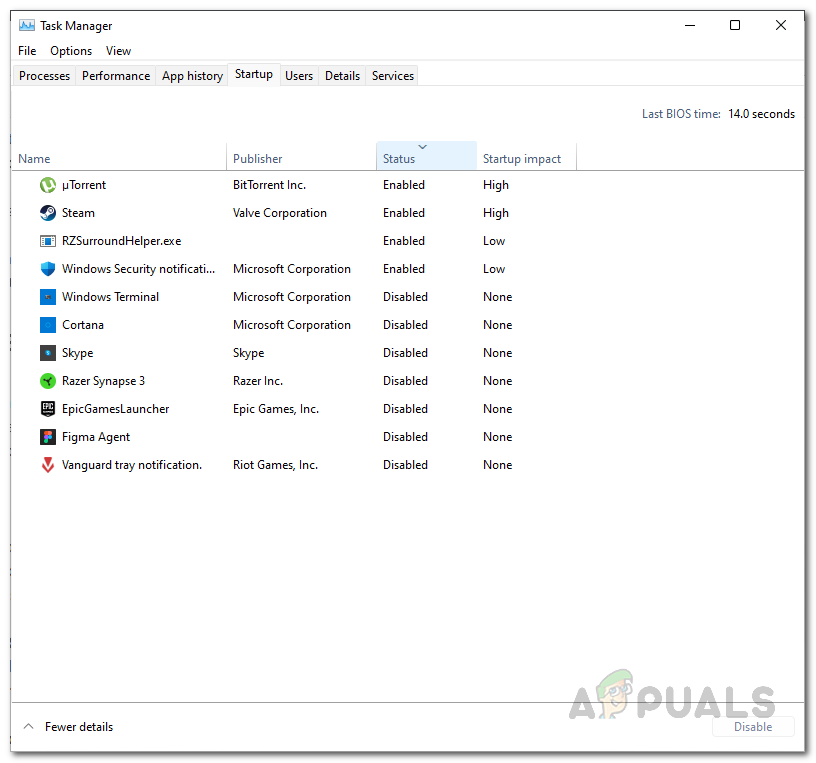
As it turns out, a 3rd party conflict might also be responsible for causing the screen flickering issues. In most cases, this problem is caused by some type of app that uses some GPU software dependencies. In this case, you should be able to fix the issue by booting in clean boot mode and taking a series of steps to investigate for a software conflict and isolate the service or process that’s causing the problem. Note: In order to achieve a clean boot state, your computer will boot without any 3rd party services, processes, and startup items that might contribute to the apparition of this error. Here is the step by step instructions that will help you achieve this clean boot state: If this method didn’t allow you to fix the issue, move down to the next potential fix below.
3. Refresh the screen (temporary fix)
If the two methods above were not effective in your case, one way that might allow you to fix the issue fast( albeit only temporary) is to perform a screen refresh. This should not be confused with a desktop refresh (where you right-click a free space on your desktop and click on Refresh). Screen refreshing will effectively restart your video driver and every associated dependency. You can initiate a screen refresh by pressing Windows key + Ctrl + Shift + B. Note: On a Windows tablet, you can do this by pressing the volume down + volume up buttons two times within a 2 second time window. After you press all of these keys at once, you will hear a short beep after which your screen (or screens) will go black for a couple of seconds (as the video driver is restarting). Once the screen refresh is complete, see if the screen flickering issues have been resolved. Note: Most users that tried this fix have reported that in their case the resolve was only temporary as the issue returned after a couple of minutes. If you’re looking for a different fix that will take care of the screen flickering issues on Windows 11, follow the next method below.
4. Check your monitor & cables
If none of the methods above have made a difference in your case, you should also turn your attention towards your monitor itself or the cables that it uses. If you have a different monitor to test, unplug your PC from the monitor that’s displaying screen flickering and see if the problem disappears. If you’re experiencing the screen flickering on a laptop, plug it into an external monitor and see if the issue stop. If the flickering stops while you have your laptop display on an external monitor, chances are you’re dealing with a failing display. If this investigation has revealed that your monitor is not to blame, the next step is to check your monitor cables (if you’re on a PC or a modular laptop). If you have spare cables for your monitor, replace both the input and the power cable and see if the problem is resolved. Additionally, try changing the port that your monitor is connected to.
5. Reduce your monitor’s refresh rate
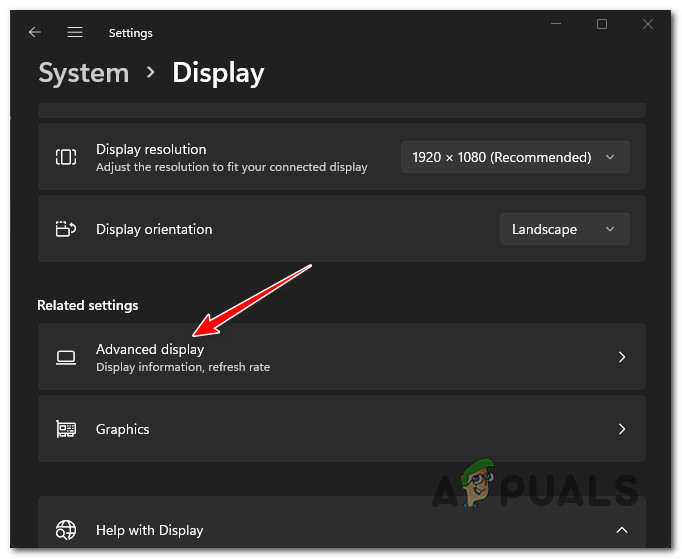
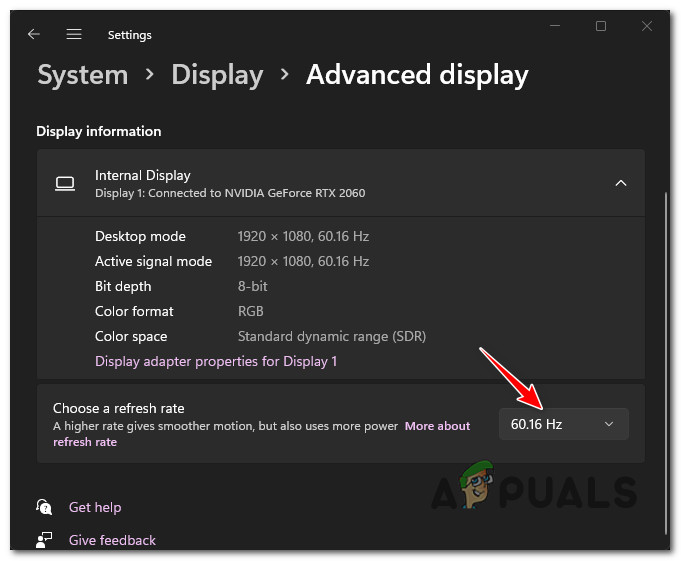
As it turns out, one fairly common scenario that might cause this problem is a monitor that’s having trouble keeping up with the display refresh rate that is enforced at a Windows level. This is typically an issue that occurs with low-end monitors from manufacturers that oversell the actual specs of the display hardware. If the screen flickering that you’re experiencing on Windows 11 is related to a refresh rate issue, you should be able to fix it by accessing the Advanced display settings inside the Settings app and reducing the refresh rate to a lower value. Follow the instructions below for the complete steps of how to fix the screen flickering issues by reducing the display refresh rate: If this problem is still occurring or the refresh rate of your display was already set to the lower value available, move down to the next potential fix below.
6. Disable Animation effects under Accessibility (if applicable)
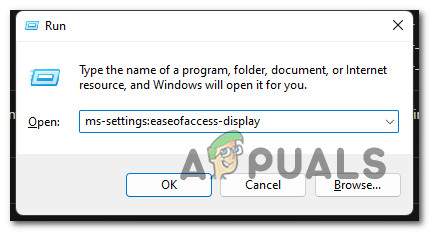
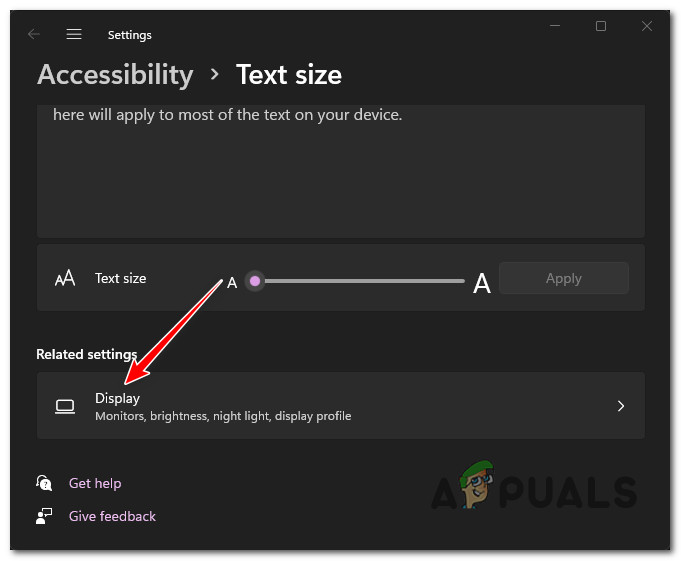
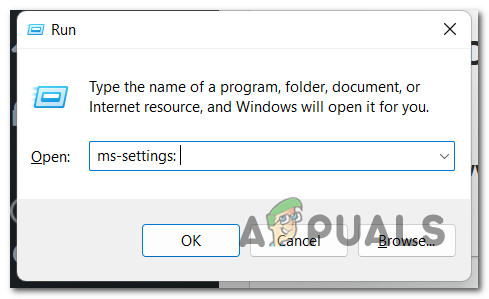
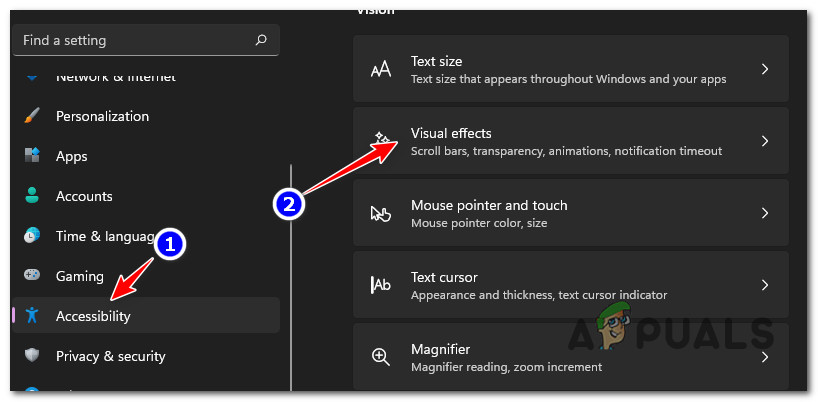
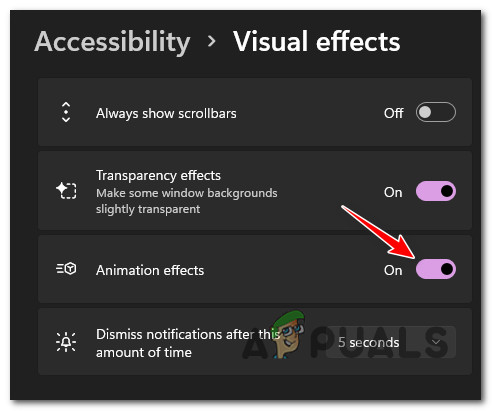
If you previously enabled some custom animation from the Accessibility tab, keep in mind that these have the potential of causing screen flickering issues (several users have confirmed this). This type of issue is typically reported to occur with early insider builds of Windows 11 when the operating system is connected to a low-end display. This potential cause is even more likely if you’re using a low-end GPU. If this scenario is applicable, you should be able to fix the problem by accessing the Accessibility tab inside the Settings app and disabling every custom animation that you previously toggled ON. Here’s how to do this: If the same problem is still occurring, move down to the next potential fix.
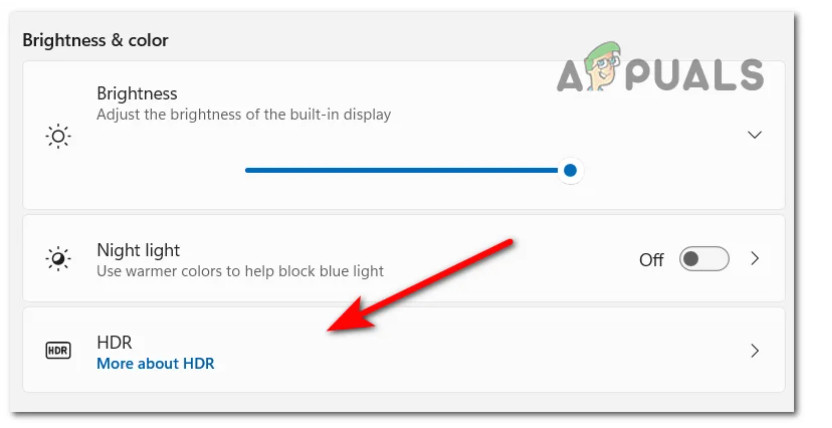
7. Disable HDR
If none of the methods above have proven to be effective in your case, you should also look into HDR as a potential culprit that’s causing these screen flickering issues. If you’re using a low-end display, chances are HDR is only partially supported, which might end up causing this behavior. Several users that were also dealing with this issue have reported that the screen flickering issues finally stopped after they disabled HDR completely from the Settings menu. If this scenario is applicable and you have HDR enabled, follow the instructions below to disable this feature and check if the screen flickering issue stops:
