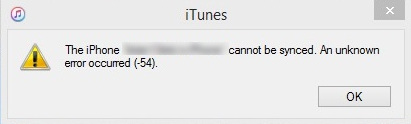
Users have reported that this error comes with a notification that says “The iPhone cannot be synced. An unknown error occurred (-54)”. If you recently got this error, do not despair, as the issue can be fixed quite easily. The reason behind this ambiguous error message is usually related to an authorization or administration permission. It’s entirely possible that your iTunes folder or iOS device contains a file that cannot be modified. Apparently, Windows 10 is even more strict when it comes to modifying permissions – the majority of users encountering this problem are on Windows 10. If your iTunes folder is set to Read-only, the syncing with the iOS device will usually be hindered.
Besides the permissions conflict, there are a few several other culprits that might trigger the iTunes Error 54 error:
Outdated iTunes versionCorrupt or incomplete iTunes installationWindows 10 update file modified folder permissionsiTunes library is stored in several different places. (some of them don’t have writing permissions)3rd party software conflictsPDF files are stopping the syncing process
Luckily, there are a lot of different fixes that you could try to fix this issue once and for all. Once you’re loaded with enough patience, start troubleshooting your problem by following the methods below. The fixes are ordered so that you don’t have to retrace your steps. Make sure you follow them in order until you find a method that solves your problem.
Method 1: Restart Computer & Reinstall iTunes
When you get the error message, click the OK button and see if the syncing process continues. In some cases, iTunes will skip files without adequate permissions and continue to sync your files after the error is displayed. If iTunes is unable to sync the rest of the files, let’s try the most versatile fix on the planet. I know it sounds simple, but the majority of Itunes syncing issues will be fixed after a restart. If that doesn’t work, uninstalling and installing iTunes again will usually do the trick.
Method 2: Update iTunes to latest version
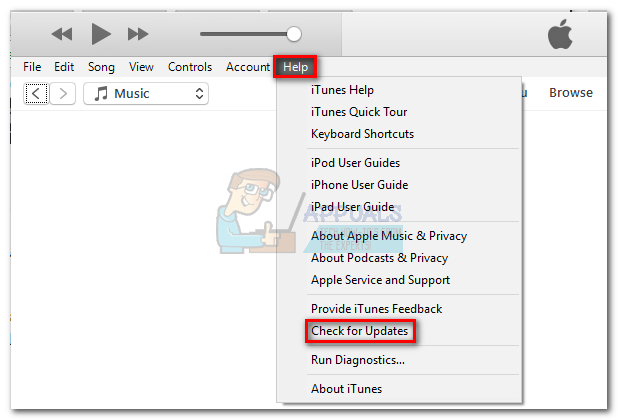
Apple has already patched many compatibility issues that caused the iTunes Error 54. So if Method 1 has been unsuccessful, updating your iTunes to the latest version might just make the problem go away. To update iTunes, open it and click the Help button on the top menu, then tap on Check for updates.
If there is a new update, iTunes will automatically download it and restart. When that happens, Return to Help > Check for Updates and see if you have the latest version.
Method 3: Open iTunes with Administrator Access
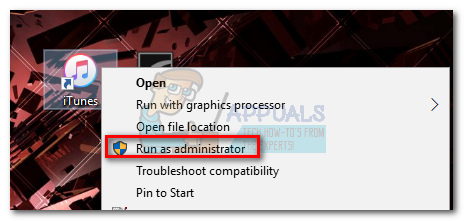
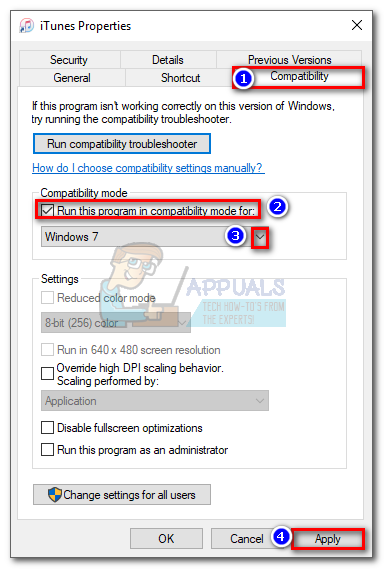
If you’ve come this far without a result, chances are your problem is indeed related to permissions. If your user doesn’t have the adequate access to handle the files that need to be sync, try opening iTunes with Administrator Access. To open iTunes with administrator access, right-click on the desktop icon and click on Run as administrator. Once you open iTunes with administrator privileges, do another re-sync and see whether the error message reappears. If the error message is nowhere to be seen, right-click on the iTunes shortcut and hit Properties. Then, select the Compatibility tab and check the box next to Run this program as an administrator. Hit Apply to save.
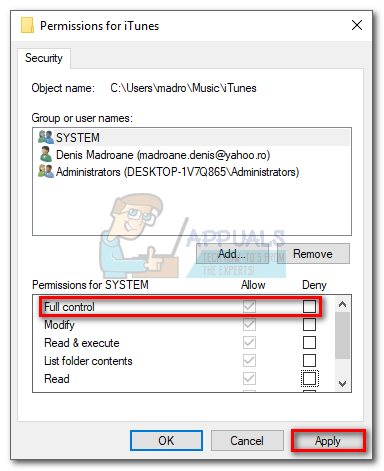
Method 4: Modifying the permissions for iTunes
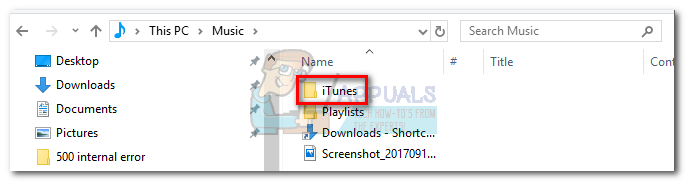
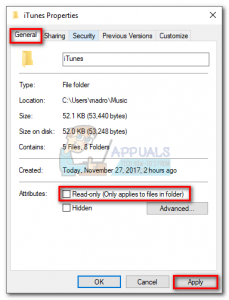
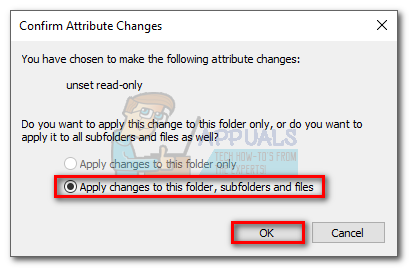
If the method above has been unsuccessful, there’s one more thing you must do to make sure the issue is not related to your system permissions. Although this fix can be applied to every Windows version starting with Windows XP, it seems to be particularly effective on Windows 10. In line with modern cybersecurity concerns, Windows 10 is extra careful about allowing 3rd party applications to modify permissions. By default, the iTunes folder is labeled as Read Only, which hinders the whole process of syncing your Apple content. Microsoft has already addressed this issue in the Fall Creators Update, but if you’re not on the latest version the issue will persist. However, there is a workaround for those of you who haven’t updated to the latest Windows version. Here’s what you need to do:
Method 5: Using Compatibility Mode with Windows 7
Some users have reported that opening iTunes in compatibility mode has enabled them to finally sync their Apple content. If all of the above have failed, here’s how to run iTunes in compatibility mode:
Method 6: Deleting and re-importing iTunes content
Now that we’ve made sure that the permissions are in order, let’s see if anything has gone wrong with your content. As you probably know, Apple is not a big fan of media content that isn’t bought from iTunes. Songs, movies, and eBooks that have been brought from outside of Apple’s ecosystem might glitch out and refuse to sync up. If you have outside content, try deleting it from the iTunes Store and then re-importing it from the original source. While you’re at it, you can do the same with iTunes content (delete and re-download). Note: You can figure out which file is causing the syncing problem by syncing small batches of files at a time. If you systematically do this, you’ll eventually identify the content that is causing the problem.
Method 7: Remove PDFs from your syncing chore
Apple has a long-standing issue with iTunes purchases (especially iBooks) that are being moved from mobile devices to Windows-based computers. To test if that’s the case, exclude any PDF or iBook from your syncing process and see if the iTunes error re-appears. To get around this problem, instead of syncing your PDFs with iTunes, use the Share option on your mobile device and send it to yourself. This will save a copy of the PDF and share it with an email address of your choices.
Method 8: Identifying potential software conflicts
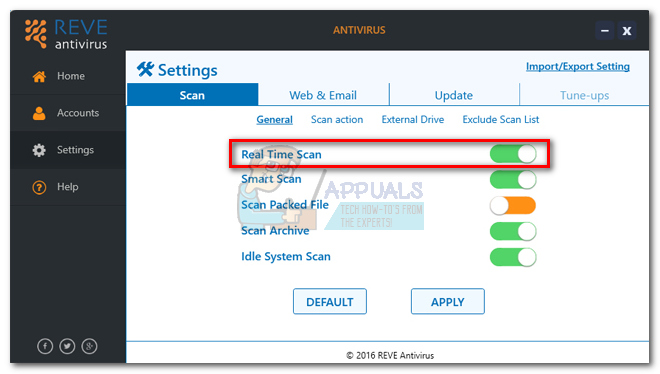
No program is immune to software conflicts, and iTunes is definitely not an exception to the rule. Some users have pointed out that they’ve managed to resume normal syncing after disabling the real-time protection of their antivirus. If another program is attempting to access the very same files that iTunes is trying to sync up, you might get the iTunes Error 54. To make sure that’s not the case, open your antivirus settings and disable real-time protection (real-time scan).
Fix: iTunes Unknown Restore Error 9Fix: Unknown iTunes error 0xe8000084Troubleshoot iTunes Cannot Connect ‘Unknown Error 0XE80000A’Fix: An Unknown Direct X Error has Occurred on League of Legends