After investigating this particular issue thoroughly, we realized that there are actually several different underlying causes why this issue can be experienced. We’ve made a list of potential culprits below: Now that we went over every potential reason why you might be dealing with the “Restoring your previous version of Windows” loop, let’s get to the fixing part. Below you’ll find a series of verified fixes that other affected users have successfully used to get to the bottom of this problem.
1. Boot after Power Cycling
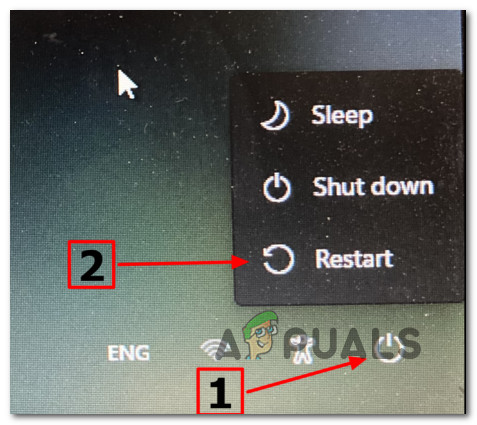
If you’re lucky, the best way to remedy this problem is to force a power cycle and restart the computer until you finally get out of the loop. This strategy will work in cases where the issue is caused by a sequence of incorrectly cached boot-related data. A lot of affected users that we’re also experiencing the “Restoring your previous version of Windows” loop have confirmed that they finally manage to overcome the issue by power-cycling their desktop or laptop and waiting 30 seconds (or more) before attempting to power it on again. Note: This operation will force the power capacitors to discharge. This will ensure that the next system startup is handled without any remnant cached data that was used previously. Keep in mind that most affected users have reported that this method was only effective after 2 or 3 tries. All you need to do is turn shut down your PC (laptop or desktop) and make sure it’s not asleep or in hibernation mode. Next, disconnect it from a power source and wait for at least 30 seconds before attempting to start it again. After the second or third try, you should see your Windows booting directly into the login screen. If this is effective in your case, you’ve successfully exited the “Restoring your previous version of Windows” loop. If this method didn’t work in your case, move down to the next method below.
2. Rollback from Safe Mode
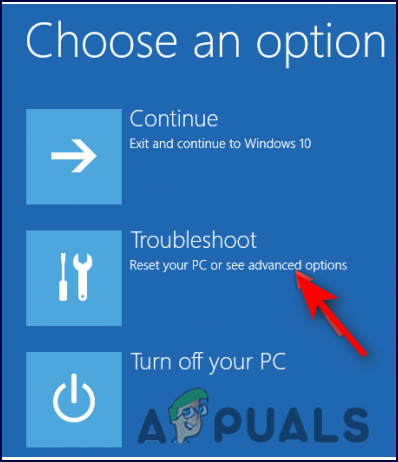
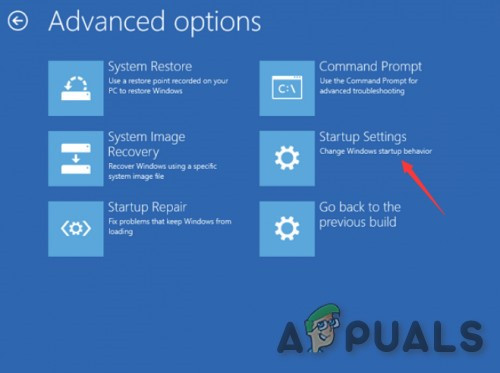
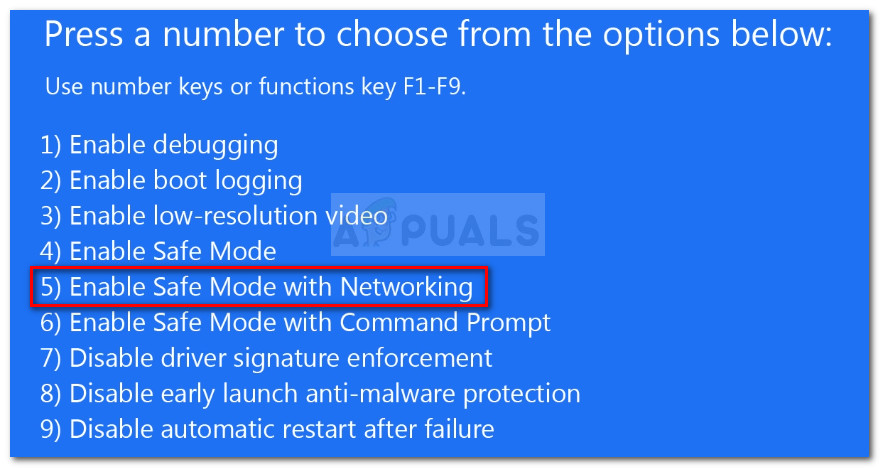
If you’re seeing this problem when trying to roll back, it’s possible that a third-party service or process is interfering with the installation. To avoid this issue, start your computer in safe mode before attempting to undo any changes. Note: There are a lot of potential culprits that might interfere with the rollback operation, but the most commonly reported culprits are system optimization suites and backup software. If you’re only experiencing the “Restoring your previous version of Windows” when attempting to roll back from Windows 11 to Windows 10 but you can boot normally, you can prevent 3rd party services and services from interrupting the rollback operation by booting in Safe Mode. In case this scenario looks like it could be applicable, follow the instructions below for specific instructions on how to do this: In case the same kind of issue is still occurring, move down to the next method below.
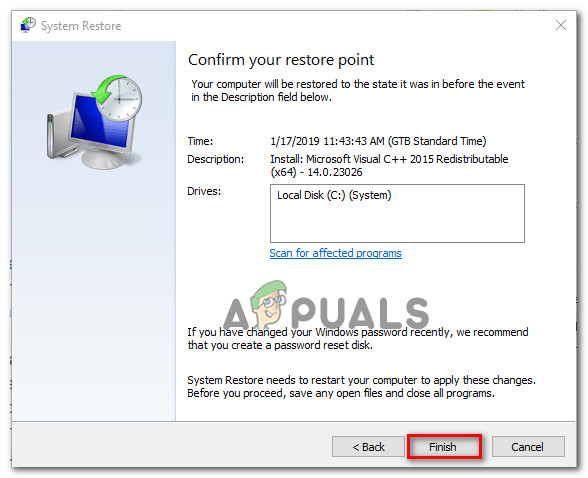
3. Use System Restore
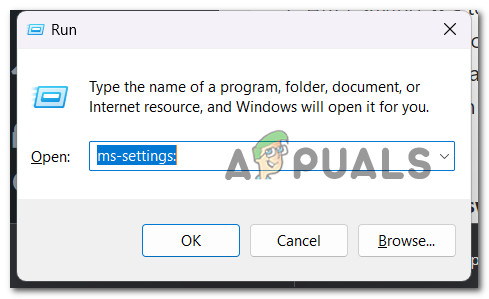
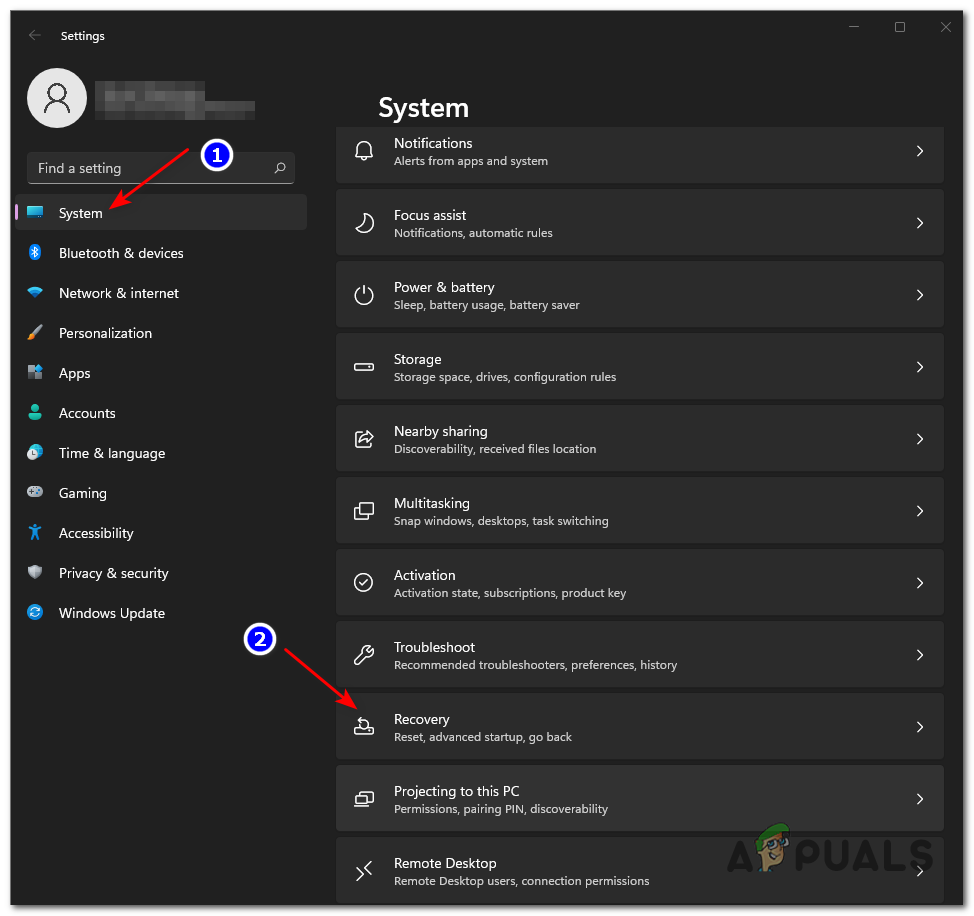
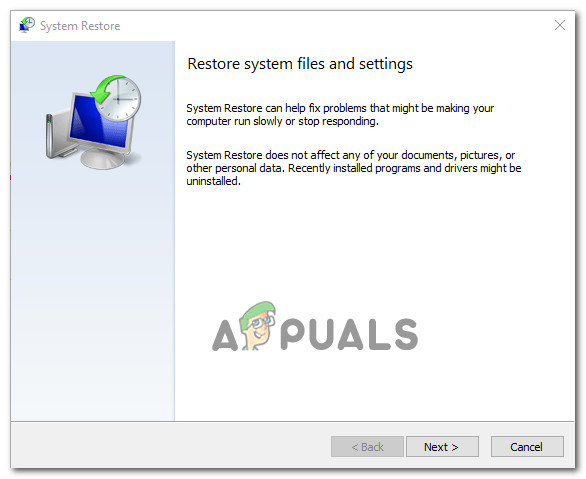
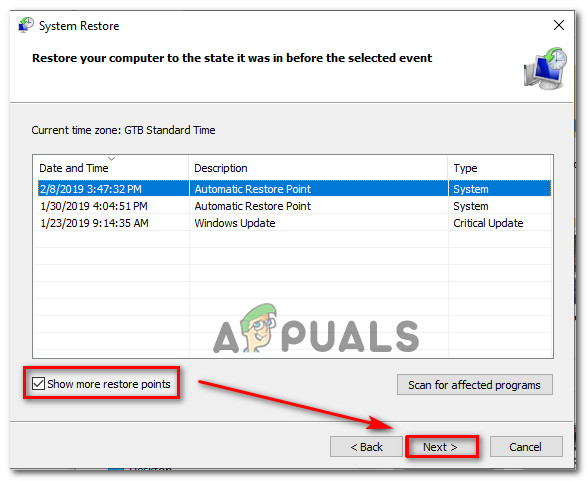
If this problem appeared after a large system change (such as a driver update or a Windows cumulative update), you may be able to break free from the error loop by using the System Restore software (from the Recovery menu). If this scenario looks like it could be applicable, using the System Restore (built-in Microsoft tool) will allow you to revert your PC state back to a point where this problem was not occurring. By default, every Windows installation is programmed to save regular system snapshots are important system events (such as important system updates, new driver iterations, app installations, etc.). Unless you modified the default behavior of System Restore or you’re using a system optimizer suite, you should have plenty of restore points to choose from. Important: But, before you begin, keep in mind that once you’ve completed this procedure, you’ll lose any changes you’ve made to your system since the restoration snapshot was produced. This includes any installed software, games, and other system upgrades that occurred within that time period. If this scenario looks like it could be applicable, follow the instructions below to utilize the System Restore from Safe Mode: If this method was not applicable in your case or it didn’t fix the issue, move down to the next method below.
4. Perform a Startup Repair
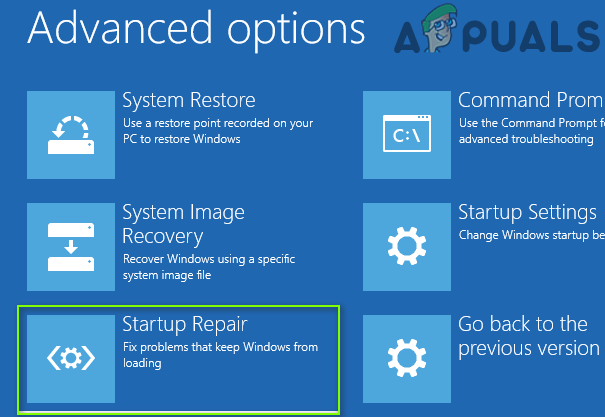
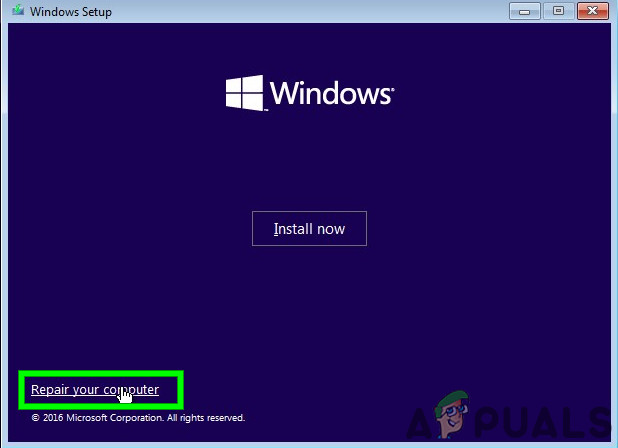
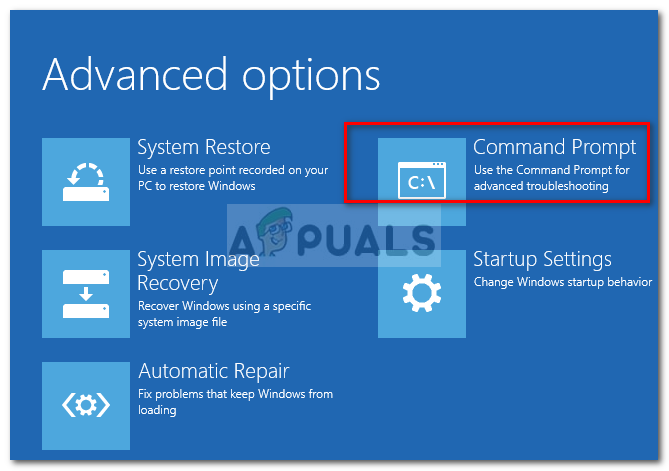
This sort of problem can also be produced indirectly in rare cases by file corruption impacting your system files. In this case, the first thing you should do is run a startup repair to determine if the problem has been repaired. If this is the case, you should be able to resolve the problem by running a startup repair operation. Note: Startup Repair is a Windows recovery solution that will resolve the majority of typical system issues that prevent your Windows installation from booting up. This application (like every other Windows automated troubleshooter) comes with a set of automatic repair options that may be used if a feasible situation is discovered. However, because you’re unlikely to be able to start up normally, you’ll need to use the Recovery Menu to initiate a Startup Repair operation. If this scenario is applicable, follow the instructions below to deploy a Startup Repair operation: If you’re still experiencing the same “Restoring your previous version of Windows” error even after following the instructions above, move down to the next method below.
5. Deploy SFC and DISM scans from Recovery Mode
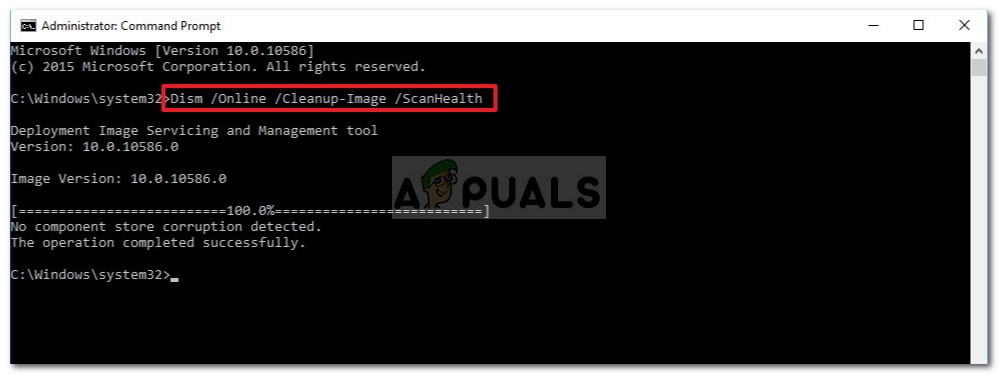
If the procedure above didn’t work for you, the next viable step you should do is perform DISM and SFC scans in quick succession. SFC (System File Checker) is a completely local utility that fixes faulty files by replacing them with healthy copies from a locally stored archive. DISM (Deployment and Image Services and Deployment) makes use of a WU subcomponent to obtain healthy replacements for damaged files that need to be replaced. Although it outperforms SFC, its efficacy may be harmed if the corruption affects the subcomponent that DISM relies on. Because the two programs work in different ways, we recommend running both SFC and DISM scans in fast succession to increase your chances of resolving the corrupted instance that’s generating the issue. Begin by running an SFC scan and then wait patiently for the procedure to finish. Note: Interrupting the process before it finishes might result in logical errors on your HDD/SSD, which could lead to further issues. After the process is finished, restart your computer and wait for the next startup to finish before running a DISM scan. Note: In order for DISM to complete effectively, you must be connected to a stable network. Make sure you are connected to a stable network before beginning this operation. Restart your computer once the second scan is completed to determine if the process was completed at the next computer starting. If the problem is still occurring, move down to the next method below.
6. Deploy Bootrec from Recovery Mode
If you’re caught in this loop and all of your efforts to boot in Safe Mode result in the same error number, you’re probably dealing with a corruption in the bootrec data. In this situation, deploying a Bootrec repair operation from recovery mode should resolve the issue. Note: Bootrec.exe is a Windows application that may repair the master boot record, boot sequence, and boot configuration data. Any of these items might be to blame for the issue you’re presently experiencing. Once you’re ready to begin, follow the instructions below to deploy a Bootrec repair operation from Recovery Mode: If you’re still dealing with the same “Restoring your previous version of Windows”, move down to the next method below.
7. Reset PC with Keep my files
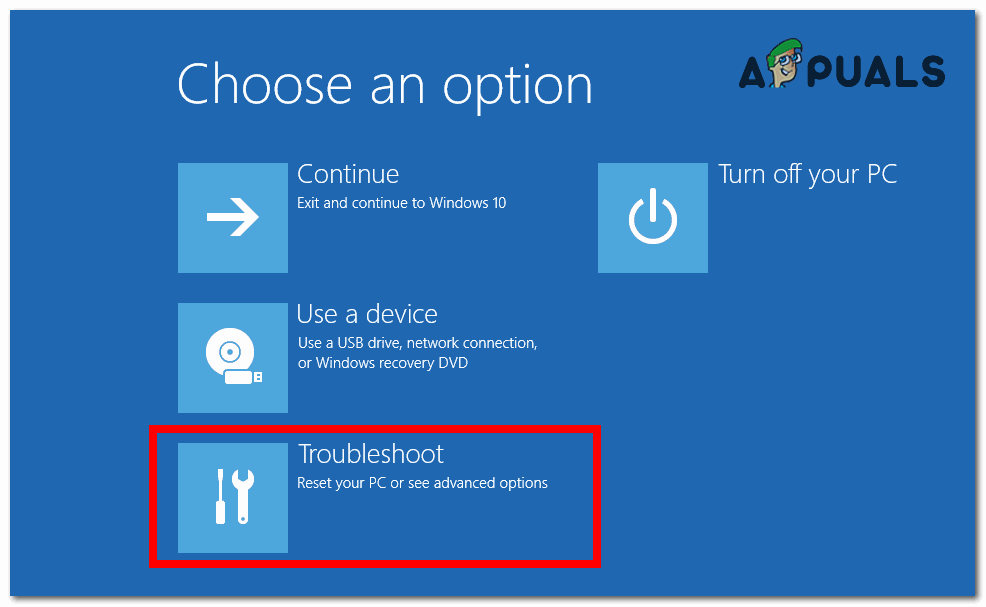
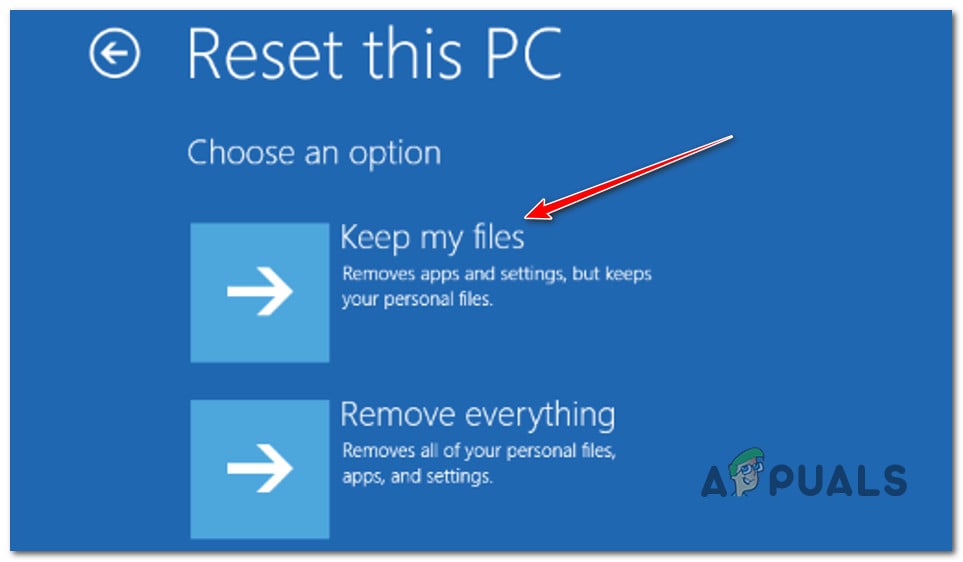
If none of the techniques above have worked for you, a Windows 11 Reset with the option to keep your personal files is a last resort approach that has helped a number of customers eventually cure this mistake. Keep in mind that this is not the same as a repair or installation operation. This operation will restore Windows to its default settings, wiping out any corrupted files that might be causing this behavior. Note: Everything else (including games and apps) will be wiped, with the exception of personal data (documents, personal media, and so on). Follow the procedures below to reset your Windows 11 PC with the option to keep your personal files if you have no other alternatives and understand the repercussions of doing so. Here’s what you need to do: If you’re still dealing with the same “Restoring your previous version of Windows”, move down to the next method below.
8. Clean install the previous Windows version
In some situations, you may encounter this difficulty as a result of a problem that cannot be resolved using the tools provided by Microsoft. In this instance, the only option is to do a Safe Mode reset or a clean install of the prior version (if you get the error while attempting to roll back to a previous version of Windows). In this case, the only viable action is to simply clean and install the previous version of Windows manually. Here’s a guide that will help you clean and install Windows 11.
FIX: Windows 8 Stuck on Failure Configuring Windows UpdatesHow to Fix Thread Stuck In Device Driver BSOD on Windows 8 and 10Fix: Windows Update Stuck at 0%Fix: Getting Windows Ready Stuck