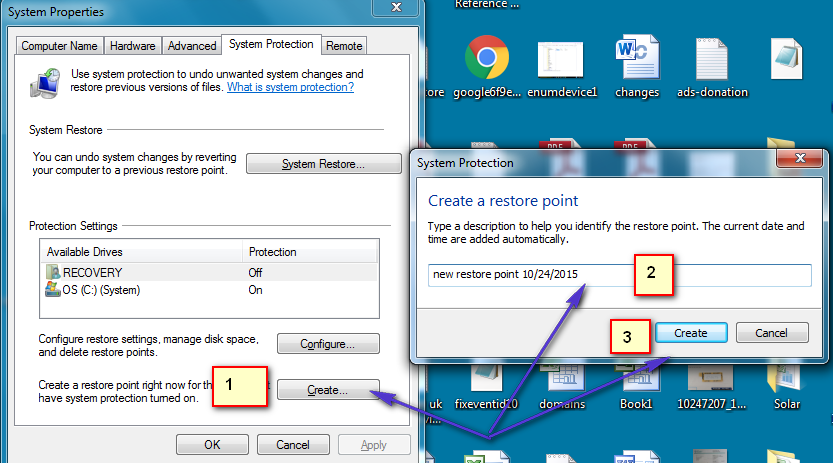
Create a restore point on your Windows
Before moving forward you need to create a restore point in case something goes wrong, you should be able to take the system back to the point it worked. To create a system restore point; hold down the Windows Key and Press R on your keyboard. In the run dialog that opens; type Then click Create, specify the name of a restore point click OK and confirm it. Wait for the dialogue confirming restore point creation.
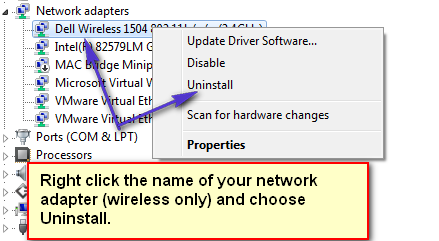
Uninstall Conflicting Drivers from the Device Manager
Now Hold the Windows Key again and Press R and type hdwwiz.cpl in the run dialog.
When you hit the OK button; you will be taken to the Device Manager. From the Device Manager uninstall the drivers for your wireless adapter and the bluetooth device.
You also need to locate your Bluetooth adapter in the list and uninstall it. When you choose the uninstall option; it may ask you if you want to uninstall it only or remove driver package as well. Just choose “Uninstall” so it can keep the original driver. Installing them back should be part of the automatic install or worst case; you can re-download them from the manufacturer’s site and copy over to USB Flash Disk to re-install or via Ethernet since we are only uninstalling Wireless; the ethernet should work.
Disable Your Wireless Adapter/Bluetooth From the BIOS
Now since the driver has been uninstalled; reboot the PC into BIOS. You will see the options to enter BIOS during the reboot; it will only be available for a few seconds on the POST screen so you have to be quick in pressing the appropriate key to get into BIOS. On most systems, the key to get into BIOS is F2. Once in BIOS go to the Advanced tab, using the left/right arrow keys. Then go to the Wireless area. Disable your wireless from here and the bluetooth if available. You’ll need to re-enable them the same way as your disabling them.
Final Touches
All Good So Far! Now if there are any additional RAM’s installed, remove them. And if any external devices are connected (disconnect them) such as External Disk Drives, USB Printers, etc.
Installing Windows 10
Start the PC and it should take you where you initially were without internet access. (note): we’ve only disabled wireless, not the ethernet. If needed, you can use an Ethernet cable to hook it up directly to the router. Hold the Windows key and Press and in the run dialog type Double click the setup.exe file to run the setup. It will now be a successful install without the error. Once it’s all done; re-enable your wireless and bluetooth and check to see if Windows has automatically picked up the drivers, if not then you can download them from the manufacturer’s site by either putting the drivers to a USB using another computer or by connecting the computer in question to the internet and downloading directly from the manufactuers site. In most cases; this fixes the issue since the settings are usually generic but with some manufacturers this may not be the case. If the methods above won’t work for you; then i suggest removing the Network Interface Card / RAM (Temporarily) to do the install.
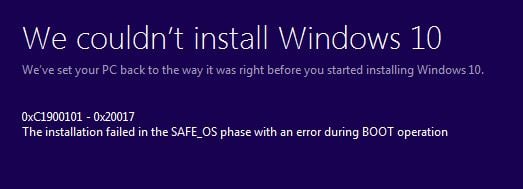
Fix: 0xc1900101 – 0x4000d Error During Windows 10 InstallationHow to Fix ‘Error 0xc1900101’ on Windows 11 Installation Assistant?Fix: Windows 10 Error C1900101 - 0x20017Fix: Windows 10 Update Error ‘0xc1900101-0x30018’