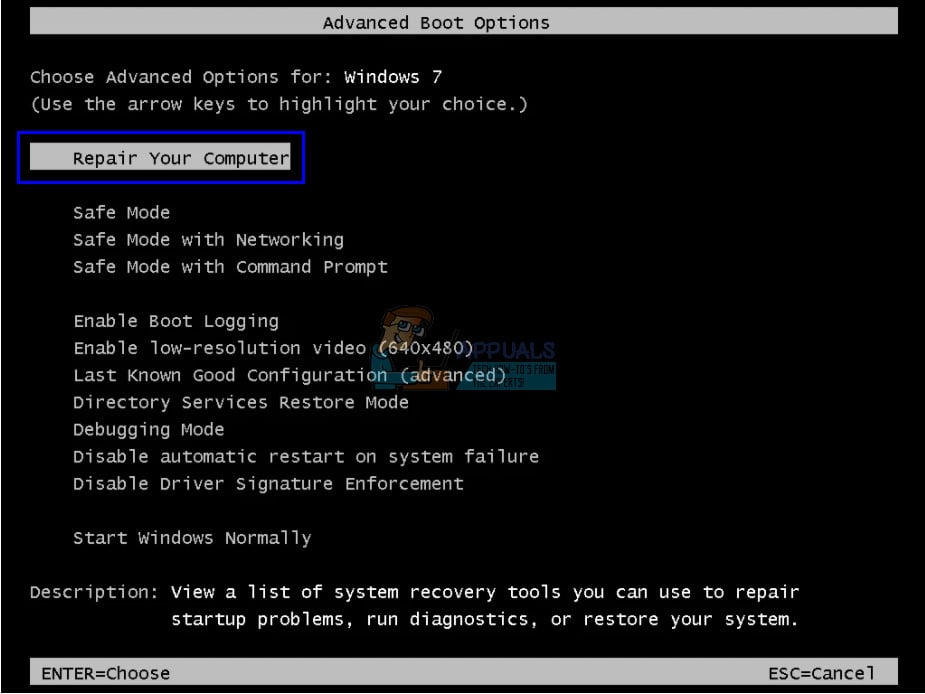
There are several solutions to address this problem. Sometimes they work and sometimes they don’t. In the worst case scenario, you have to reset your Windows to factory settings which ‘may’ cause loss of your files and folders. We have listed the solutions in the order of increasing technicality. Start with the first one and work your way down accordingly. Note: Before you move on to carrying out all the solutions listed below, make sure that you have not attached two hard drives onto the same computer where both contain their version of operating systems. If you have, try prioritizing the boot to the correct drive. If this doesn’t work, remove on the drive physically from the computer and try booting from the other one.
Solution 1: Using Bootrec (bootrec.exe)
Bootrec is tool provided by Microsoft in Windows recovery environment (also called Windows RE). When your computer fails to boot successfully, Windows automatically starts in RE. This environment has several tools that can potentially fix your computer such as Command Prompt, Startup Repair etc. There is also a utility ‘bootrec.exe’ which is used in connection with:
Boot SectorBoot Configuration Data (BCD)Master Boot Record (MBR)
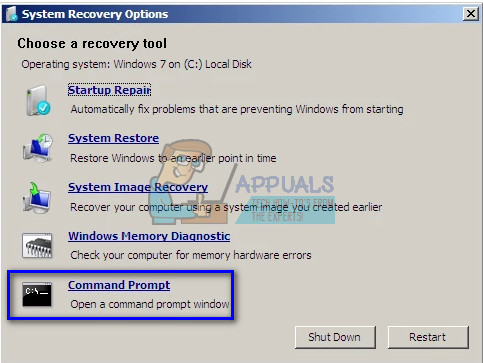
You are already using the RE when you try to repair your startup. We will try using Bootrec using the command prompt and see if this fixes the problem for us.
Each command should give you a confirmation that the operation completed successfully. Now reboot your system and hopefully, the problem will be solved. bootrec /fixboot Note: You can also use the command ‘bootrec /RebuildBcd’.
Solution 2: Using CHKDSK
As explained earlier, this error usually occurs when your hard drive is not working properly or has bad sectors present. We can use the CHKDSK utility using the command prompt and see if there are any present. CHKDSK is a system tool present in Windows which verifies the integrity of a volume and tries to fix logical system errors. It also identifies bad sectors present on the hard drive and marks them so there will be no error when the computer uses the drive. If you are having a problem when running CHKDSK, you can execute the following commands at the command prompt prior to running the CHKDSK command: select disk X (X=0,1,2) attrib disk attrib disk clear readonly After executing these commands, run CHKDSK and see if this solves the problem at hand. list vol sel vol X (X=0,1,2) attrib vol attrib vol clear readonly navigate your way down accordingly.
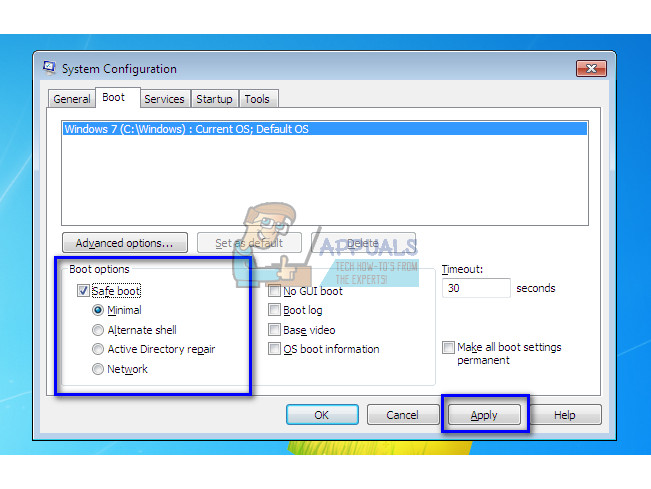
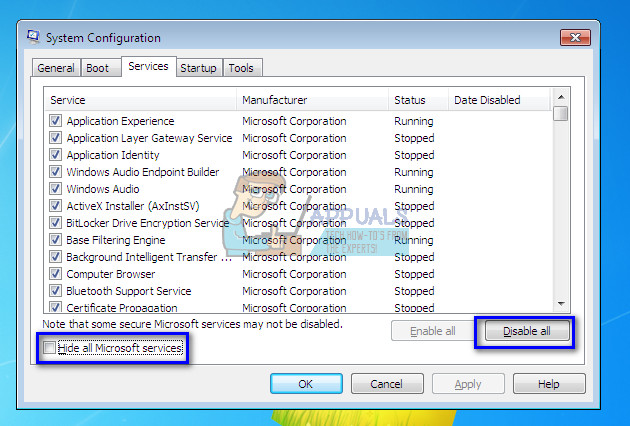
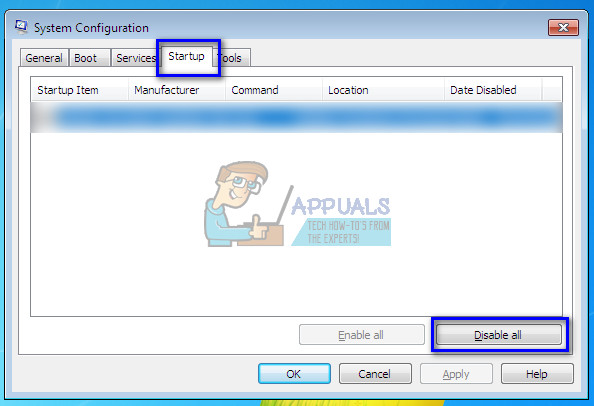
Solution 3: Clean Booting your Computer
If both the above solutions don’t work out, you can load your computer in Safe Mode and try clean booting. This boot allows your PC to turn on with a minimal set of drivers and programs. Only the essential ones are enabled while all the other services are disabled. If your computer starts in this mode, you should backup all your important data immediately. After backing up your important data, you can either install a new version of Windows or try turning the processes back on and see what the problem was.
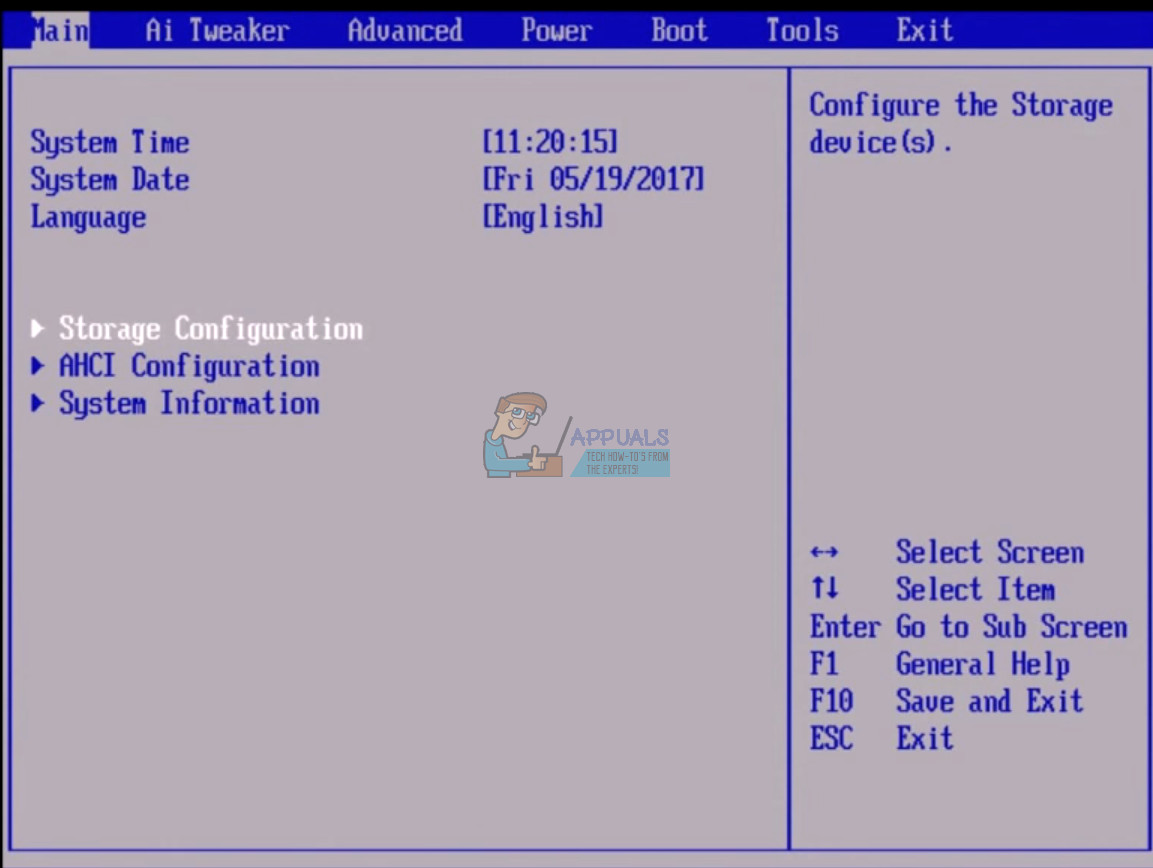
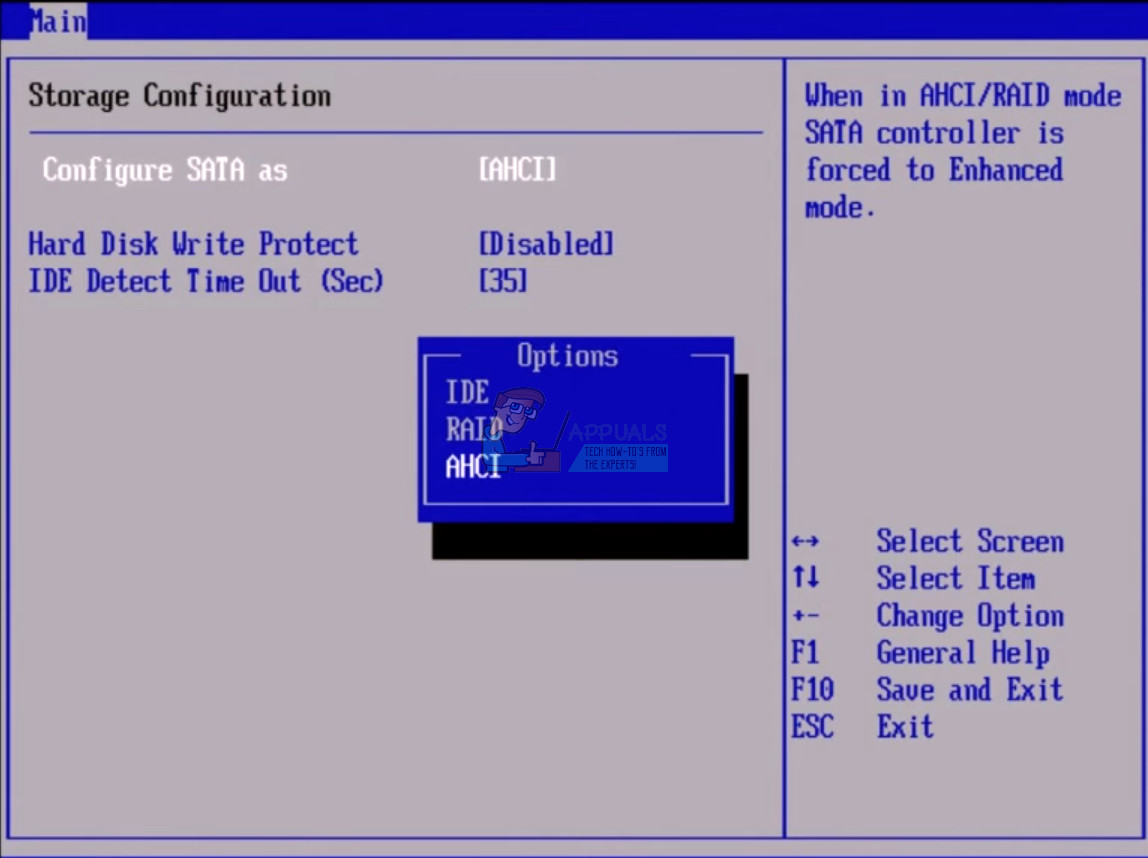
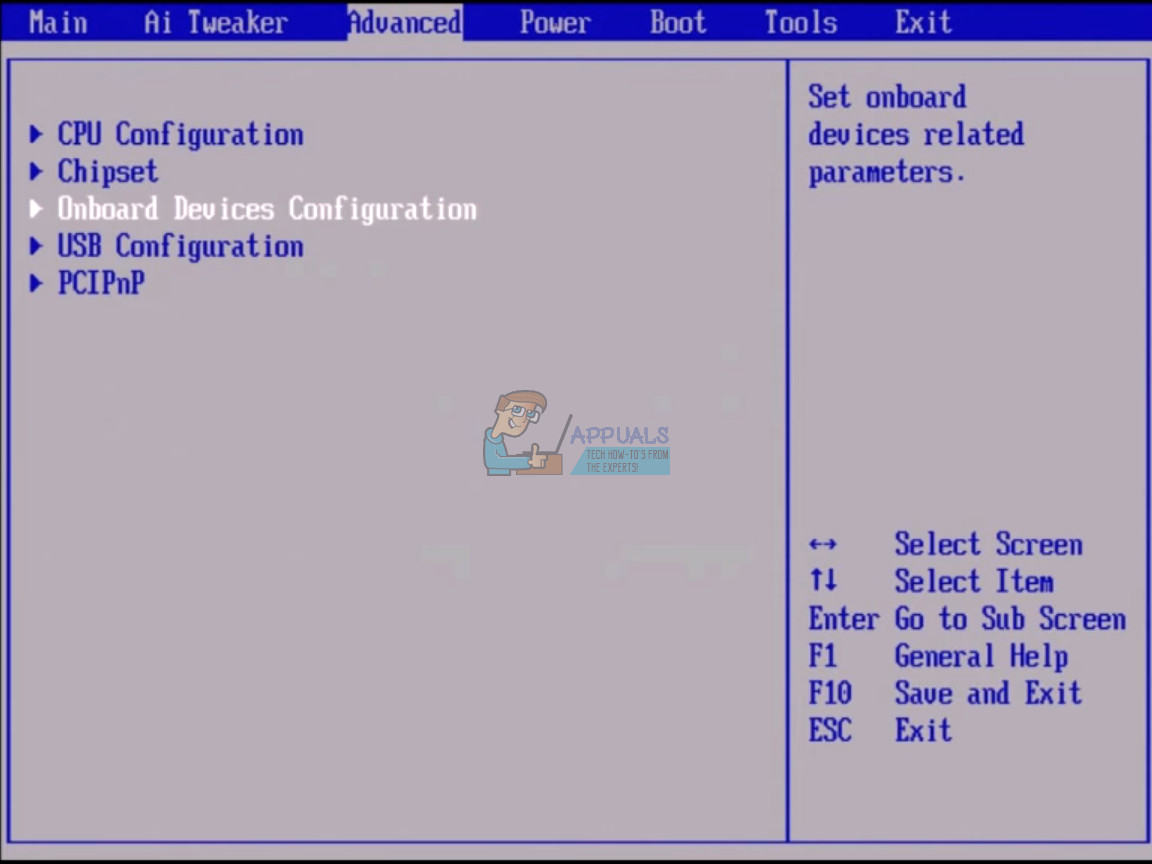
Solution 4: Changing SATA Mode
SATA modes determine how your hard drive communicates with your computer. You can set your SATA hard drive to function in one of the three modes (AHCI, IDE, and RAID). The IDE mode is the simplest mode available and in it, the hard drive is set to run as an IDE or Parallel ATA. Advanced Host Controller Interface (AHCI) mode enables the use of advanced features on SATA drives such as Native Command Queuing (NCQ), or hot swapping. We can try changing the SATA mode of your hard drive and see if this makes any difference.
If Windows still doesn’t boot as required, you can perform solution 1 and 2 again. Make sure that you perform the CHKDSK operation either on all the drives or on the drive where your boot files are stored.
Solution 5: Backing up your Data
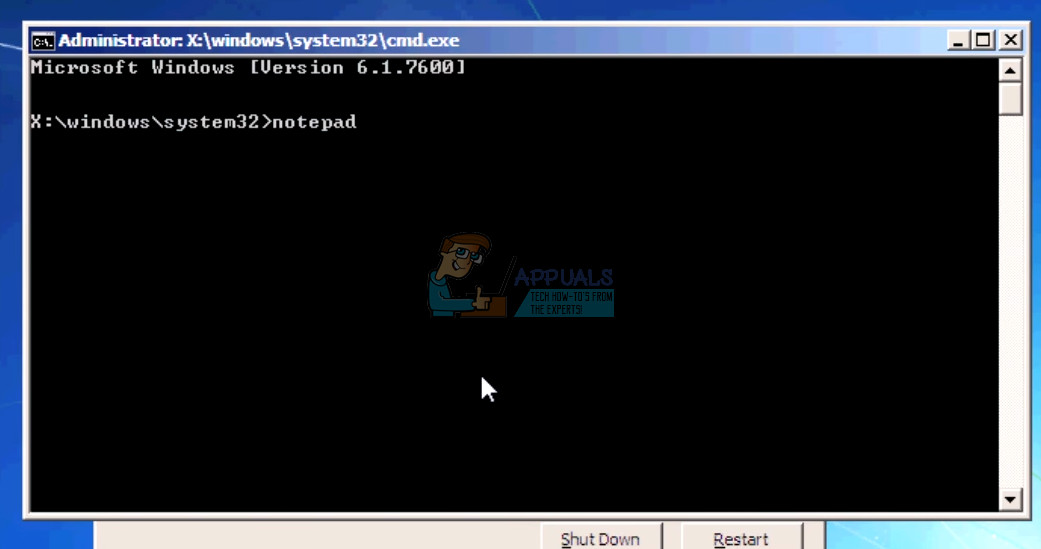
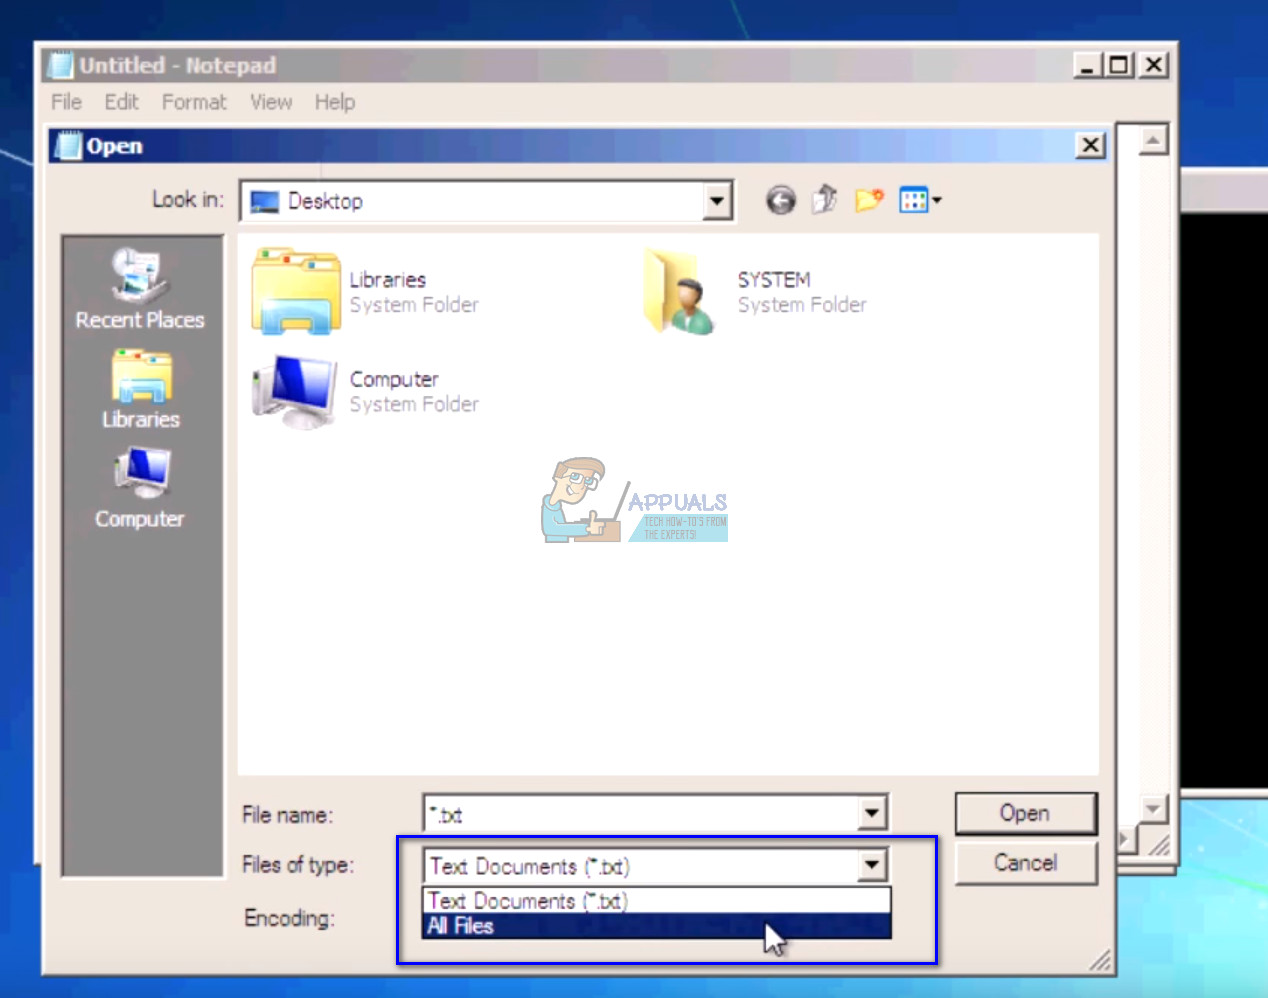
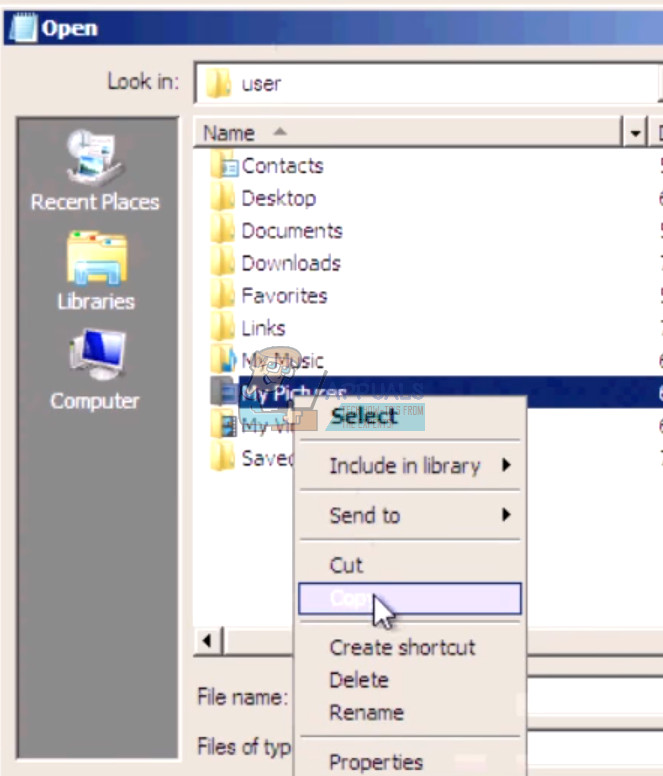
Before we go on to test the hard drive, you should retrieve and backup your data by following the steps mentioned below. For this, you might need a working USB port and a USB or an External Storage device. We will use the command prompt which we opened earlier on in the RE.
Solution 6: Checking your Hard Drive Physically
If all the above methods fail, you should check your hard drive for any physical errors by plugging it into another computer. Carefully remove the hard drive, plug it into another computer and try running CHKDSK in it. You can also back up your data using this method. Note: When you plug the hard drive in the new computer, make sure that the boot priority is set to that computer’s hard drive. Otherwise, you will be experiencing the same problem on that computer too. If after following all the solutions, the computer still doesn’t fix the hard drive, there is no choice but to plug it back to your computer and install a new version of Windows from scratch. Make sure that you back up your data before proceeding.
How to Stop Skype from Running Automatically at Startup on WindowsFix: This Computer Can’t Connect to the Remote ComputerHow to Fix Startup Repair Loop on Windows 7How to Fix Automatic Repair couldn’t repair your PC on Windows 10