Windows Search Indexer is a service which maintains an index of most of the files on your computer to improve search performance on your computer. It automatically updates the indexes without any interference from the user. This index is similar to the index we see in certain books. The computer keeps a record of all the files located on different drives. Instead of going out and searching the drives for the file you are trying to locate, the computer refers to the index table, locates the files and directly navigates to the address saved in it. If it doesn’t find the file in the index table, it begins iterating through the drive accordingly. Normally, Windows is programmed to start indexing for files when your computer is idle and isn’t doing any work. If you see this process running, let it run for some time. If it keeps on running for indefinite periods of time, you can start following the workarounds listed below.
Solution 1: Checking Newly Installed Third-Party Applications
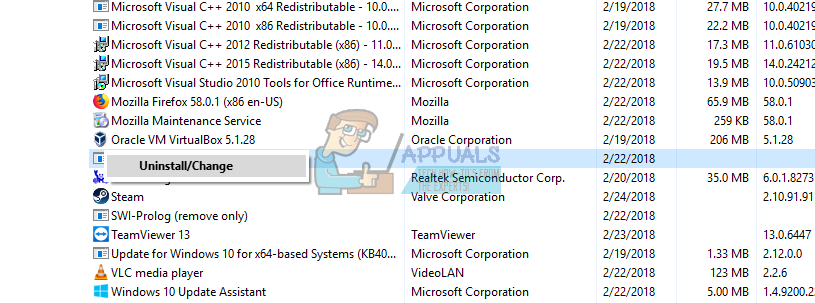
If you have recently installed new third-party applications on your computer, you should check if they are causing the problem. There were many applications such as ‘iFilter for PDF’s’ which cause the service to run again and again on your computer. These applications have certain features present which causes the search service to be triggered again and again on your computer. We can try disabling them and then run the troubleshooter to see if there are any other problems.
Solution 2: Changing Indexing Options
You can manually change the indexing options. If you remove one location from the checklist, Windows will not index the files present at the location. Your search might not be as fast as before but it might improve the situation in our case.
Solution 3: Running SFC and DISM Tool
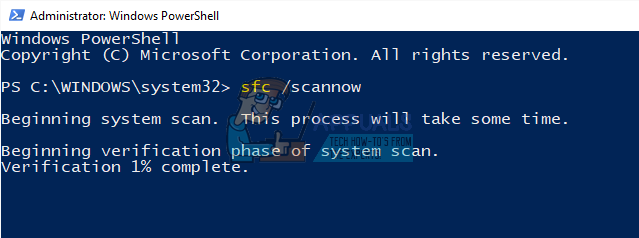
You may be encountering this error because there may be bad system configurations present in your computer. Because of these discrepancies, the search process might be spawning again and again and cause the high usage of resources as under discussion. We can run the System File Checker (SFC) to check for any integrity violations. If after any fixes by SFC the system is still not fixed, you can run the DISM tool to check system health and restore any missing system files.
If an error was detected and was fixed using the above methods, restart your computer and check if the CPU usage by ‘SearchProtocolHost.exe’ got fixed.
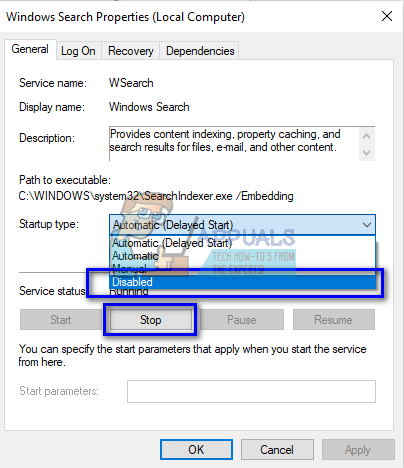
Solution 4: Disabling Windows Search
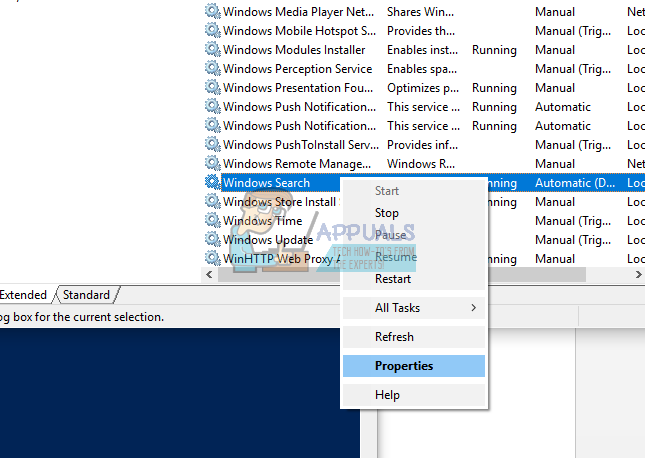
If all the above workarounds don’t prove any results and ‘SearchProtocolHost.exe’ is still causing high CPU usage, we can try disabling the Windows Search from your computer. Do note that you may not be able to use Windows search on your computer. This workaround has its drawbacks but the problem will be fixed certainly. Before you go on with disabling the Windows Search, it is recommended that instead, you disable the indexing of all the locations of your computer using Solution 2. Uncheck all the locations and press Apply. This will turn indexing off; you might get slow results but at least you will be able to search when needed.
How to Fix High CPU and Memory Usage By csrss.exeFix: High CPU Usage by OneDrive ‘OneDrive.exe’Fix: dasHost.exe High CPU and Memory UsageFix: High CPU & Memory Usage by ‘Inputpersonalization.exe’