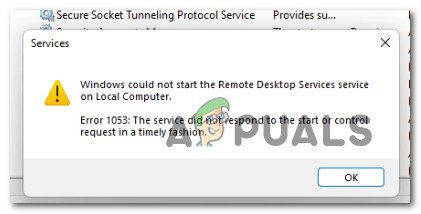
After investigating this particular issue, it turns out that there are a lot of underlying causes that might ultimately be responsible for this type of error. Here’s a short list of scenarios that you should be on the lookout for: Now that we went over every potential cause that will cause the ‘Windows could not start the Remote Desktop Service service on Local Computer’ error, let’s go over a series of fixers that other affected users have successfully used to get to the bottom of this issue.
1. Enable Remote Assistance on target PC
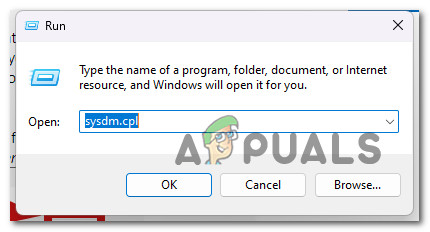
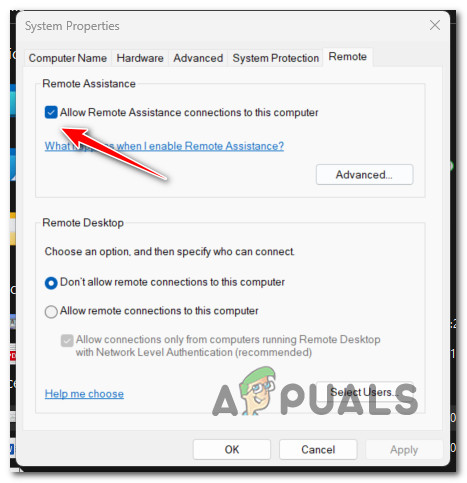
When resolving this specific issue, you must first log into the PC where you wish to use the Remove Desktop service and confirm that Remote assistance is permitted. This functionality needs to be enabled on both the local and the remote computer in order for the Remote Dekstop component to work properly. Several affected users have confirmed that they managed to fix the ‘Windows could not start the Remote Desktop Service service on Local Computer’ error by accessing the System Properties screen and enabling Remote assistance. Follow the instructions below for step-by-step instructions on how to do this: If the problem is still not resolved or Remote assistance was already enabled, move down to the next method below.
2. Disable Custom Scaling
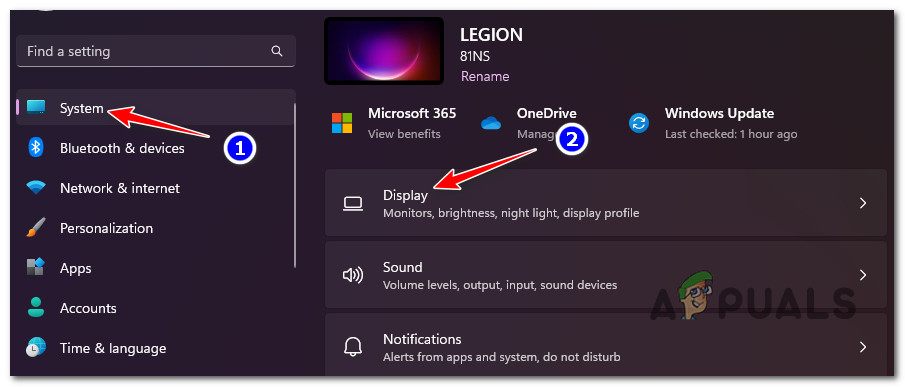
Prior to attempting to use remote assistance, it is usually a good idea to disable custom scaling because the computer you are connecting to remotely might not support this scaling option. Note: To make a computer easier for people to see and use, the Windows 10 display scaling system changes the size of text, icons, and navigational elements. For both your Windows 10 device and any external displays, you can change the display scale. Despite the fact that this function is excellent, it is known to interfere with the RDP component, thus it is advisable to turn it off if you intend to access computers remotely. If you suspect that custom scaling is enabled on your PC, follow the instructions below for step-by-step instructions on disabling this function from the local Windows computer: If it’s still not working, move down to the next method below.
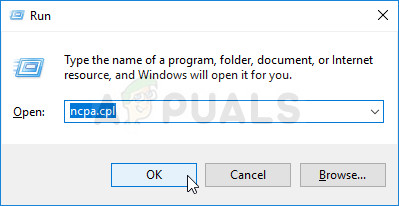
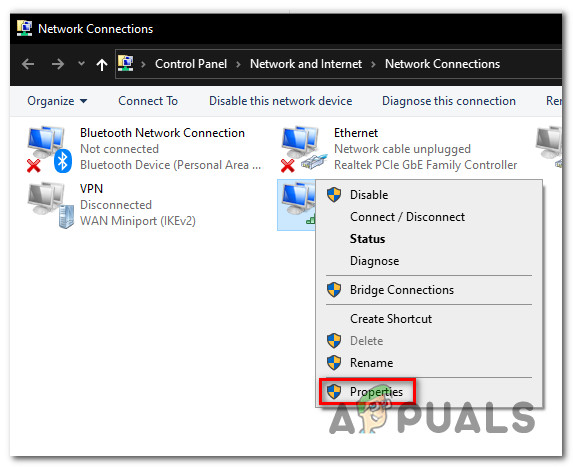
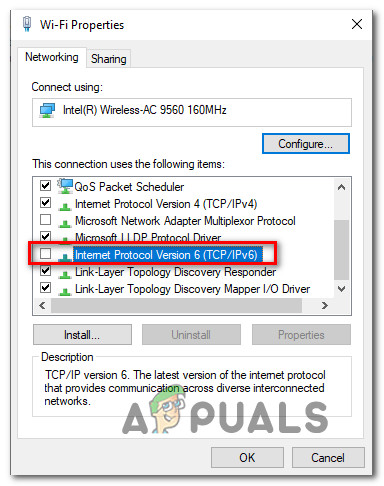
3. Disable IPv6 protocol
Disabling the IPv6 protocol will force the RDP connection to use IPv6 if you are trying to connect to a target PC with an outdated operating system. This will prevent the unpleasantness of having the remote desktop connection service remain disabled due to a network inconsistency. Note: On newer Windows versions (Windows 10 and Windows 11), the OS will prefer using IPv6 over IPv4. If you haven’t tried this fix yet, disable the IPv6 protocol temporarily and see if the problem is now fixed: If you’re still dealing with the same ‘Windows could not start the Remote Desktop Service service on Local Computer’, move down to the next method below.
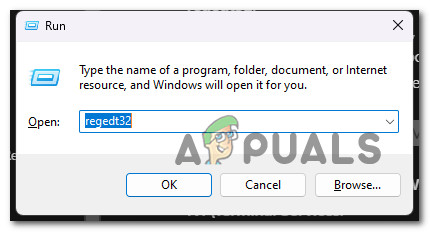
4. Enable RDP protocol via Registry Editor
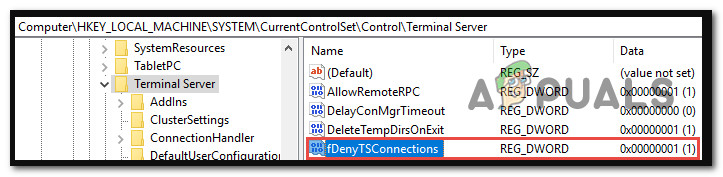
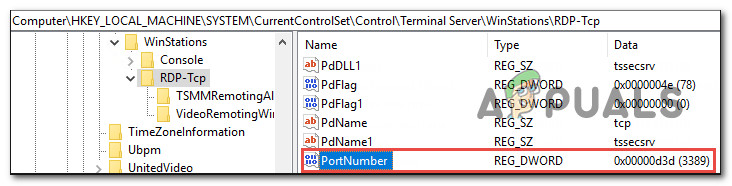
It turns out that a scenario in which the Remove Desktop connection is truly deactivated on the local computer via a registry value is a common cause why you could encounter this issue. If this circumstance applies, changing the fDenyTSConnections will enable RDP. Important: Pay close attention to the directions in this section. The wrong modification of the register can result in serious issues. Create a backup of the registry before you begin editing it so you can restore it if something goes wrong. Use a network registry connection to access a distant computer’s RDP protocol status and make changes: If you’re still dealing with the same ‘Windows could not start the Remote Desktop Service service on Local Computer’, move down to the next method below.
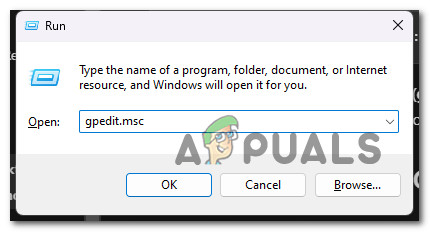
4. Modify the local group policy
Another plausible explanation is that the connection is being blocked and the computer-level settings are being overridden by a group policy object (GPO). Run a CMD command to verify this, and if it is accurate, open the Local Groupo policy editor and change the policy that says “Allow users to connect remotely by using Remote Desktop Services.” A GPO may be overriding computer-level settings if you are unable to enable RDP through the user interface or if the value of fDenyTSConnections changes back to 1 after you make a modification. Open a Command Prompt window as an administrator and type the following command to check the group policy settings on a local computer: Open gpresult.html when this command has finished running. Locate the policy Allow users to connect remotely in the following location:
RDP connections are not barred by Group Policy if the setting for this policy is set to Enabled.Check Winning GPO if the setting for this policy is disabled. This GPO is the one preventing RDP connections.
If you previously discovered that a local group policy is blocking the remote connectivity, follow the instructions below to modify the blocking GPO via the Local Group Policy Editor: If you’re still dealing with the same ‘Windows could not start the Remote Desktop Service service on Local Computer’ error, move down to the next method below.
5. Enable the service dependencies
When attempting to launch the main Remote Desktop service, two crucial service requirements need to be enabled. Before attempting to start the primary service, make sure the Remote Desktop Services (TermService) and Remote Desktop Services UserMode Port Redirector (UmRdpService) are both enabled. You can check if this is the source of your issue by accessing the Services screen and making sure that both of these services are enabled. Follow the instructions below for specific steps on how to do this: If you’re still unable to enable to connect remotely to other PCs, move down to the next method below.
6. Check if the RDP listener is enabled
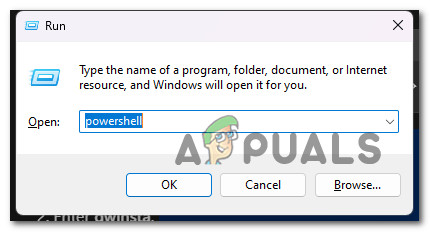
The main Remote Desktop connection might also not be able to be enabled if the system’s RDP listener is genuinely disabled. If the situation described above applies, you can resolve the problem by executing a set of commands to import a cmdlet that will make sure the RDP listener is always enabled. Note: Pay close attention to the directions in this section. The wrong modification of the register can result in serious issues. Make a backup of the registry before you begin editing it so you can restore it if something goes wrong. We’ll utilize a PowerShell instance with administrative rights for this method. You can also use a command prompt with administrative privileges for a local machine. However, PowerShell is used in this process because the same cmdlets function locally and remotely. Here’s what you need to do: If the problem is still not fixed, move down to the next method below.
7. Modify the RDP listener port
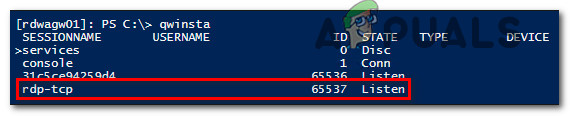
You must make sure that both the local and remote computers are using the same RDP listener port in order for this connection to work. Make sure they are both utilizing port 3389 if the ports don’t match. The RDP listener must be open on port 3389 on both the local (client) and remote (target) computers. This port shouldn’t be used by any other programs. If you’re not sure which port is being used, follow the instructions below to check the current usage and modify the current RDP listener port if needed: I the same kind of issue is still occurring, move down to the next method below.
8. Ensure that there’s no application port overlap
Additionally, there is a remote possibility that another program is attempting to use the same port as the RDP listener. In this situation, you should conduct a CMD scan to see if that’s the case and, if it is, resolve the dispute. Use a PowerShell instance with administrative rights for this procedure. You can also use a command prompt with administrative privileges for a local machine. However, PowerShell is used in this process because the identical cmdlets function both locally and remotely. Here’s what you need to do to make sure that there’s no application port overlap that’s indirectly causing the ‘Windows could not start the Remote Desktop Service service on Local Computer’: If this method was not helpful in your case, move down to the next method below.
9. Prevent the firewall from blocking the RDP port (if applicable)
Although the Windows firewall should prevent you from experiencing this problem, there have been reported instances where the affected computer’s firewall has actually been found to be blocking the RDP port. If the firewall is actually blocking the RDP port in this situation, you can look into the problem and create a port exception. In order to find out if this scenario is applicable, the best course of action is to use the psping tool to test whether you can reach the affected computer port. Here’s how to do this: If this didn’t allow you to resolve the issue, move down to the next method below.
10. Start the Remote Desktop Service in Safe Mode
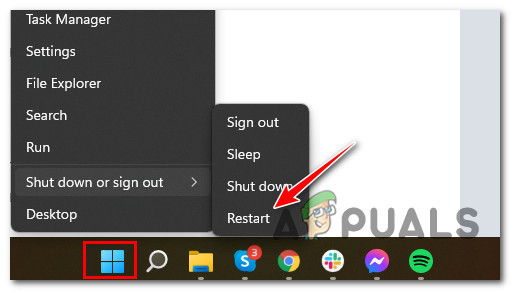
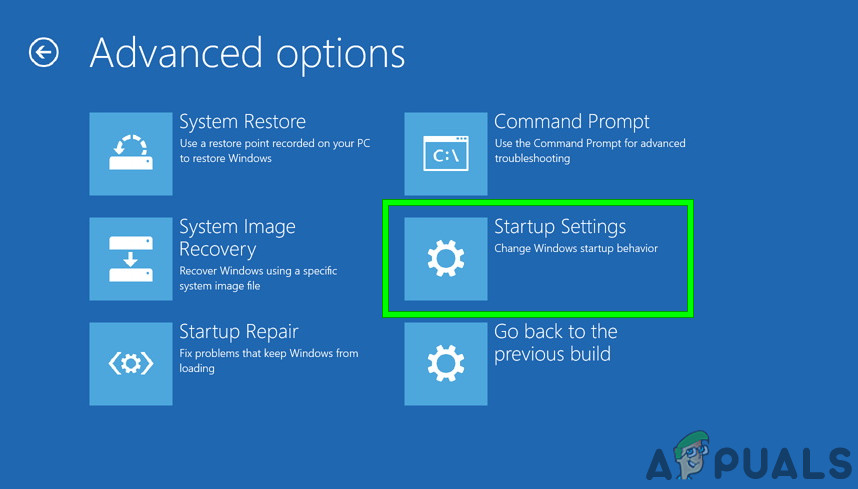
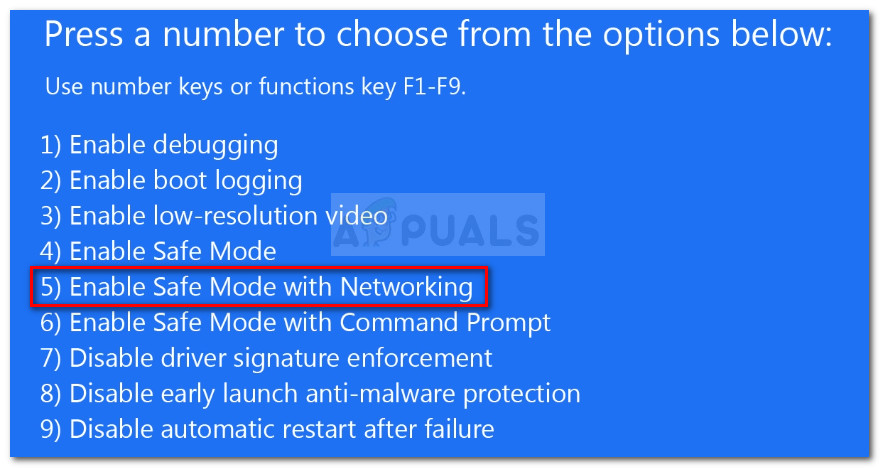
There are a lot of moving parts that might end up interfering with the RDP port and thus breaking the remote desktop service. If you want to exclude a 3rd party program or service interference from your culprit list, you should boot in Safe mode and try opening the service once again. If the error doesn’t return, it’s clear that you’re dealing with some kind of 3rd party interference. In this case, you can attempt to boot in safe mode with Networking and attempt to start the remote desktop service while you’re certain that there’s no potential interference that’s causing this behavior. Here’s how to do this: If the same kind of issue is still occurring, move down to the next method below.
11. Create a new Windows Account
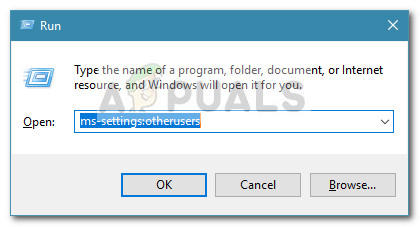
This same problem may also be caused by a corrupted Windows account. Create a new Windows account (it can be local) and restart the remote desktop service to be sure your present account is not the problem. It’s important to note that this action will remove all corrupted dependencies connected to your current user profile. The method below will help you create a new user account to avoid the ‘Windows could not start the Remote Desktop Service service on Local Computer’when attempting to open the Remote Desktop service: If the same kind of issue is still occurring, move down to the next method below.
12. Uninstall the KB4284826 Windows Update
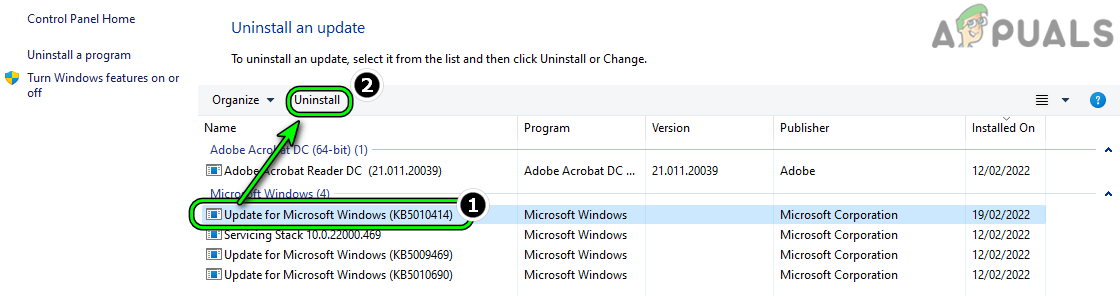
This is a terrible MS update that is infamous for really breaking the RDP component. If your system just installed this Windows Update, uninstall it from your Windows computer and conceal it with a specialist tool (to prevent a subsequent installation). A number of users who handled this issue themselves found that removing the KB4284826 feature update and restarting their machine helped them solve the issue. Note: Since Microsoft has previously made a solution for this bug, it shouldn’t happen again when WU installs this feature update. The recently installed Windows feature update can be removed by following the steps below: Important: We have also provided additional steps that will enable you to conceal the update and stop it from installing in the future. Move on to the procedure below that is listed next if the same type of problem is still present.
13. Deploy SFC and DISM scans
It turns out that the system file corruption that is impeding the RDP connection could also be a secondary source of this issue. In this situation, you should immediately follow an SFC scan with a DISM scan. The damaged files that are impeding the remote connection and resulting in the error “Windows could not start the Remote Desktop Service service on Local Computer” should be attempted to be replaced in this case. Perform quick succession scans using SFC (System File Checker), DISM (Deployment Image Servicing and Management). For comprehensive instructions on how to do this, refer to the list of steps below: Continue to the final approach below if you’re still experiencing “Windows could not start the Remote Desktop Service service on Local Computer.”
14. Perform a clean install or repair install
You certainly have a major corruption issue if you’ve tried every option suggested in this post so far and are still receiving the error message “Windows could not start the Remote Desktop Service service on Local Computer.” You must restart every component of Windows in this scenario to guarantee that every instance of defective system files is removed. Most users go for the drastic solution, a clean install, which completes the task while also erasing all personal data, including programs, games, media, and documents. If you want to take a less drastic action to upgrade your Windows components without damaging any of your personal belongings, you should select a repair install (games, apps, images, papers, etc.). Through this method, you can maintain all of your personal data.
Fix: Remote Desktop can’t Connect to the Remote Computer for one of these…Microsoft Windows 10 Update Delivery And Packaging Technique To Get Combined…Fix: The Remote Connection was not Made Because the Name of the Remote Access…How to Fix Steam Service Errors when installing Steam Service