After we investigated this issue, we realized that there are actually several different underlying instances that will ultimately cause this error code. Here’s a short list of scenarios that might prevent Windows Security from opening up: Now that we went over every potential scenario that might cause this behavior on Windows 11, let’s go over every known fix that other affected users have successfully used to restore the normal functionality of Windows Security.
1. Reset the Windows Store certification
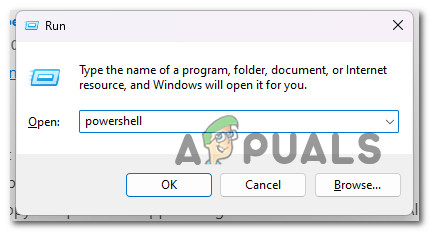
It turns out that one typical situation that will result in this issue is when a crucial dependence (Windows Store certification) is genuinely afflicted by corruption. Reinstalling the Microsoft.SecHealthUI component should resolve the problem if this specific scenario applies. To do this, you will need to open PowerShell with administrator access and run a command that will effectively reset the Windows Store certification. This method has been confirmed to work by a lot of affected users. Here’s what you need to do: If the problem is still not resolved, move down to the next potential fix below.
2. Disable or Uninstall 3rd party antivirus
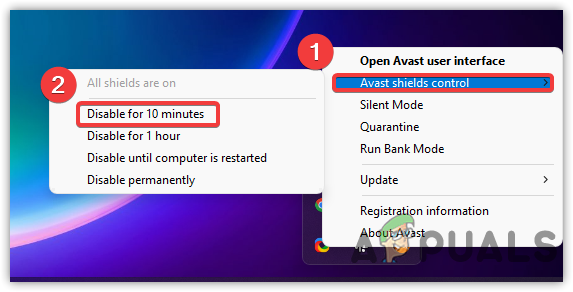
While the 3rd party AV is enabled, it is well known that a number of 3rd party antivirus suites, like Kasperky, effectively prevent Windows users from accessing the native AV component (Windows Security). You can address this issue by turning off or removing the third-party component. It turns out that a conflict between a third-party security suite and a Kernel process used by the Windows 11 install agent may be the cause of this Windows Security issue. Numerous user complaints attribute this problem to Kaspersky, but other security suites can be responsible for the same symptoms. If that’s the case and you’re using a third-party security suite, you should turn off your antivirus real-time protection and see if the problem goes away. However, you’ll need to uninstall the security program and get rid of any leftover files if you want to be absolutely certain that your third-party AV suite—especially if it contains a firewall component—had nothing to do with this problem. Do the simple stuff first: turn off real-time protection. Although the specifics of this procedure vary amongst the various third-party AV suites, you can usually access it through a taskbar menu. For a period, try disabling real-time protection, then check to see if Windows Security is now accessible. If you’re still having trouble, consider completely uninstalling the security program and getting rid of any leftover files that might still be causing this issue. If you choose to take this path, follow these instructions to thoroughly remove a third-party security suite and all leftover files. If this approach wasn’t appropriate for your situation, scroll down to the next possible solution below.
3. Reset the Windows Security app
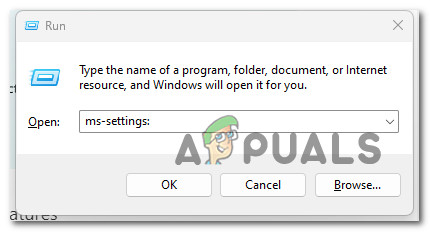
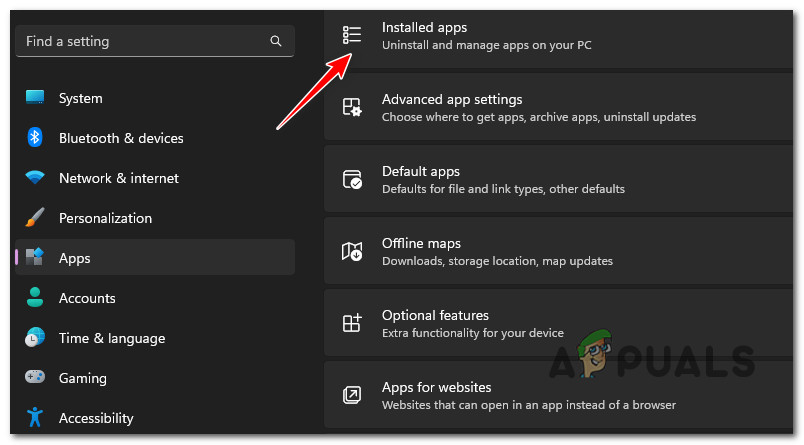
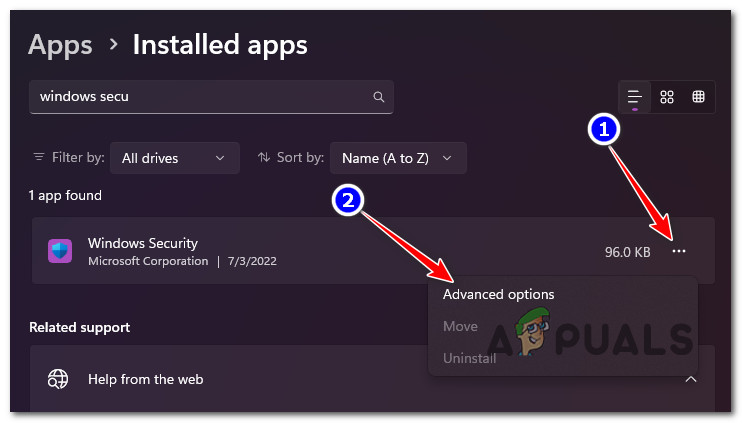
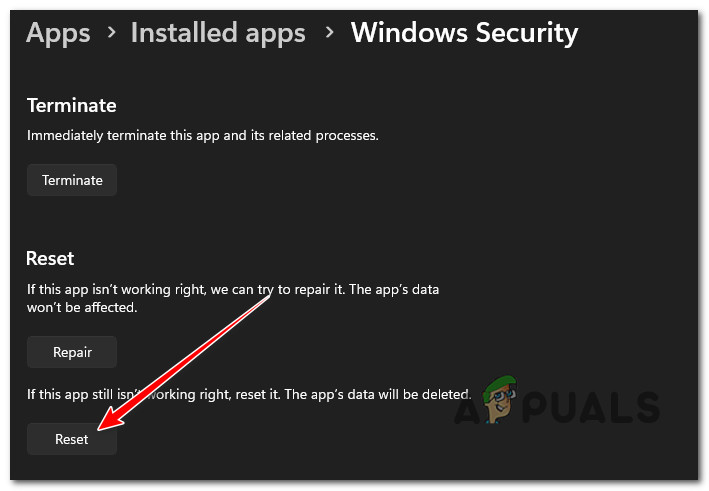
You might also run into a problem because Windows Security is storing cached data, depending on your specific situation. Resetting the Windows Security app from the App area should be your first course of action in this situation. If you suspect that this scenario is applicable, you can fix the issue by accessing the Apps & Features tab from the Settings menu of Windows 11 and triggering a complete reset on Windows Security. This method has been confirmed to work by a lot of Windows 11 users that were not previously unable to access Windows Security. Follow the instructions below to reset the Windows Security app from the Apps & Features menu: If the same kind of problem is still occurring, move down to the next method below.
4. Enable Windows Security via Registry Editor
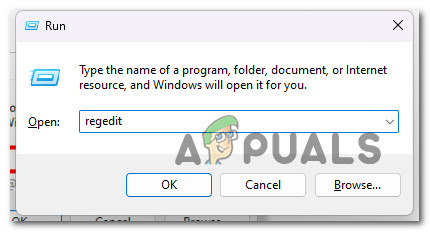
It’s possible that Windows Security is truly disabled by a Registry key and that’s why you can’t access it if you previously modified the default behavior of Windows Security. In this situation, you can resolve the issue by opening Registry Editor and making changes to the DisableAntiSpyware value. The system frequently suffers when changes are made to the registry file. The system’s user or third-party program may have mistakenly introduced these alterations. The registry file is the most crucial file and should be backed up before beginning since if something goes wrong, the system could crash. Follow the steps below to open the Registry Editor and determine whether the DisableAntiSpyware value is enabled or not if this scenario appears to be applicable to you: If this method was not applicable, move down to the next method below.
5. Reinstall Windows Security
If you recently updated from a previous version of Windows to Windows 11, there’s a potential that the upgrading procedure may have partially corrupted a component. You must reinstall the Windows Security component in order to fix this problem. The issue is not brand-new, and Windows 10 users who upgraded from a feature update have also reported it. The answer is rather straightforward. Run a series of instructions to effectively replace your present Windows Store component with newer ones free of corruption once Windows Terminal is launched and in PowerShell mode. To successfully reinstall the Windows Security component from an elevated Powershell component, follow these steps: If the same kind of issue is still occurring, move down to the next methods below.
6. Run SFC and DISM scans
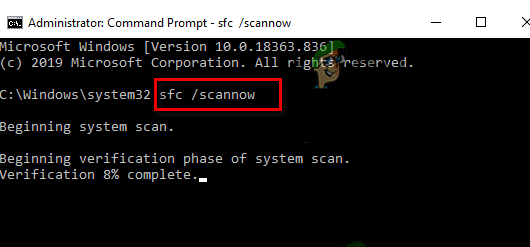
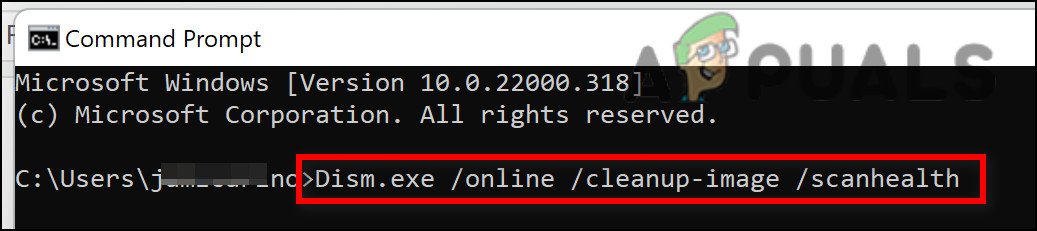
If you’ve come to this point without finding a solution, it’s likely that you have some sort of system file corruption that has broken the Windows Security component. The next step should be to launch SFC (System File Checker) and DISM (Deployment Image Servicing and Management), two built-in programs that can address the most common causes of system file corruption. Resolving the corruption issue is more likely if SFC and DISM are performed shortly after one another, despite the fact that they are quite identical. It should be noted that while SFC collects healthy system files from a local location, DISM retrieves files from Windows Update in order to replace faulty counterparts. Running an SFC scan from an elevated CMD prompt can be used to check for system file corruption. Even if the tool appears to have frozen, it is advisable not to interrupt this process midway (or prematurely quit the CMD window). You’ll eventually get the success notification after the operation is finished. Once the DISM scan is complete, restart your computer. Once the subsequent startup has been completed, run a DISM scan. Before starting this process, make sure your Internet connection is strong. Restart your computer after properly executing the DISM command to see if the problem has been fixed. Continue to the final suggested solution below if the issue is still not resolved.
7. Repair install or clean install
If none of the aforementioned approaches have worked for you, your only remaining choice is to entirely replace all of the afflicted system file dependencies with healthy replacements. At this point, your only choices are to perform a clean install or a repair install (in-place upgrade). If you have the option, we advise you to go for a repair installation (in-place upgrade) if you find yourself in a difficulty:
Repair install – Only the system files will be changed during a repair install (in-place upgrade) (while keeping your personal files, user preferences apps & games).Clean install – If only certain kernel processes are impacted, a clean install can be the best choice, but it has the disadvantage of wiping any personal data stored on the OS disk. However, you should be aware that if you take this action, all of your personal data will be lost.
Fix: The Windows Security Center Service Can’t be StartedEven More Windows 7 Users Can Get Security Updates For Next Three Years Confirms…Major Security Flaw in Apple Devices Can Leak Your Google Account Info and…Windows 10 20H1 2004 Blocked By Windows Security App? Here’s A Solution To…